
How to Make Perfect Pickled Eggs!
Sometimes you just have too many eggs, or you can't use them before they get too old, right? Once of my solutions to that dilemma is to make a bunch of pickled eggs! They are delicious, last a super long time in the 'fridge, retain all the health benefits, and best of all---they won't go to waste! Here are my strategies for making perfect pickled eggs!

Find out how to make perfect pickled eggs!

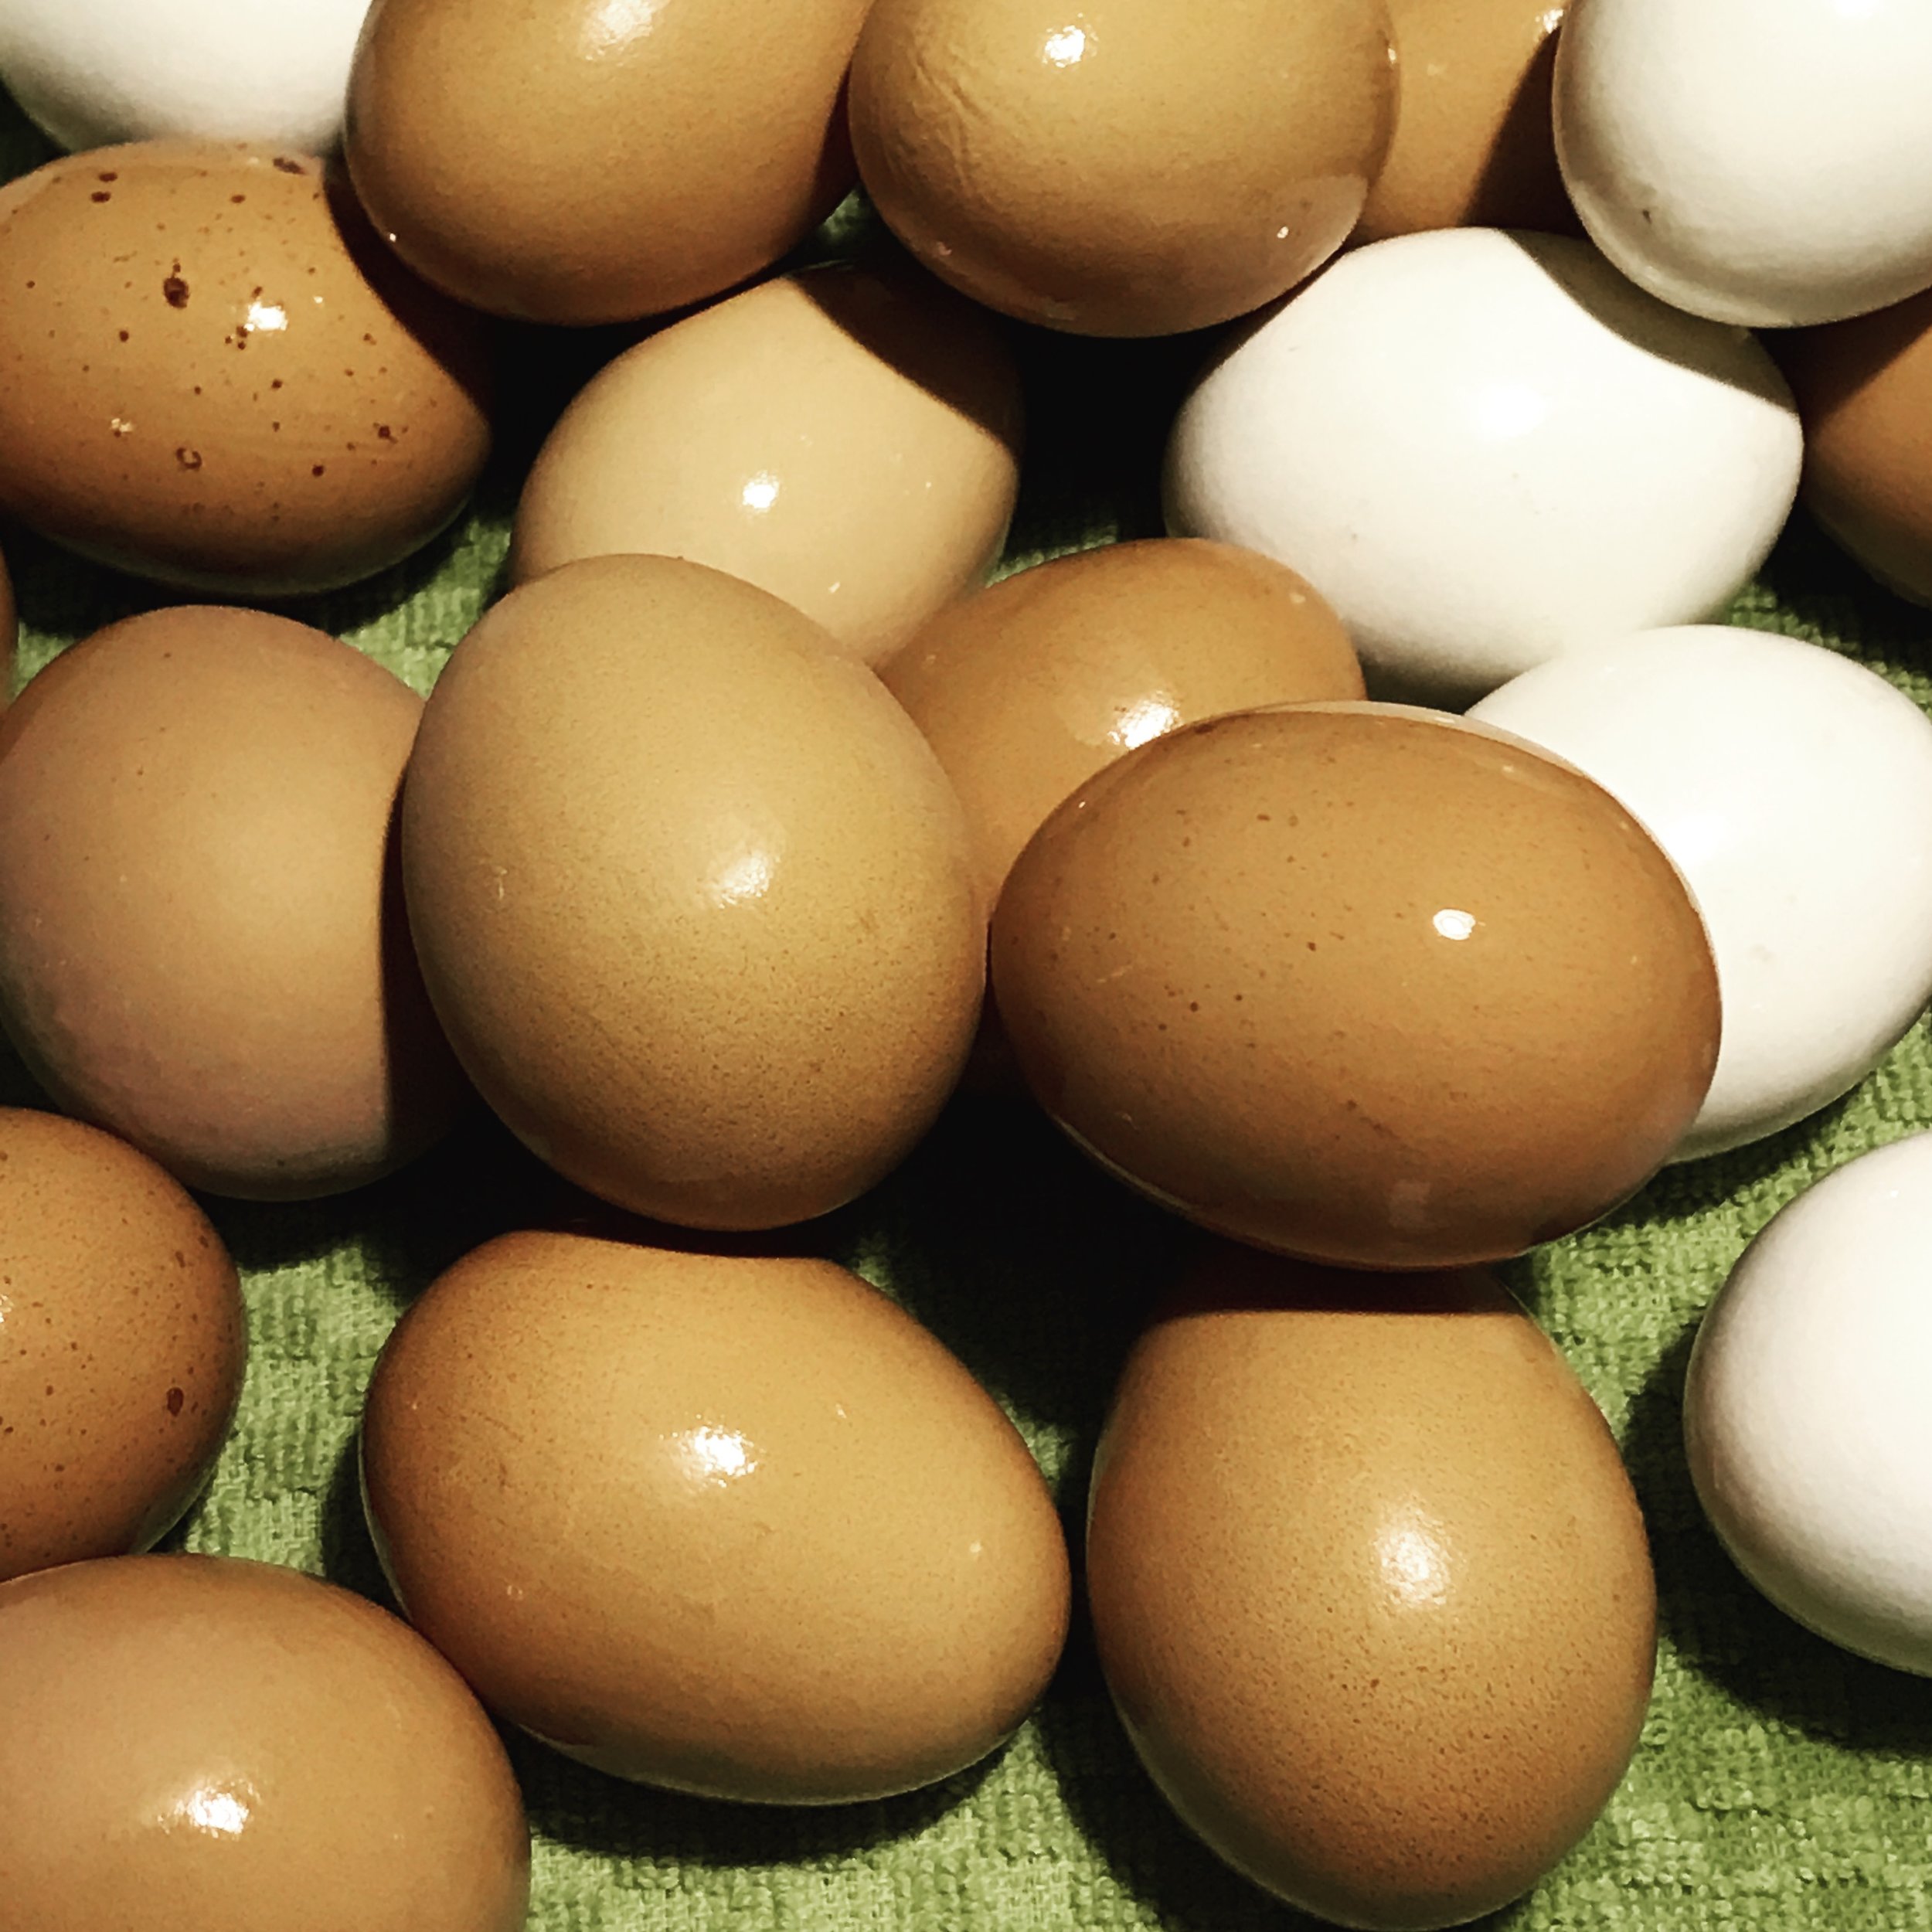
Your pickled eggs will turn out different colors, depending on the spices and type of vinegars you use! Play around and be creative!
How to Make Pickled Eggs
Step 1)
Boil your eggs. I put the eggs in room temperature or even coldish water. Then the eggs heat up with the water. This helps with peeling later. I boil mine for longer than necessary...just because I'm not OCD about it. But you should boil them for about ten minutes minimum.
TIP: Use older eggs! The older they are the easier they will be to peel.
Step 2)
Remove them from the stove, place the pan of eggs in the sink and run cold water over them. Once they are cooled down enough to touch, I place them on a towel and just let them sit there until cooled to room temperature.
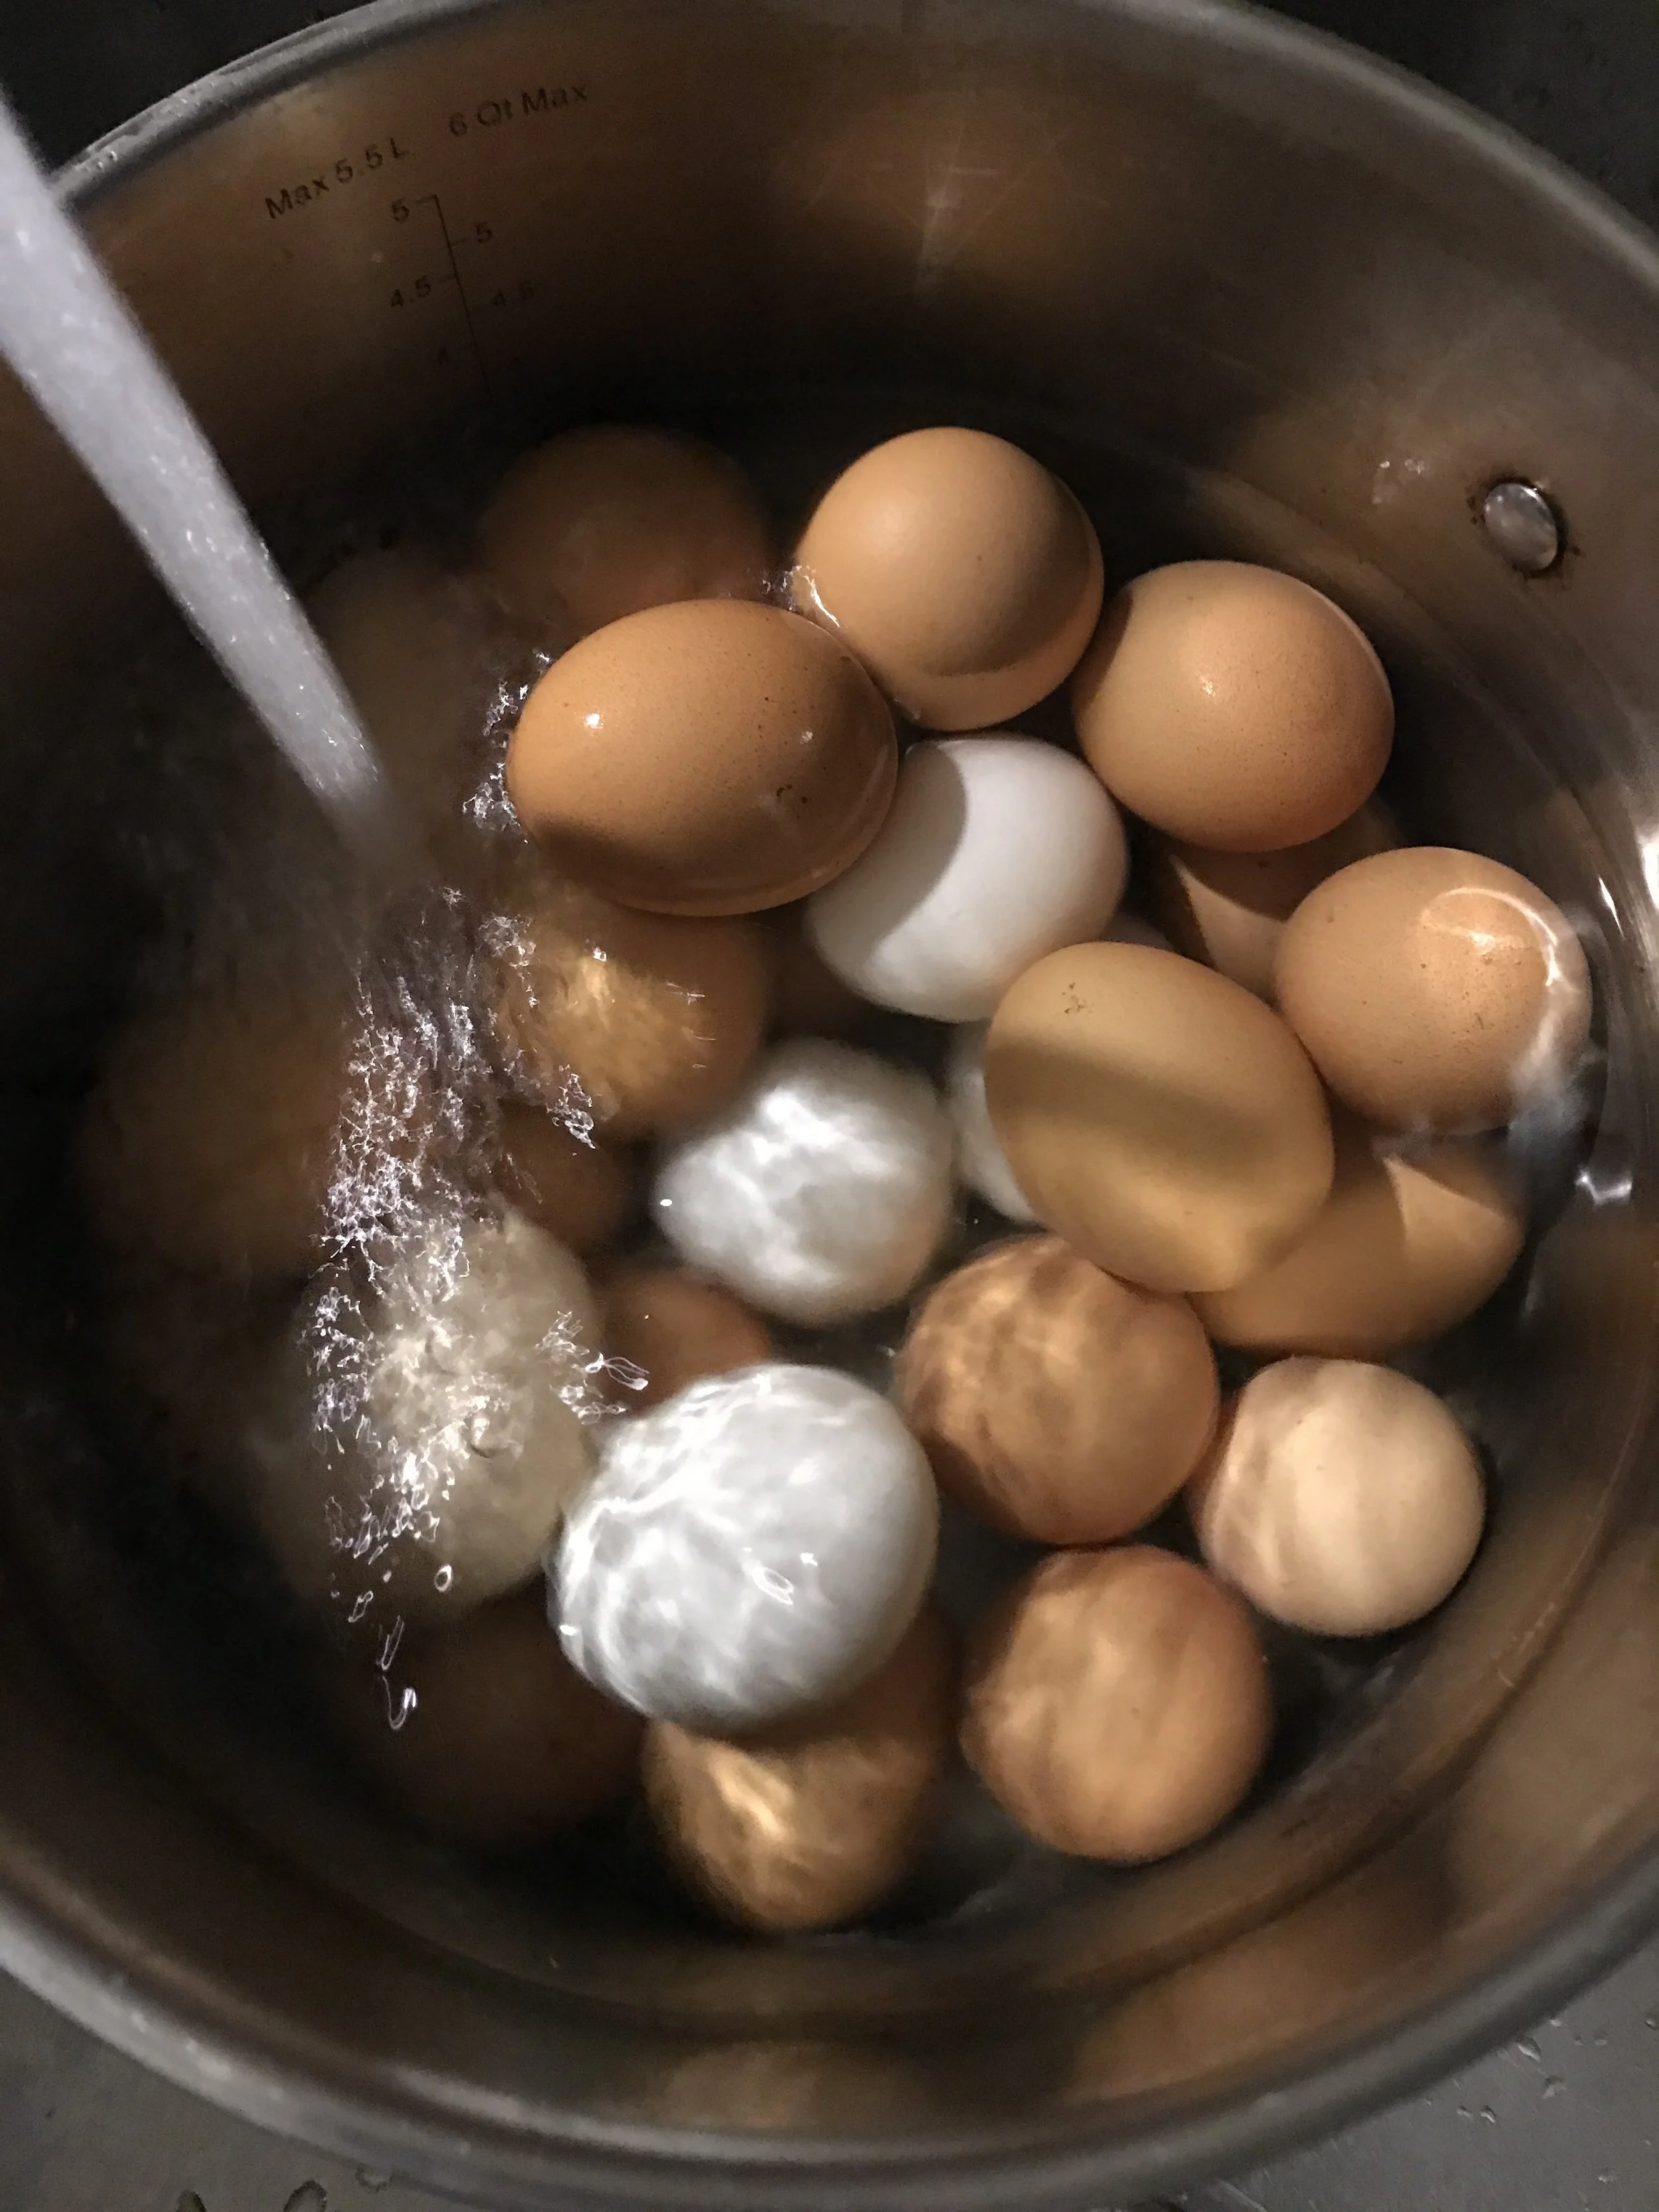
Pouring cold water over the boiled eggs...
After removing the cooked eggs from the water, I just let them sit awhile to completely cool before peeling.
Step 3)
Whenever they are cooled down completely, and you are ready, go ahead and peel them. For pickled eggs, it's important that none of the yolk is showing through and that the egg doesn't split. Exposed yolk will ruin your brine.
I usually "lose" about 2 out of every dozen due to the yolks coming through or the whites splitting too much. I don't worry about it, because I just use these to make egg salad! No waste!
Step 4)
Place as many eggs as you can in a glass jar. Now it's time to make your pickling solution!
Step 5)
Making your pickling solution is the fun, flexible, and creative part! I add about 3/4 of the jar full of white vinegar (or old pickling brine). Add some spices at this point. I usually add hot peppers, crushed red pepper if I don't have actual peppers on hand, garlic (minced or whole--doesn't matter), some dill if I feel like that.
OR, if I want a pretty pink egg, I'll add some cut up beets and perhaps some old beet kvass---This makes a beautiful pickled egg, and the beet kvass adds extra probiotic power and nutrients! Sometimes if I use beets, I'll add a few clove buds because these go well with beets!
You can really be creative with your spices. Pickled eggs are amazingly forgiving! So if you like the spice, go ahead and use it! Rosemary, oregano, thyme, etc. are all great!

One caveat about the lid: Metal lids will corrode due to the vinegar. I have this lid on for looks right now, but will replace with a plastic lid meant for Mason jars. I just have to buy some more!
Step 6)
After you have your spices added to the vinegar, now you can fill the jar the rest of the way with more liquid. I have used leftover pickle juice, the juice from a jar of pepperoncinis, etc. If you don't have this available, well, just add some more vinegar! If you want to mix up the taste a bit, try some different vinegars: balsamic, apple cider vinegar, red wine vinegar---it's totally up to you! Fill to within an inch of the top.

And here they are! These are slightly pink because I used just a little beet kvass in the liquid.
Step 7)
Put your eggs in the refrigerator. It takes about three days for the eggs to be ready, and you can leave them for well over a month. I'm honestly not sure how long they will last, though, because we eat ours up pretty fast! The longer the eggs sit in the vinegar solution, the more pickled (and better) they will become!
ENJOY! :-)
Have you made pickled eggs before? I'd love to know!
Hugs & Self-Reliance!
Heidi
P.S. Don't forget to sign up for the HHH Newsletter and never miss a thing!
If you have ever wanted to make your own soap, I highly recommend Jan Berry's e-Book, Natural Soap Making. Her recipes are tried and true, the photos are gorgeous, and her tutorials were actually the first ones I ever tried!
I have a couple tutorials of my own for hot process soap making Here and Here....but if you want a great starter book---I definitely recommend Jan's!

This article has been shared at these homestead hops! Please take a visit for more great articles written by people who are into diy, natural and simple living, homesteading, livestock and poultry raising! Fun Stuff! :-) Grandma's House DIY, Our Simple Hop, Homestead Hop, Homesteader Blog Hop, Dishing It and Digging It, Simple Saturdays, and the Homestead Bloggers Network!

Alicia Grosso's book is another book I have. She literally covers everything a beginning soap maker would want to know and more!