
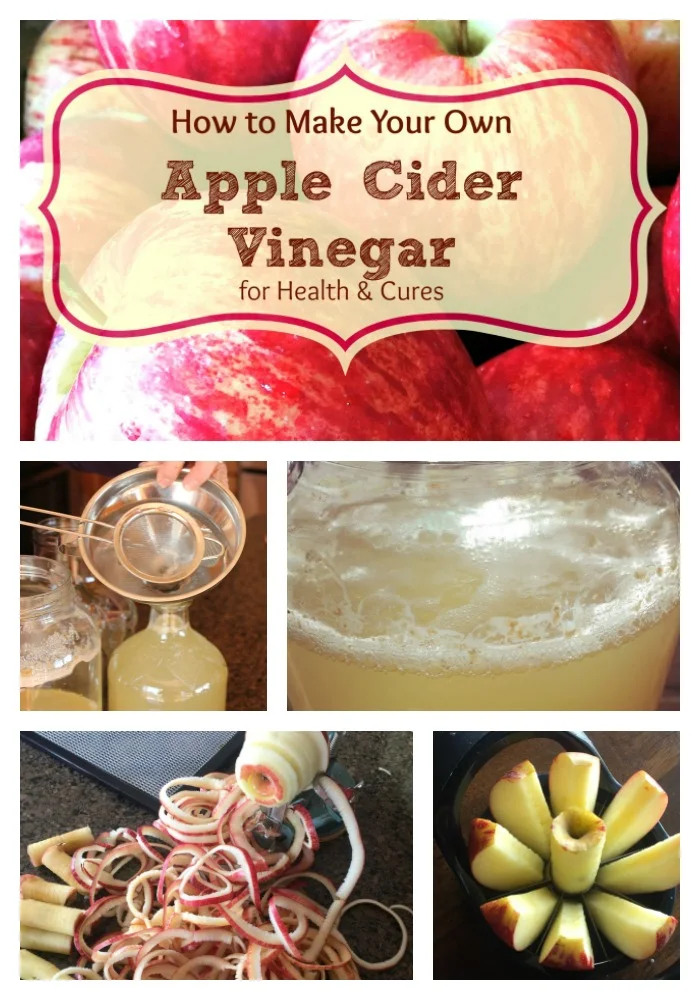
How to Make Your Own Raw Apple Cider Vinegar (Delicious & Healthy!) from Scraps!
STOP!!!
Don't throw away those apple scraps! If you are cutting up apples for a recipe, did you know you can use the peels and cores to make raw apple cider vinegar?
I've been buying Bragg's raw apple cider vinegar for many years because of its health benefits. If you're familiar with Bragg's (or other organic raw apple cider vinegar brands), their products are excellent, but the prices are rather steep.
If you are a frugal person on a budget, buying high-priced ACV may not be an option. What's a gal to do? Make your own!!! Here's how to make your own raw delicious apple cider vinegar from apple scraps! Never waste a thing, even those cores & peels—-and especially not money, as this stuff is practically free!
FTC Disclosure: There are affiliate links scattered throughout this article. If you click through and make any kind of purchase, I may earn a small commission at no extra cost to you.

Don't you just love organic Apple Cider Vinegar with the Mother? I sure do! It's great for so very many health benefits! I have spent years buying the very expensive Bragg's organic ACV, but THEN! I found out how easy it is to make your own! It takes 2-3 weeks of good fermenting time, and you will have some absolutely delicious organic ACV with the Mother! Find out how!
Benefits of Raw Apple Cider Vinegar
1) Helps heartburn and acid reflux
2) Promotes healthy cholesterol
3) May help with weight loss
4) Helps maintain healthy blood sugar levels
5) Includes antioxidants
6) Improves digestion and nutrient absorption
7) Provides an energy boost
8) Helps keep you well due to antibacterial properties
It's recommended to take about 1 tbsp a day. I like to add a generous amount to my drinking water bottle I take to work every day. That way it's there, I drink it throughout the day, and I'm getting my daily dose!
Try this for 60 days and see what happens! (One of my co-workers swears by it---he's hardly ever sick! Well, neither am I because I take herbs as well as raw ACV, but hey!? Who knows! The fact is, I do love my raw ACV!)
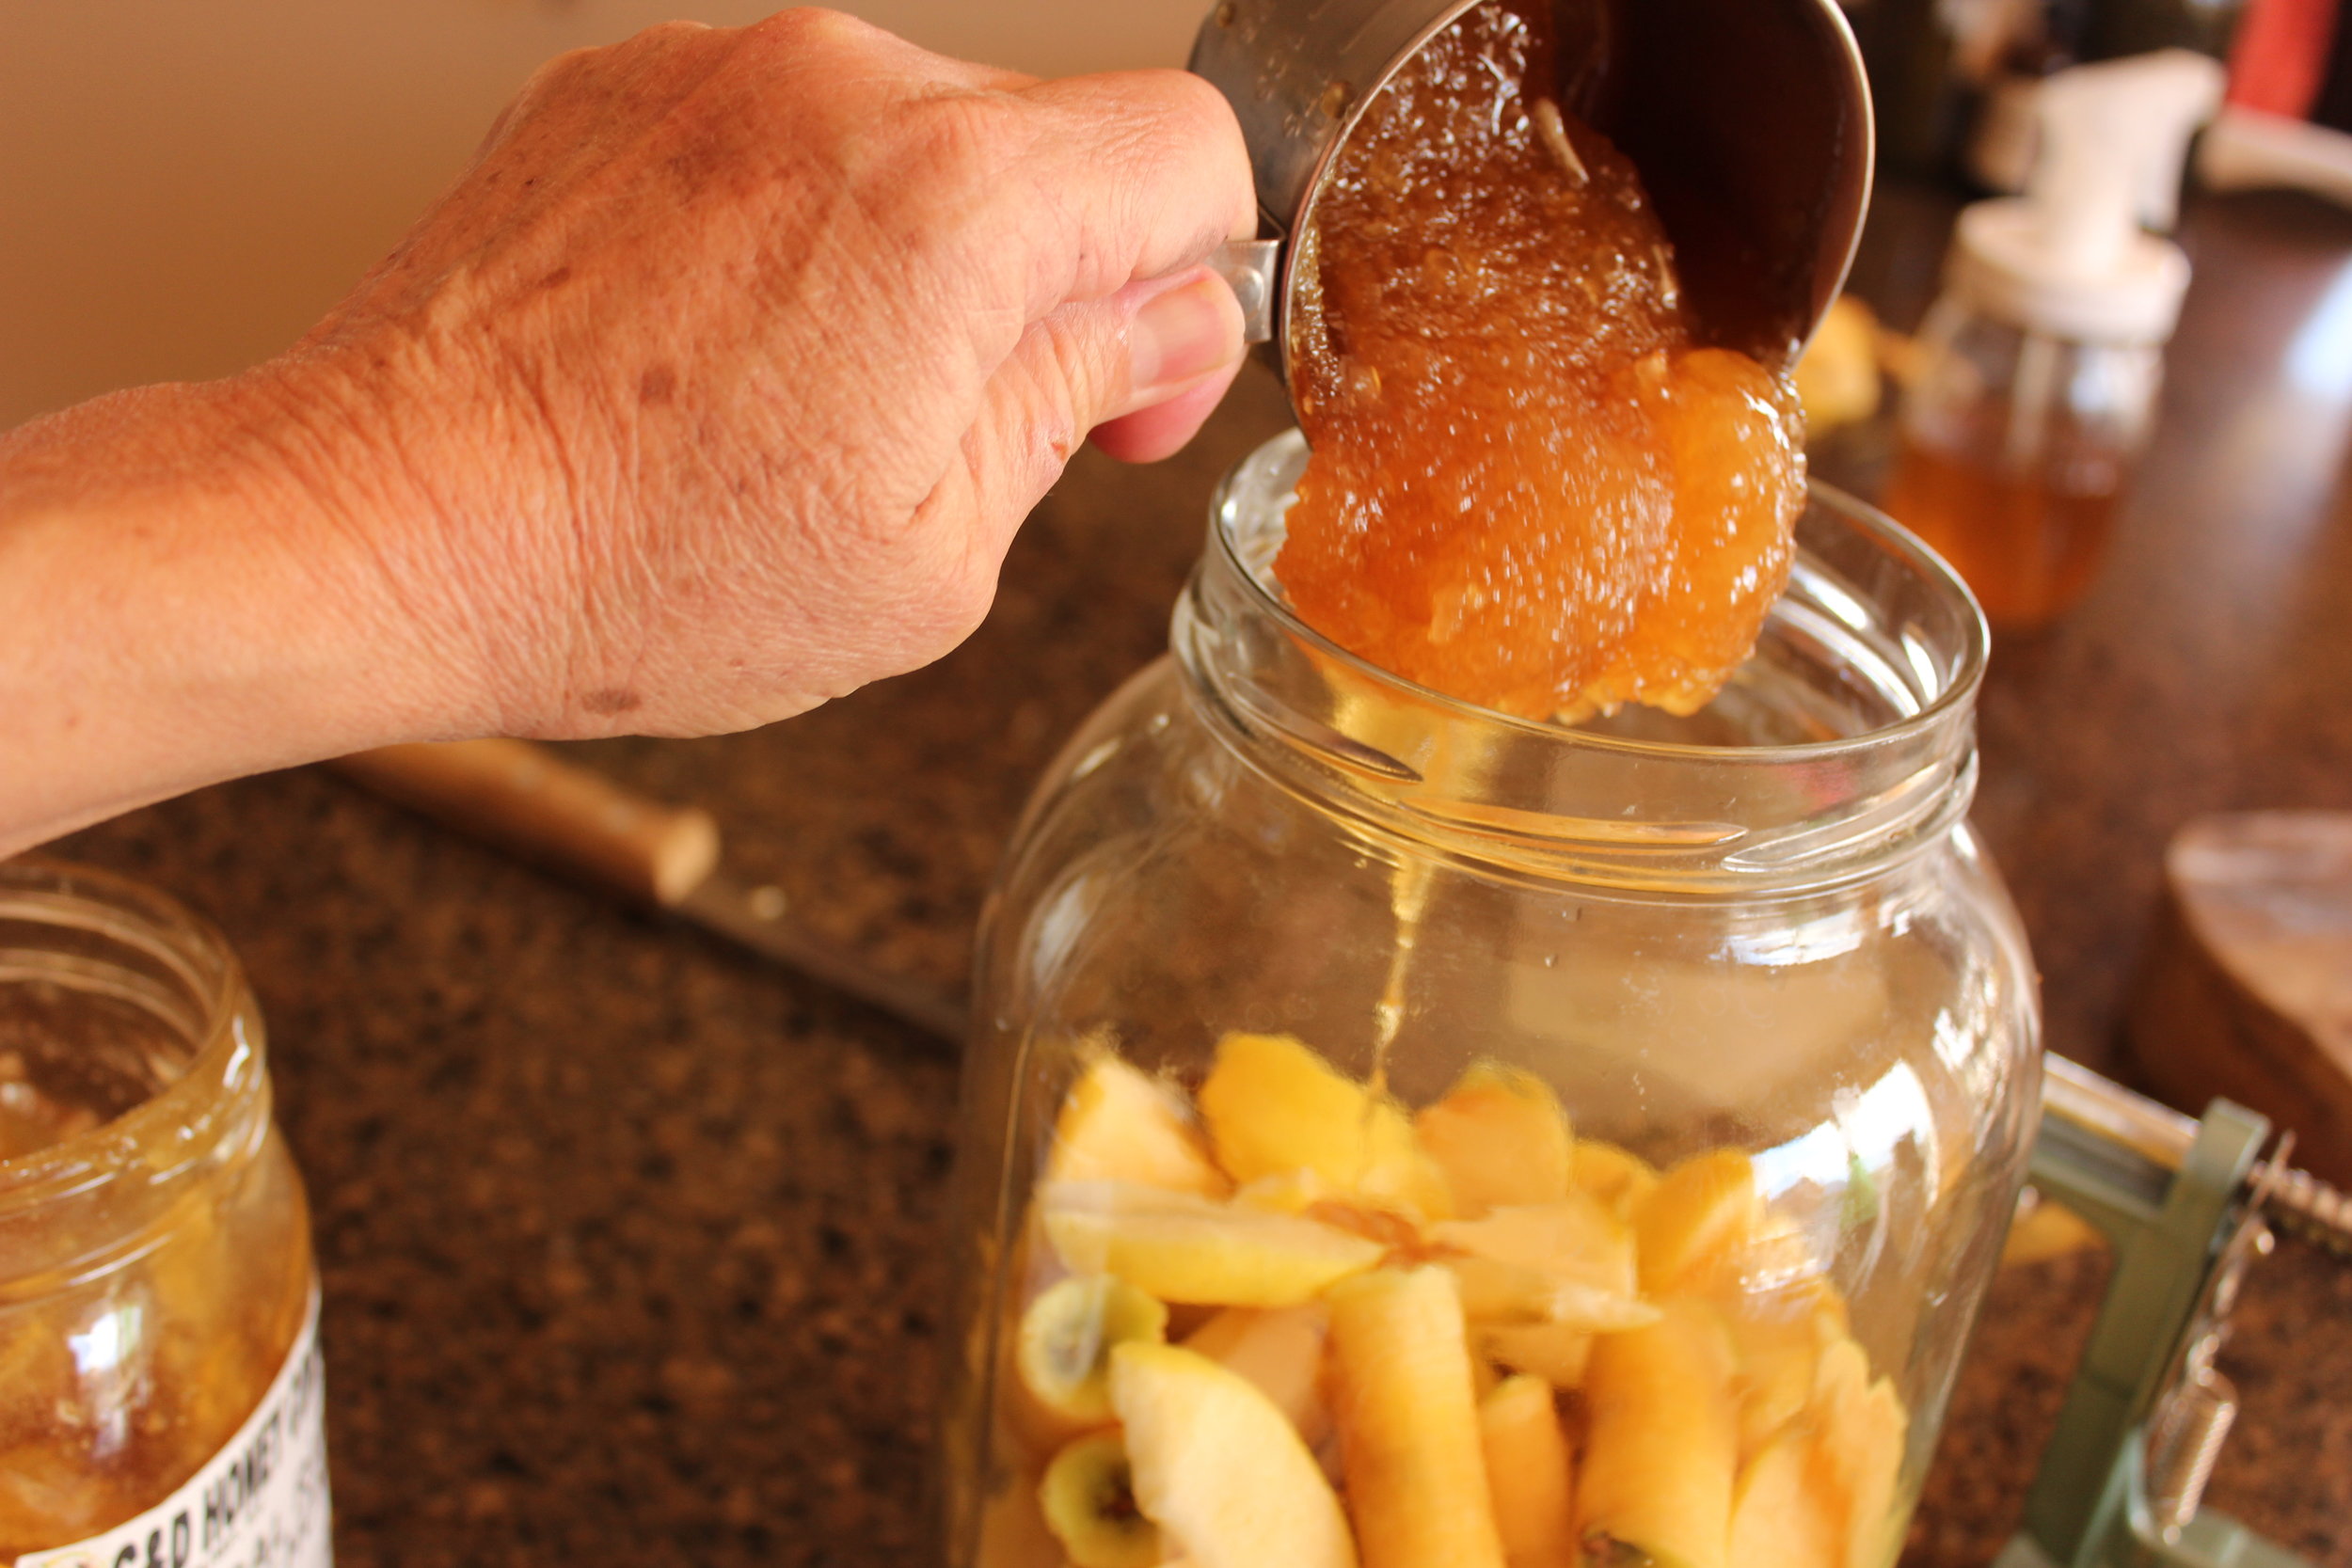
My dad has an orchard with quite a few apple trees. They are over 100 years old, and about every other year, they provide an amazing harvest! So, I've had BOXES of apples to preserve this year! It's good work, and welcome. Here is my old spotty hand pouring in some slightly crystallized raw desert honey into a gallon jug filled half full of apple scraps.
What Do You Need to Make Your Own Raw Apple Cider Vinegar?
It's pretty amazing how easy it is to make raw apple cider vinegar. It takes these few things: organic apple scraps (or apple pieces), honey, filtered water (we just use our well water), a glass container & cheesecloth, and some time! That's it!
Steps to Make Raw Apple Cider Vinegar
(Pictures of the steps below)
1) If you are cutting up apples for a recipe, don't throw away those scraps! Fill up a half-gallon or a gallon (the jar pictured here is a gallon size) jar about half-way full of apple scraps. This is easy to do if you are making a pie, applesauce, etc. You can use pieces of apple too!
2) Now pour 1 cup of honey to a one gallon size jar of apple scraps. For a half-gallon, use a half-cup, and a quart size jar--you'd use a quarter cup of honey.
3) Be sure the apples are under the liquid. I use a little jelly jar filled part way with water, and this usually works great! This is to help prevent mold.
4) Cover with cheesecloth--a few layers---and secure with a rubber band.
5) Let this sit for 2 to 3 weeks. You'll see it bubbling away, and it will smell wonderfully "yeasty." This is the hard cider stage. You can drink it now, and it will have some alcohol content, but not sure how much.
6) After 2 to 3 weeks, strain out the apples. Cover with the cheesecloth again (some say a lid--I actually tried a combo of both and the cheesecloth was the better option for "vinegarizing" the solution), and let sit for another 2-3 weeks.
7) Keep taste-testing and smelling. When you like where it is, just bottle it up (cap it) and store/use. It will continue to ferment and acidify the longer it sits. We put one container (the narrow-necked one) in the cupboard for immediate use, and the wider necked one in our store room. The "mother" will keep the fermentation process going, even in a cool environment. It will just be more slow. It's a good idea to "burp" your bottles once in awhile to allow any gases to escape.
NOTE: A note about our results---We LOVE how our ACV turned out. It's lighter, less acidic, and a little more sweet than the Bragg's (which is a 5% acidity level). I think ours may be about 3%, but we didn't actually measure it. As it continues to ferment, the acidity level will continue to increase, but right now, we are just loving the taste so much! It's great in salad dressing, and we add it pretty liberally to our water to drink as well.
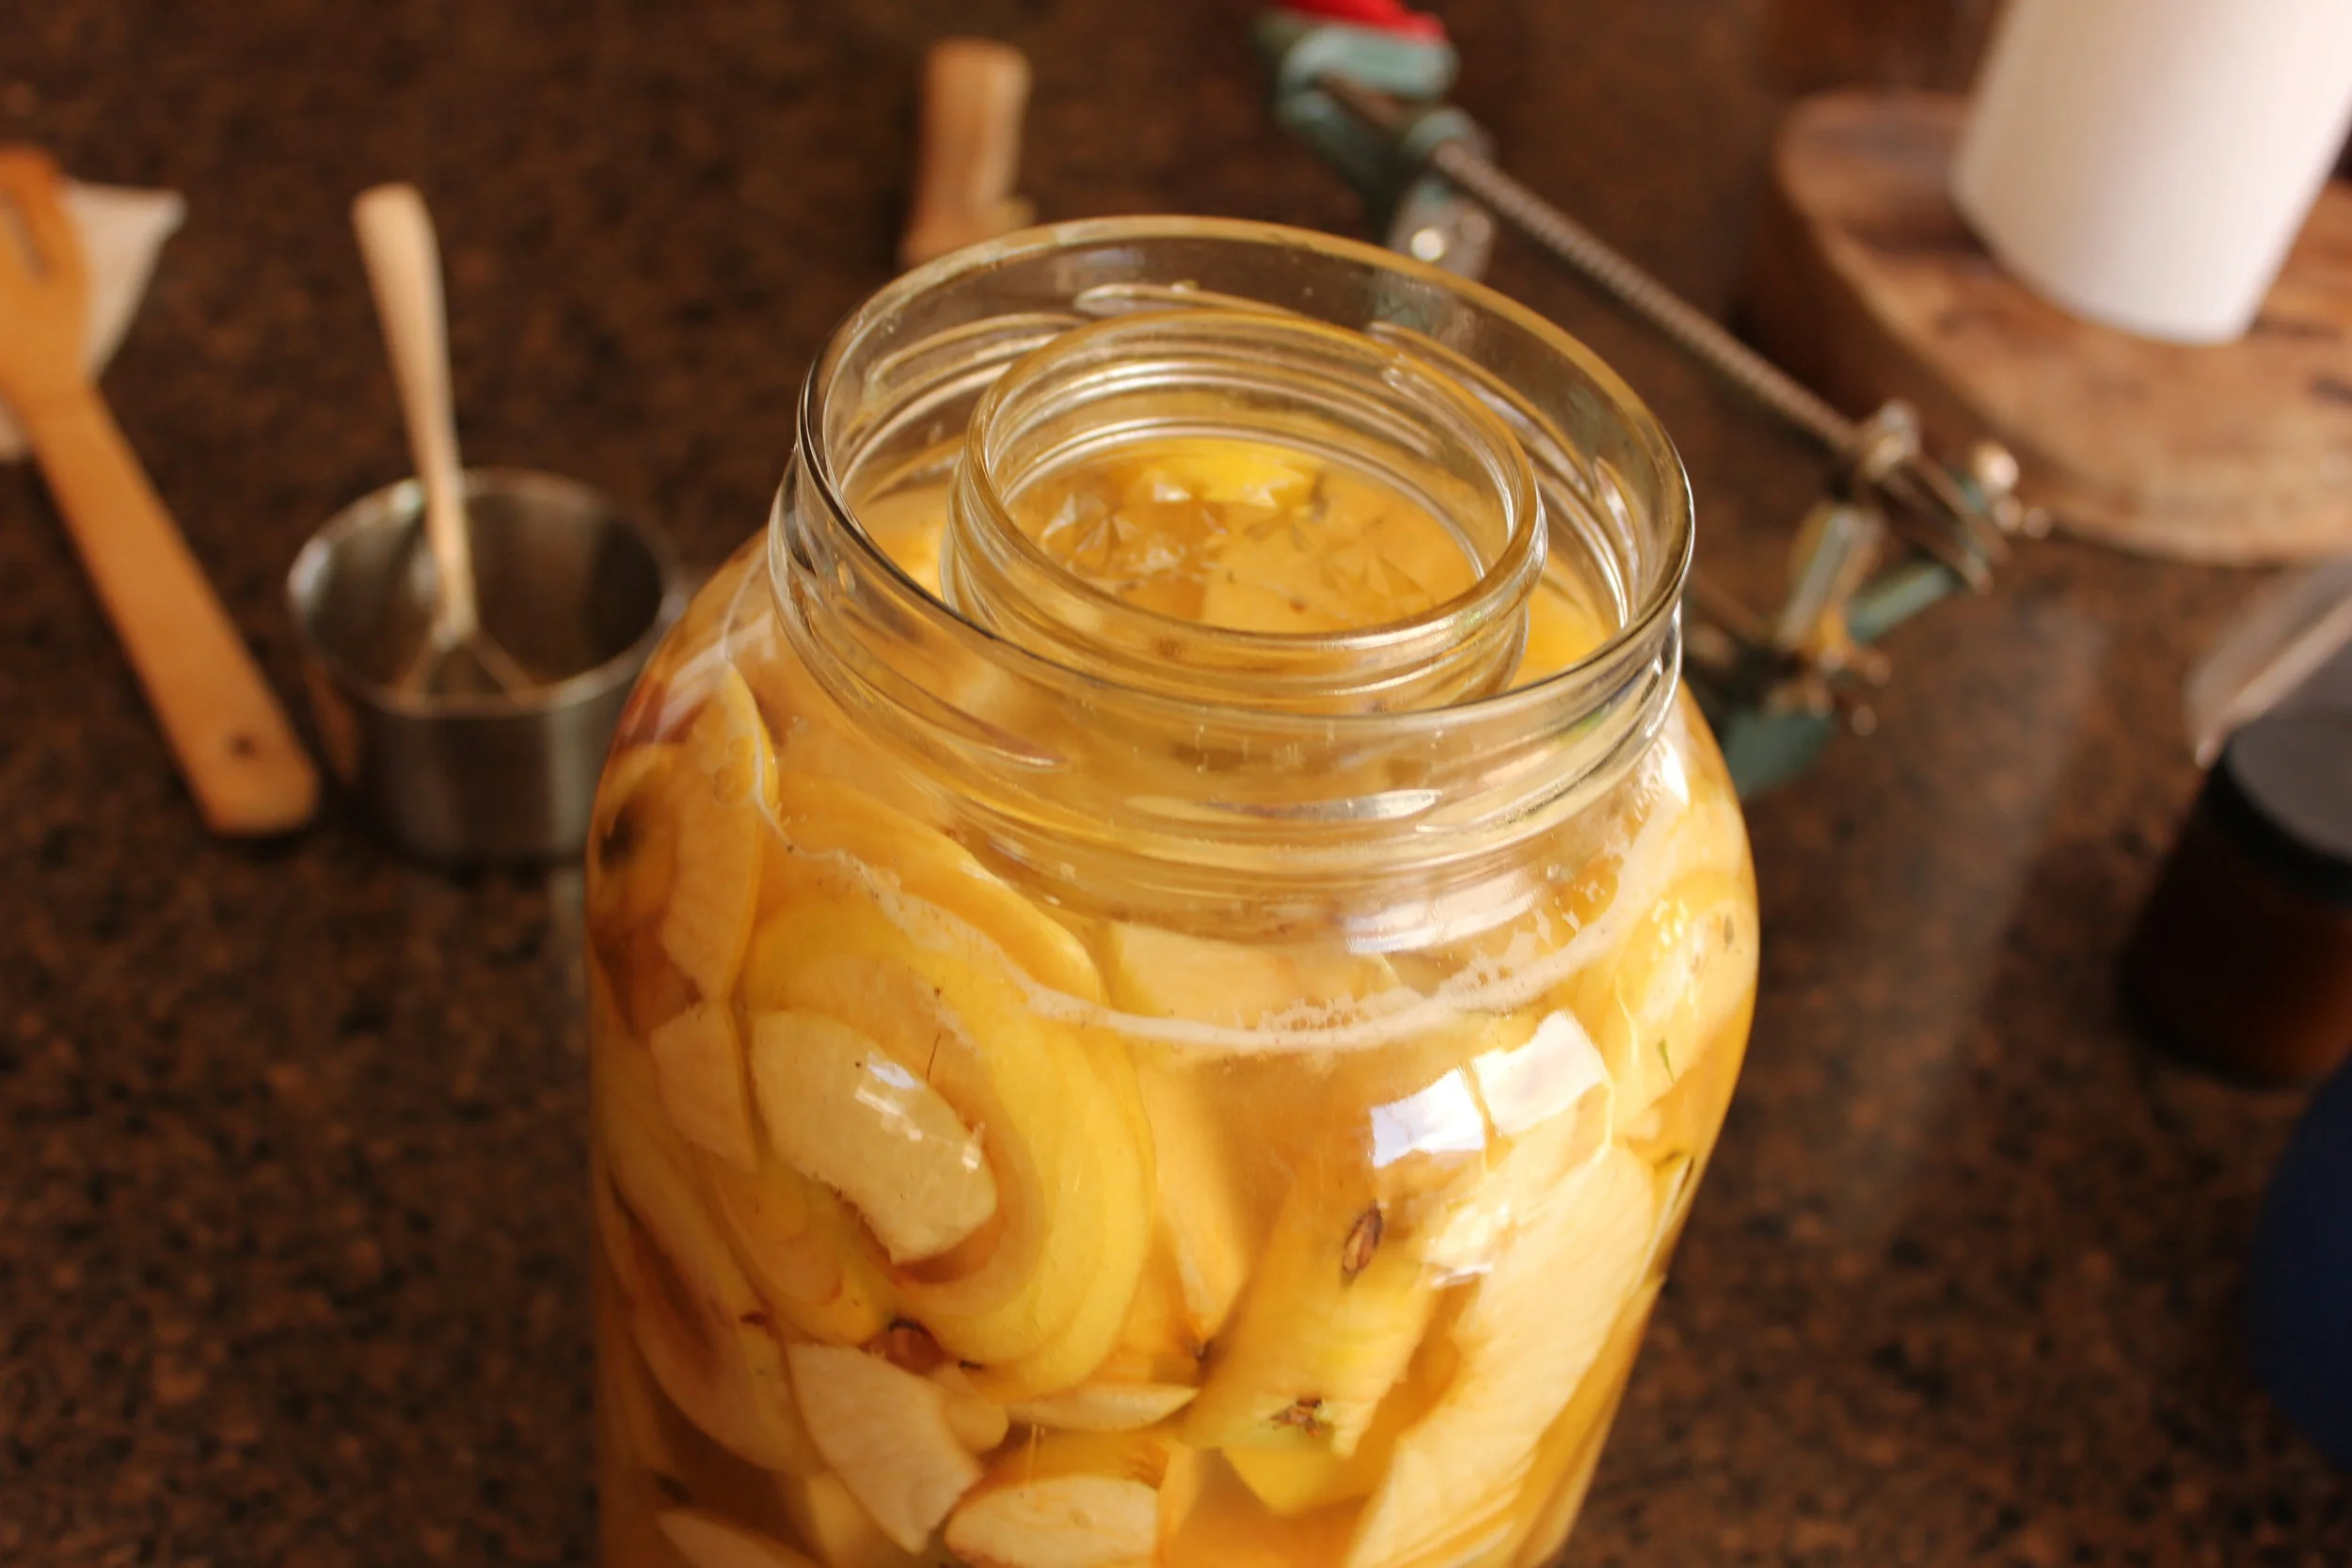
This is a gallon size jar, and after you fill it about half full of apple scraps/pieces, add 1 cup of raw honey and fill with water. I have this little jar holding the apples down.
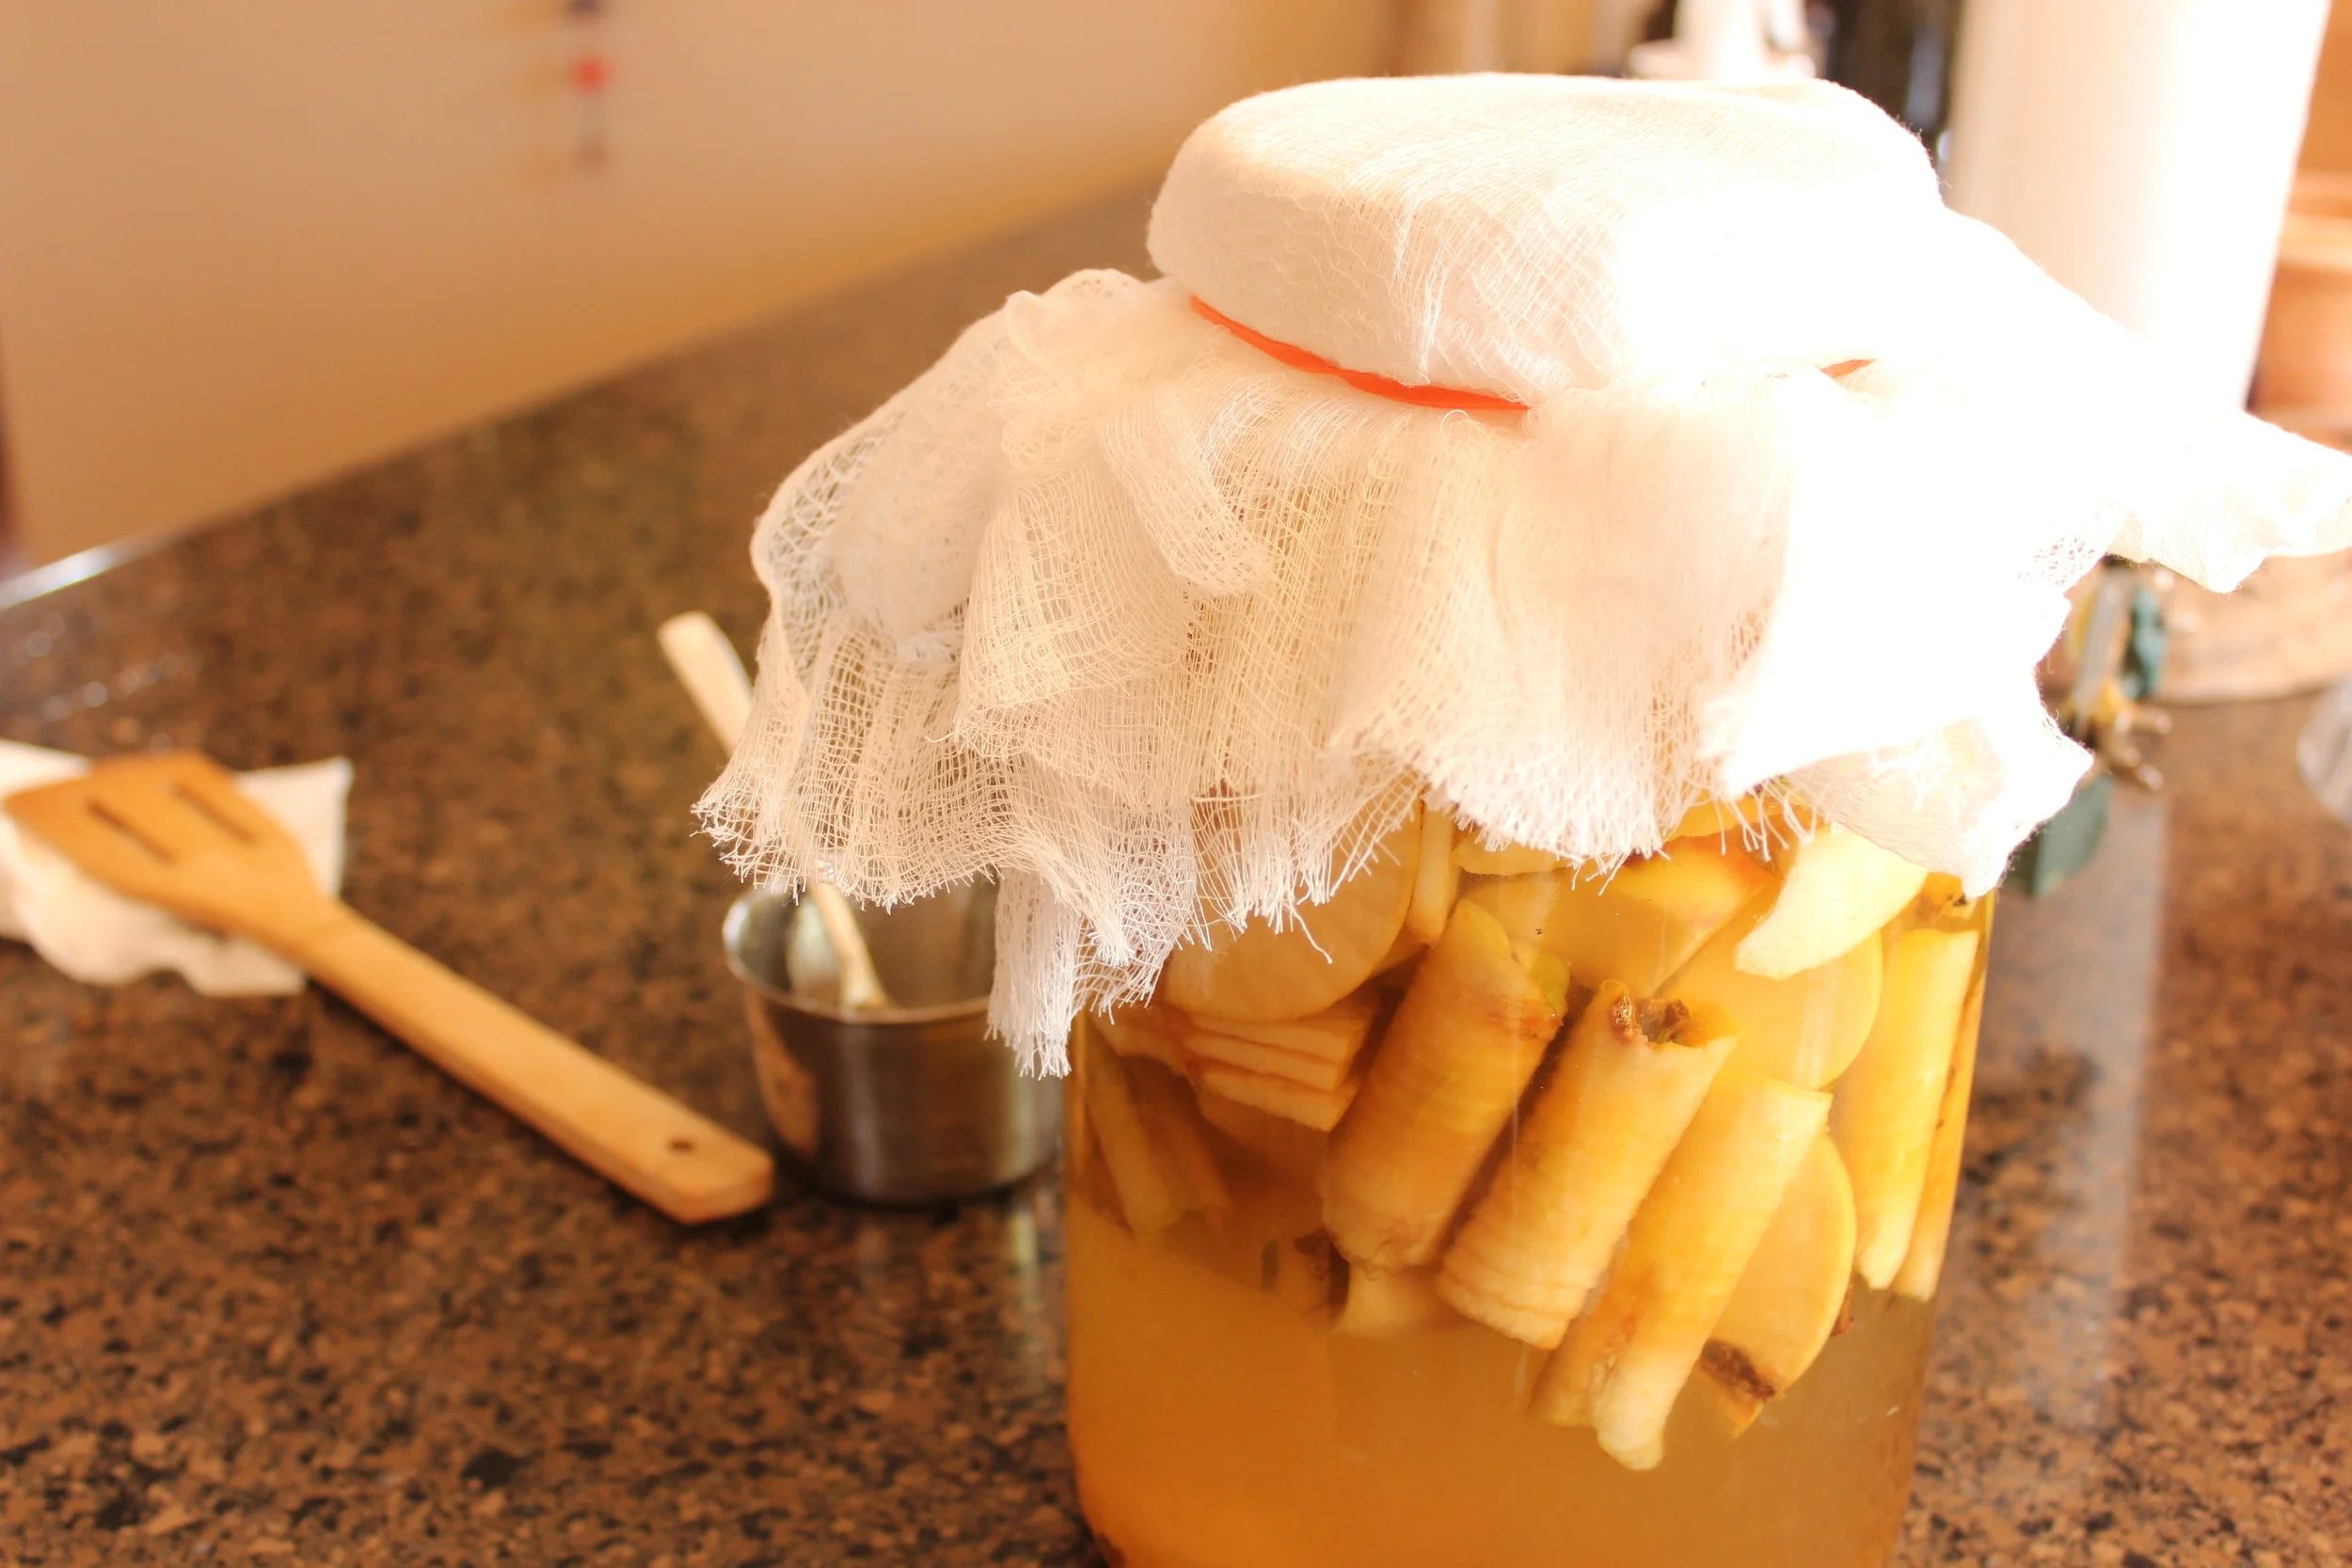
Cover with a few layers of cheesecloth and a rubber band to keep out any little invaders and let sit for about two weeks! You will start to see bubbles frothing at the top! That's a great sign.
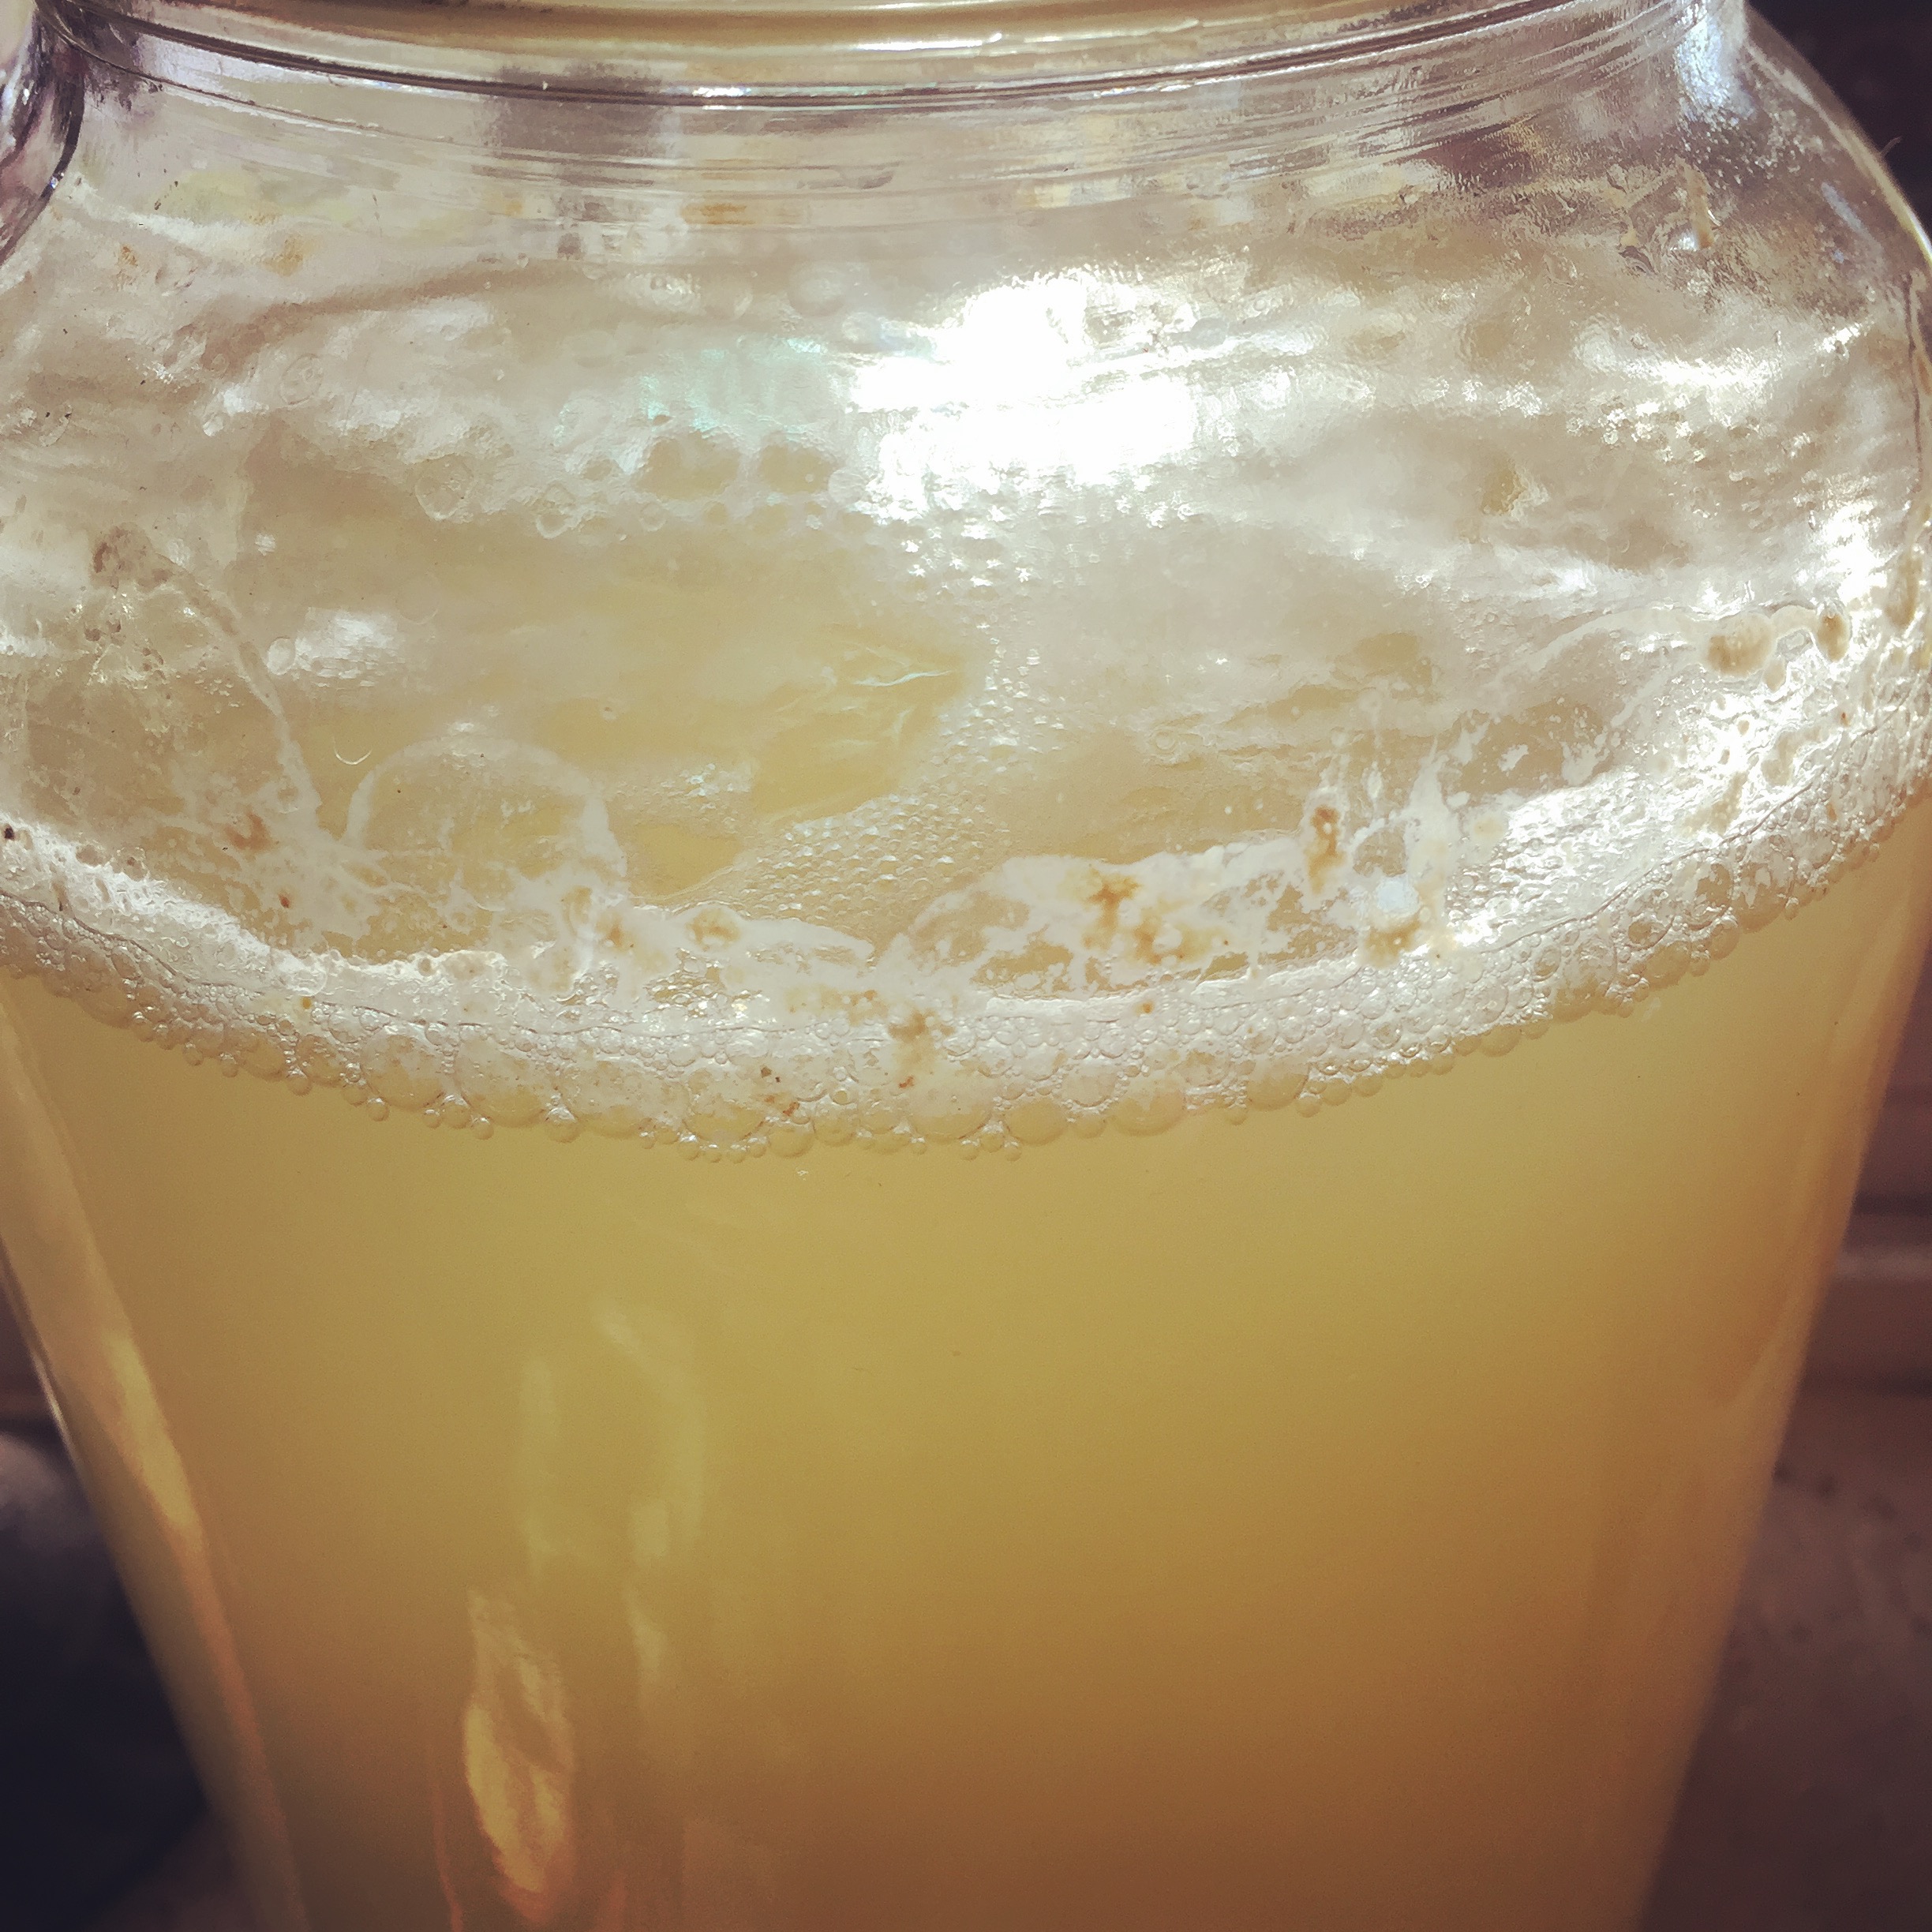
Here it is about three weeks later. I strained out the apples at the two week mark, then covered again. You should be able to smell a nice vinegar smell starting!
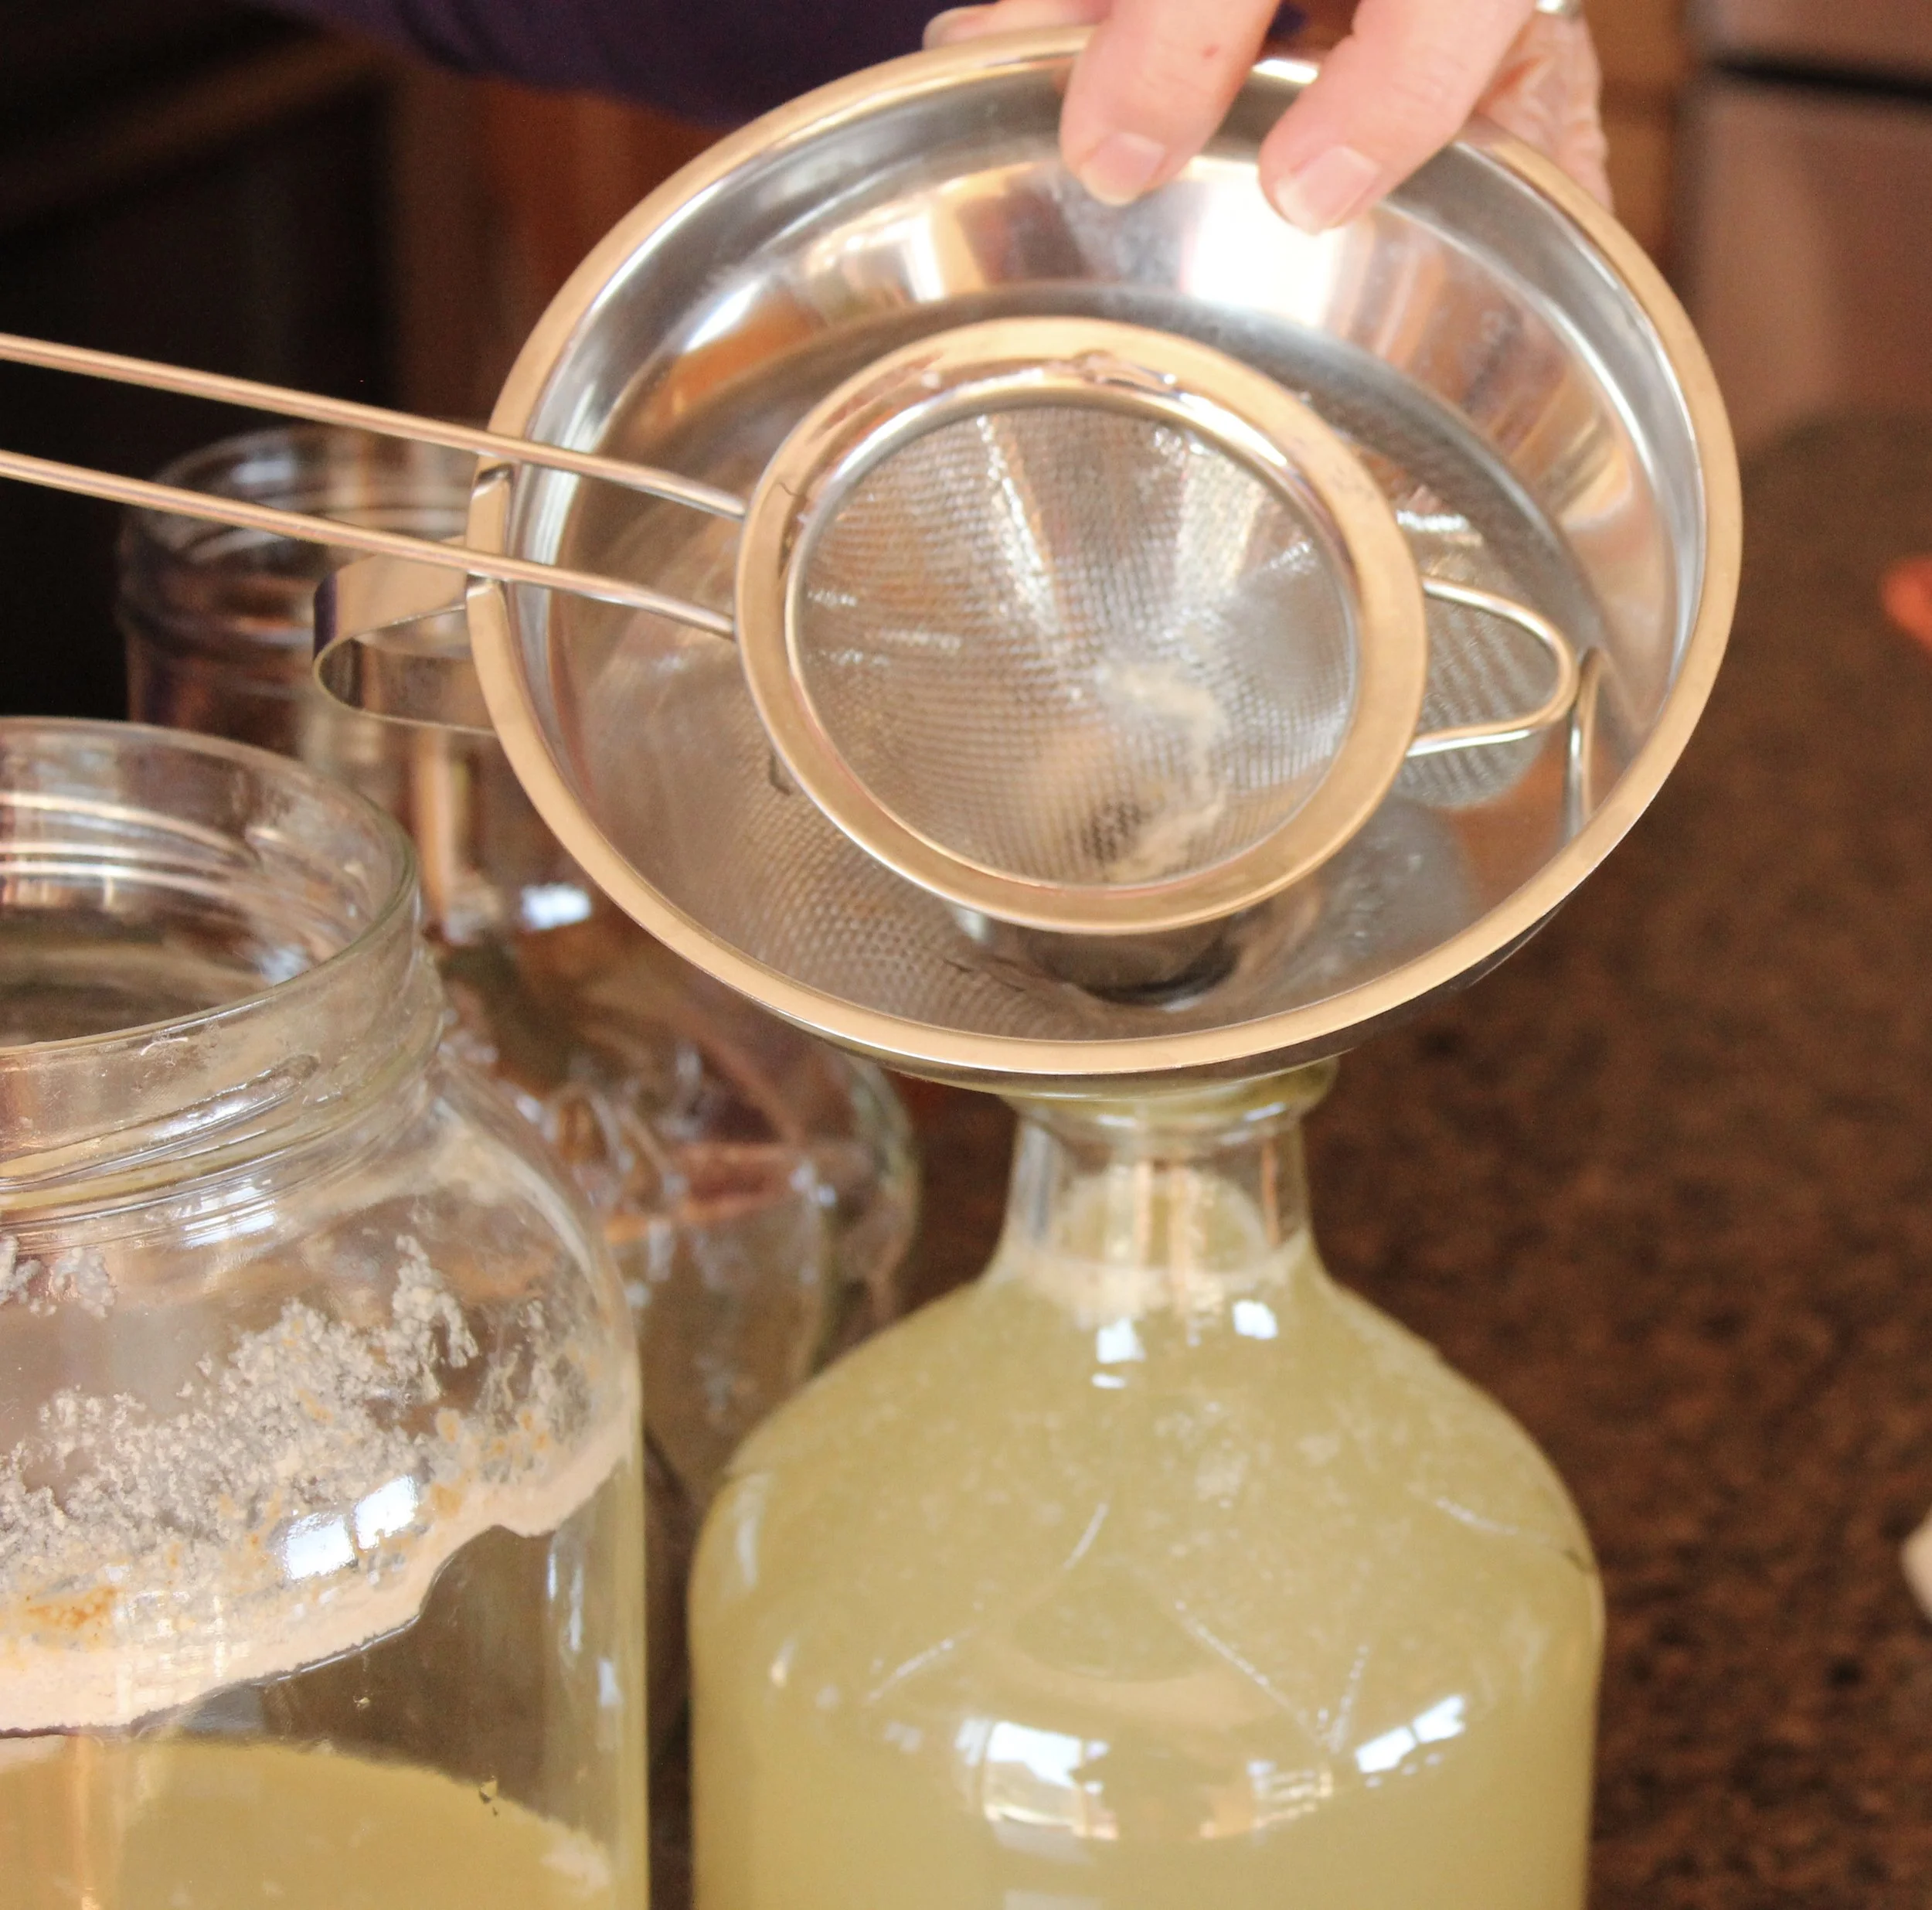
Here is the set up I used to strain out most of the "mother." (The "mother" consists of the bacteria and yeasts that ferment the liquid.) It's basically a small strainer inside a larger funnel. If you really wanted a fine-strained liquid--I'd lay a few layers of cheesecloth over the stop of the strainer too. I want a little more fermentation, so I'm not worrying about it.
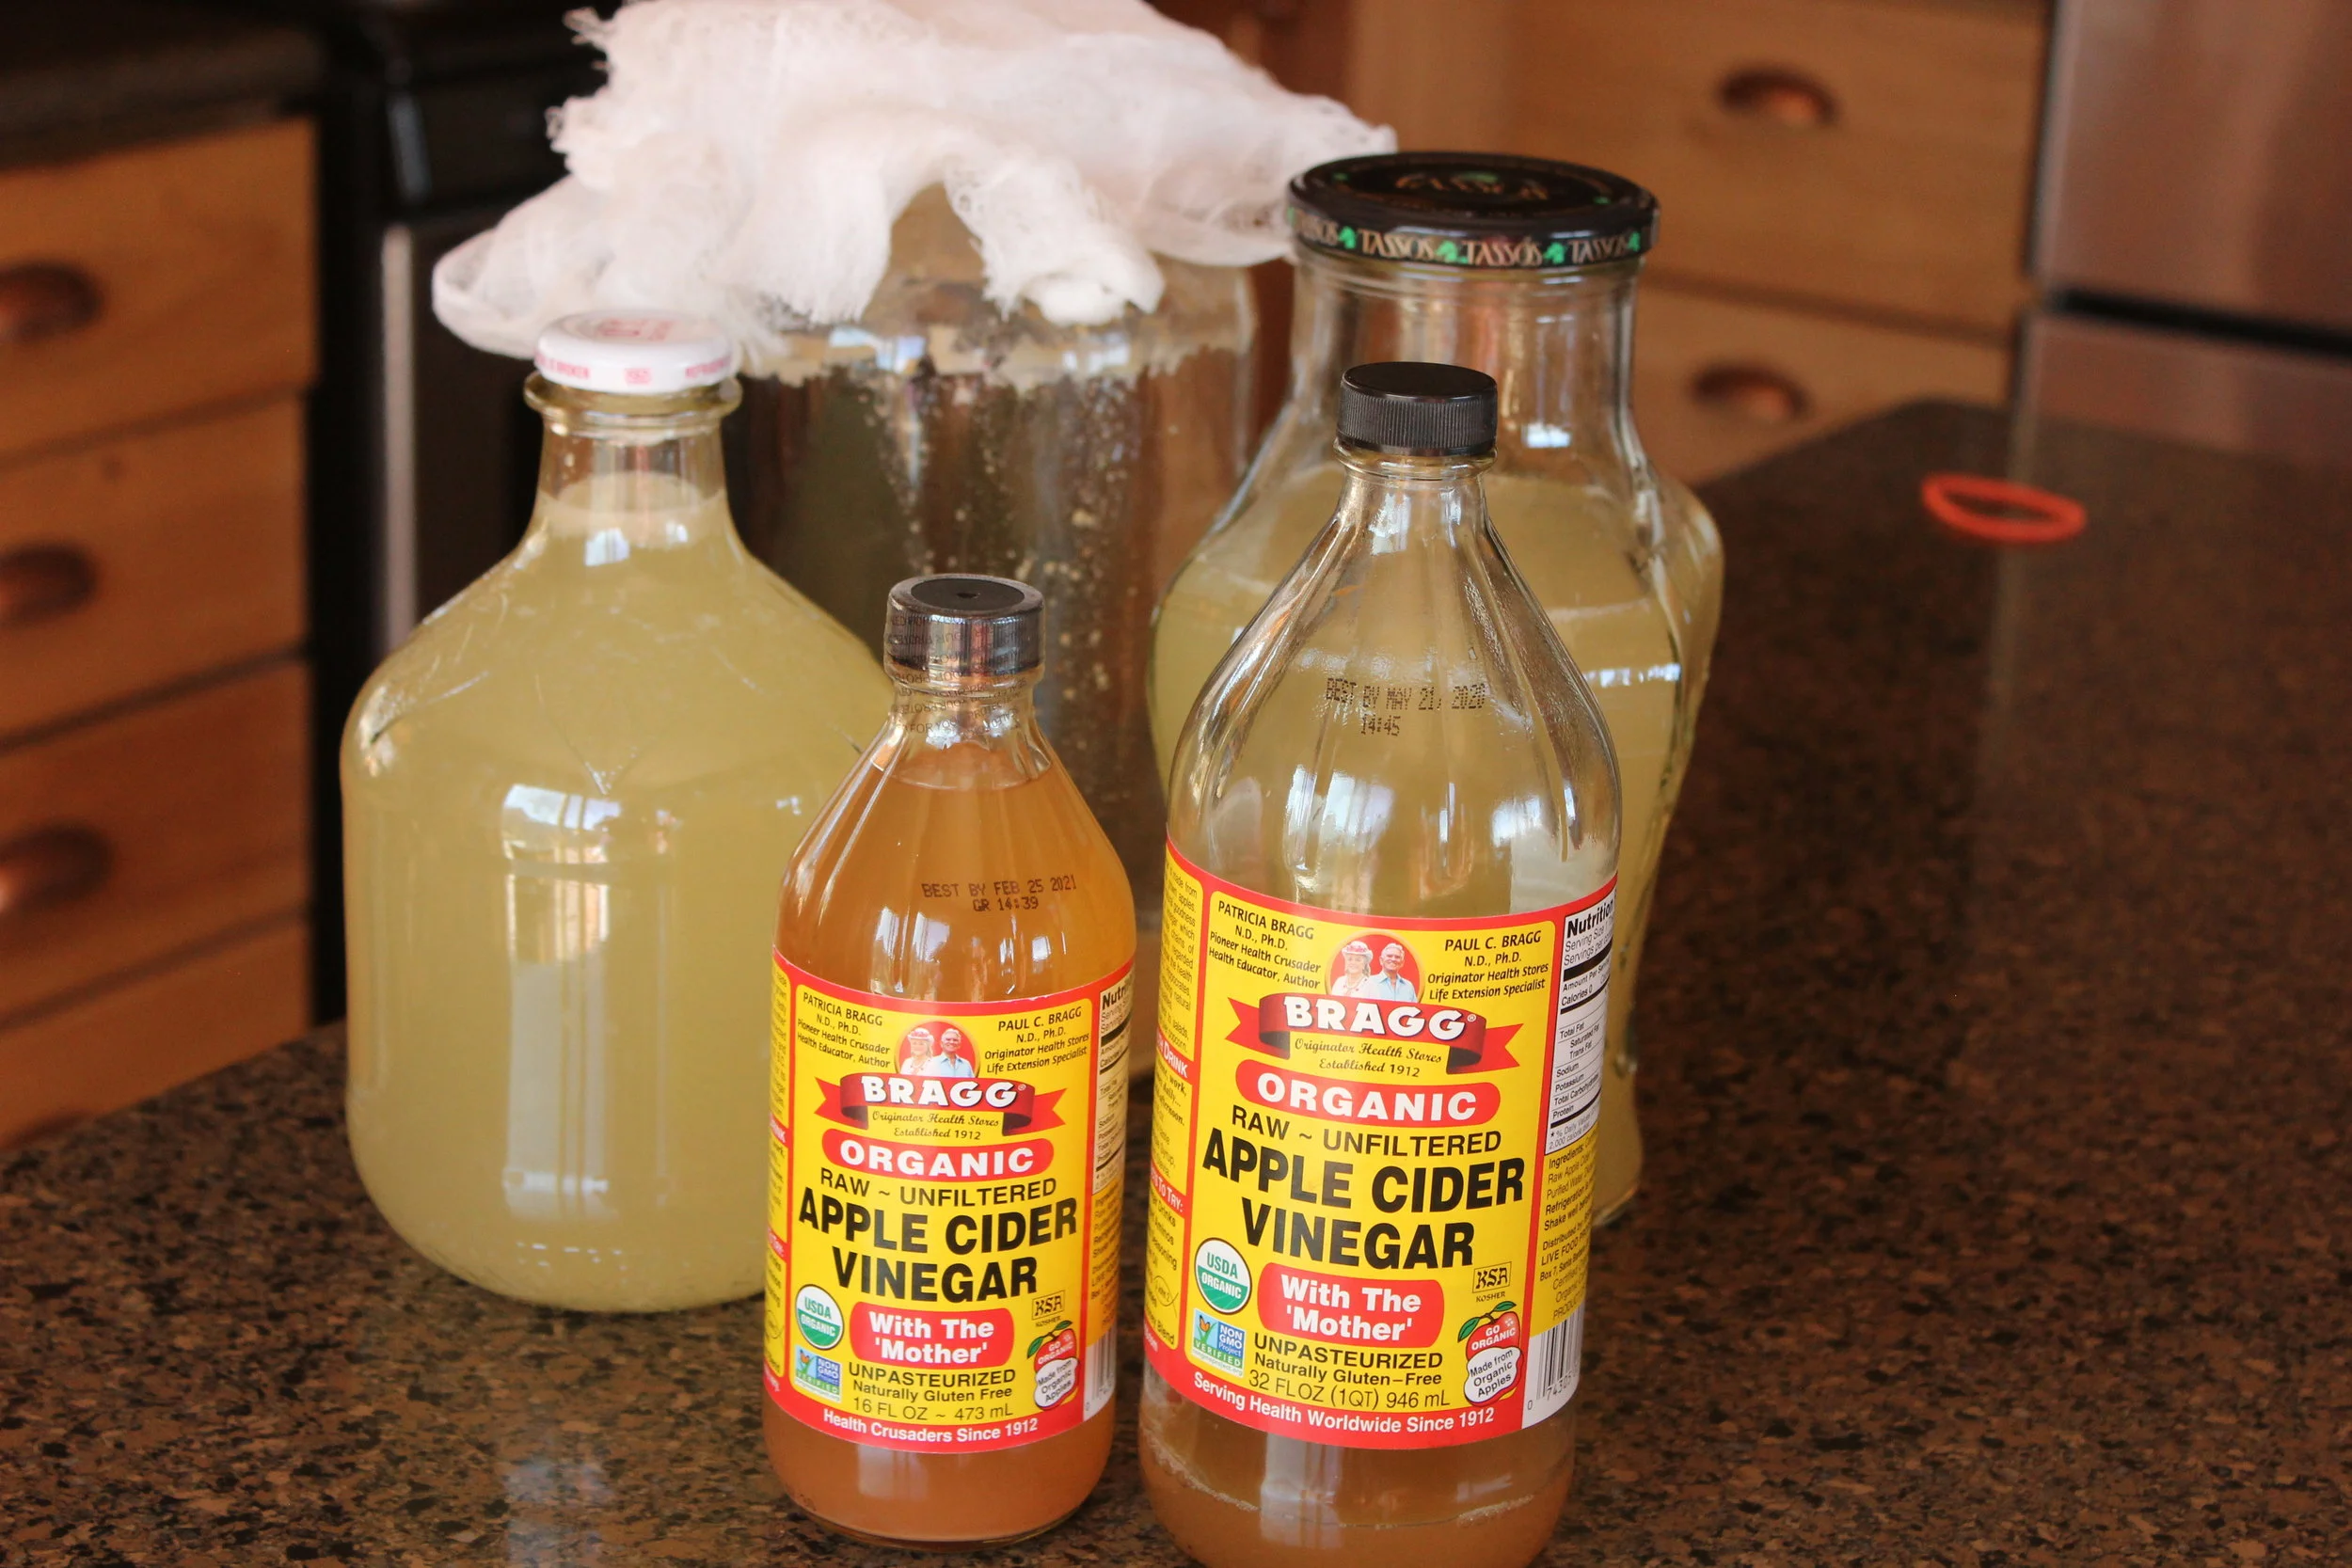
This picture shows the two half-gallons of raw ACV I got from my ferment. I'm also showing a liter bottle and a half-liter bottle of Bragg's raw ACV. Note that the cost of the 16 ounce bottle is about $4.00, and the 32 ounce bottle is nearly $7.00. I made a gallon of excellent raw ACV for almost nothing! Plus, mine tastes a LOT better (imho).
I hope you'll give making your own raw ACV a go! It's been worth it for us! I'm looking forward to next Fall and more apples! Let me know what you think! :-)
Hugs and Self-Reliance!
Heidi
P.S. I sure hope you'll sign up for the Newsletter! You’ll never miss a thing, and you’ll get immediate free access to the Resource Library! It’s a growing resource library with short eBooks, guides, cheat sheets, checklists, and lots more to support your self-reliance and homesteading journey!
Just complete the form below:
Don't you just love organic Apple Cider Vinegar with the Mother? I sure do! It's great for so very many health benefits! I have spent years buying the very expensive Bragg's organic ACV, but THEN! I found out how easy it is to make your own! It takes 2-3 weeks of good fermenting time, and you will have some absolutely delicious organic ACV with the Mother! Find out how!
Resources:
DavidWolfe.com: ACV for 60 Days Eliminates These Health Problems
Mamavation: 25 Ways Apple Cider Vinegar Will Change Your Life
There may be affiliate links in this post. If you happen to click through and make any kind of purchase (not limited to the item pictured), I will receive a small commission and will be so grateful for your support of my blogging habit! This will cost you nothing extra, except the few seconds it takes to click through my site. :-) Thank you!
This post was shared on these blog hops: The Homestead Hop, The Homesteader Hop, Grandma's DIY, Our Simple Blog Hop, and the Homestead Bloggers Network.


My affiliate posts are always things I have read, experienced, and recommend, although I have not actually read this book. I added it here because it looks pretty good. Explore and let me know what you think!