
Easy Seeded Whole Wheat Bread
I've been struggling with learning to bake bread for a long time. I actually just gave up for about 30 years! No kidding! When my kids were young, I tried...but it was just too much work. And frankly, to have bread not turn out after all that hard work is disheartening.
I don't know if you are one of those natural bread bakers...but in case you're like me--I have great news! I happened upon the most awesome recipe from the Minimalist Baker and it inspired me to create a recipe that works! Every time!
I've now made this bread several times, even changed up some of the "seeds," and it always turns out perfectly! I tell you, I love this recipe and I am so grateful to Minimalist Baker for the foundation. All her recipes look fabulous!
FCT Disclosure: This article may have affiliate links scattered throughout. If you click through and make any kind of purchase, I may earn a small commission at no extra cost to you.

Here is my take on Minimalist Baker's easy recipe:
Ingredients for Easy Seeded Whole Wheat Bread
* 1 1/2 cups warm water--like tepid bath water
* 3/4 Tbsp yeast (I got mine in bulk at Costco for a nice low price!)
* 2 Tbsp honey (We use raw, local honey.)
* 1/2 Tbsp salt (Always sea salt for us)
* 2 Tbsp Flax Seed (Lots of healthy omegas in this stuff!)
* 3 3/4 cups Whole Wheat Flour (Actually the Minimalist Baker says to use 2 cups of the flour as pastry flour and 1 3/4 cups whole wheat. I didn't have and pastry flour---so just used whole wheat only. It turned out great! I'll probably experiment with the pastry flour and wheat flour mixture at some point.)
* 1 Tbsp Sunflower or Pepita Seeds (Or what the heck? Use both!)
* 2 Tbsp Hemp Seed
* 1/2 Tbsp Chia Seeds
Directions for Easy Seeded Whole Wheat Bread
Step 1)
Using a large mixing bowl, combine your yeast, honey, flax seed, salt, flour (basically everything except the unground seeds). Stir this up to make a rough dough. Don't worry! It won't be smooth--just sticky, and that's fine. Knead it a little bit until it no longer sticks to the sides of the bowl. You can add a little extra flour if you need to, but don't worry about it too much.

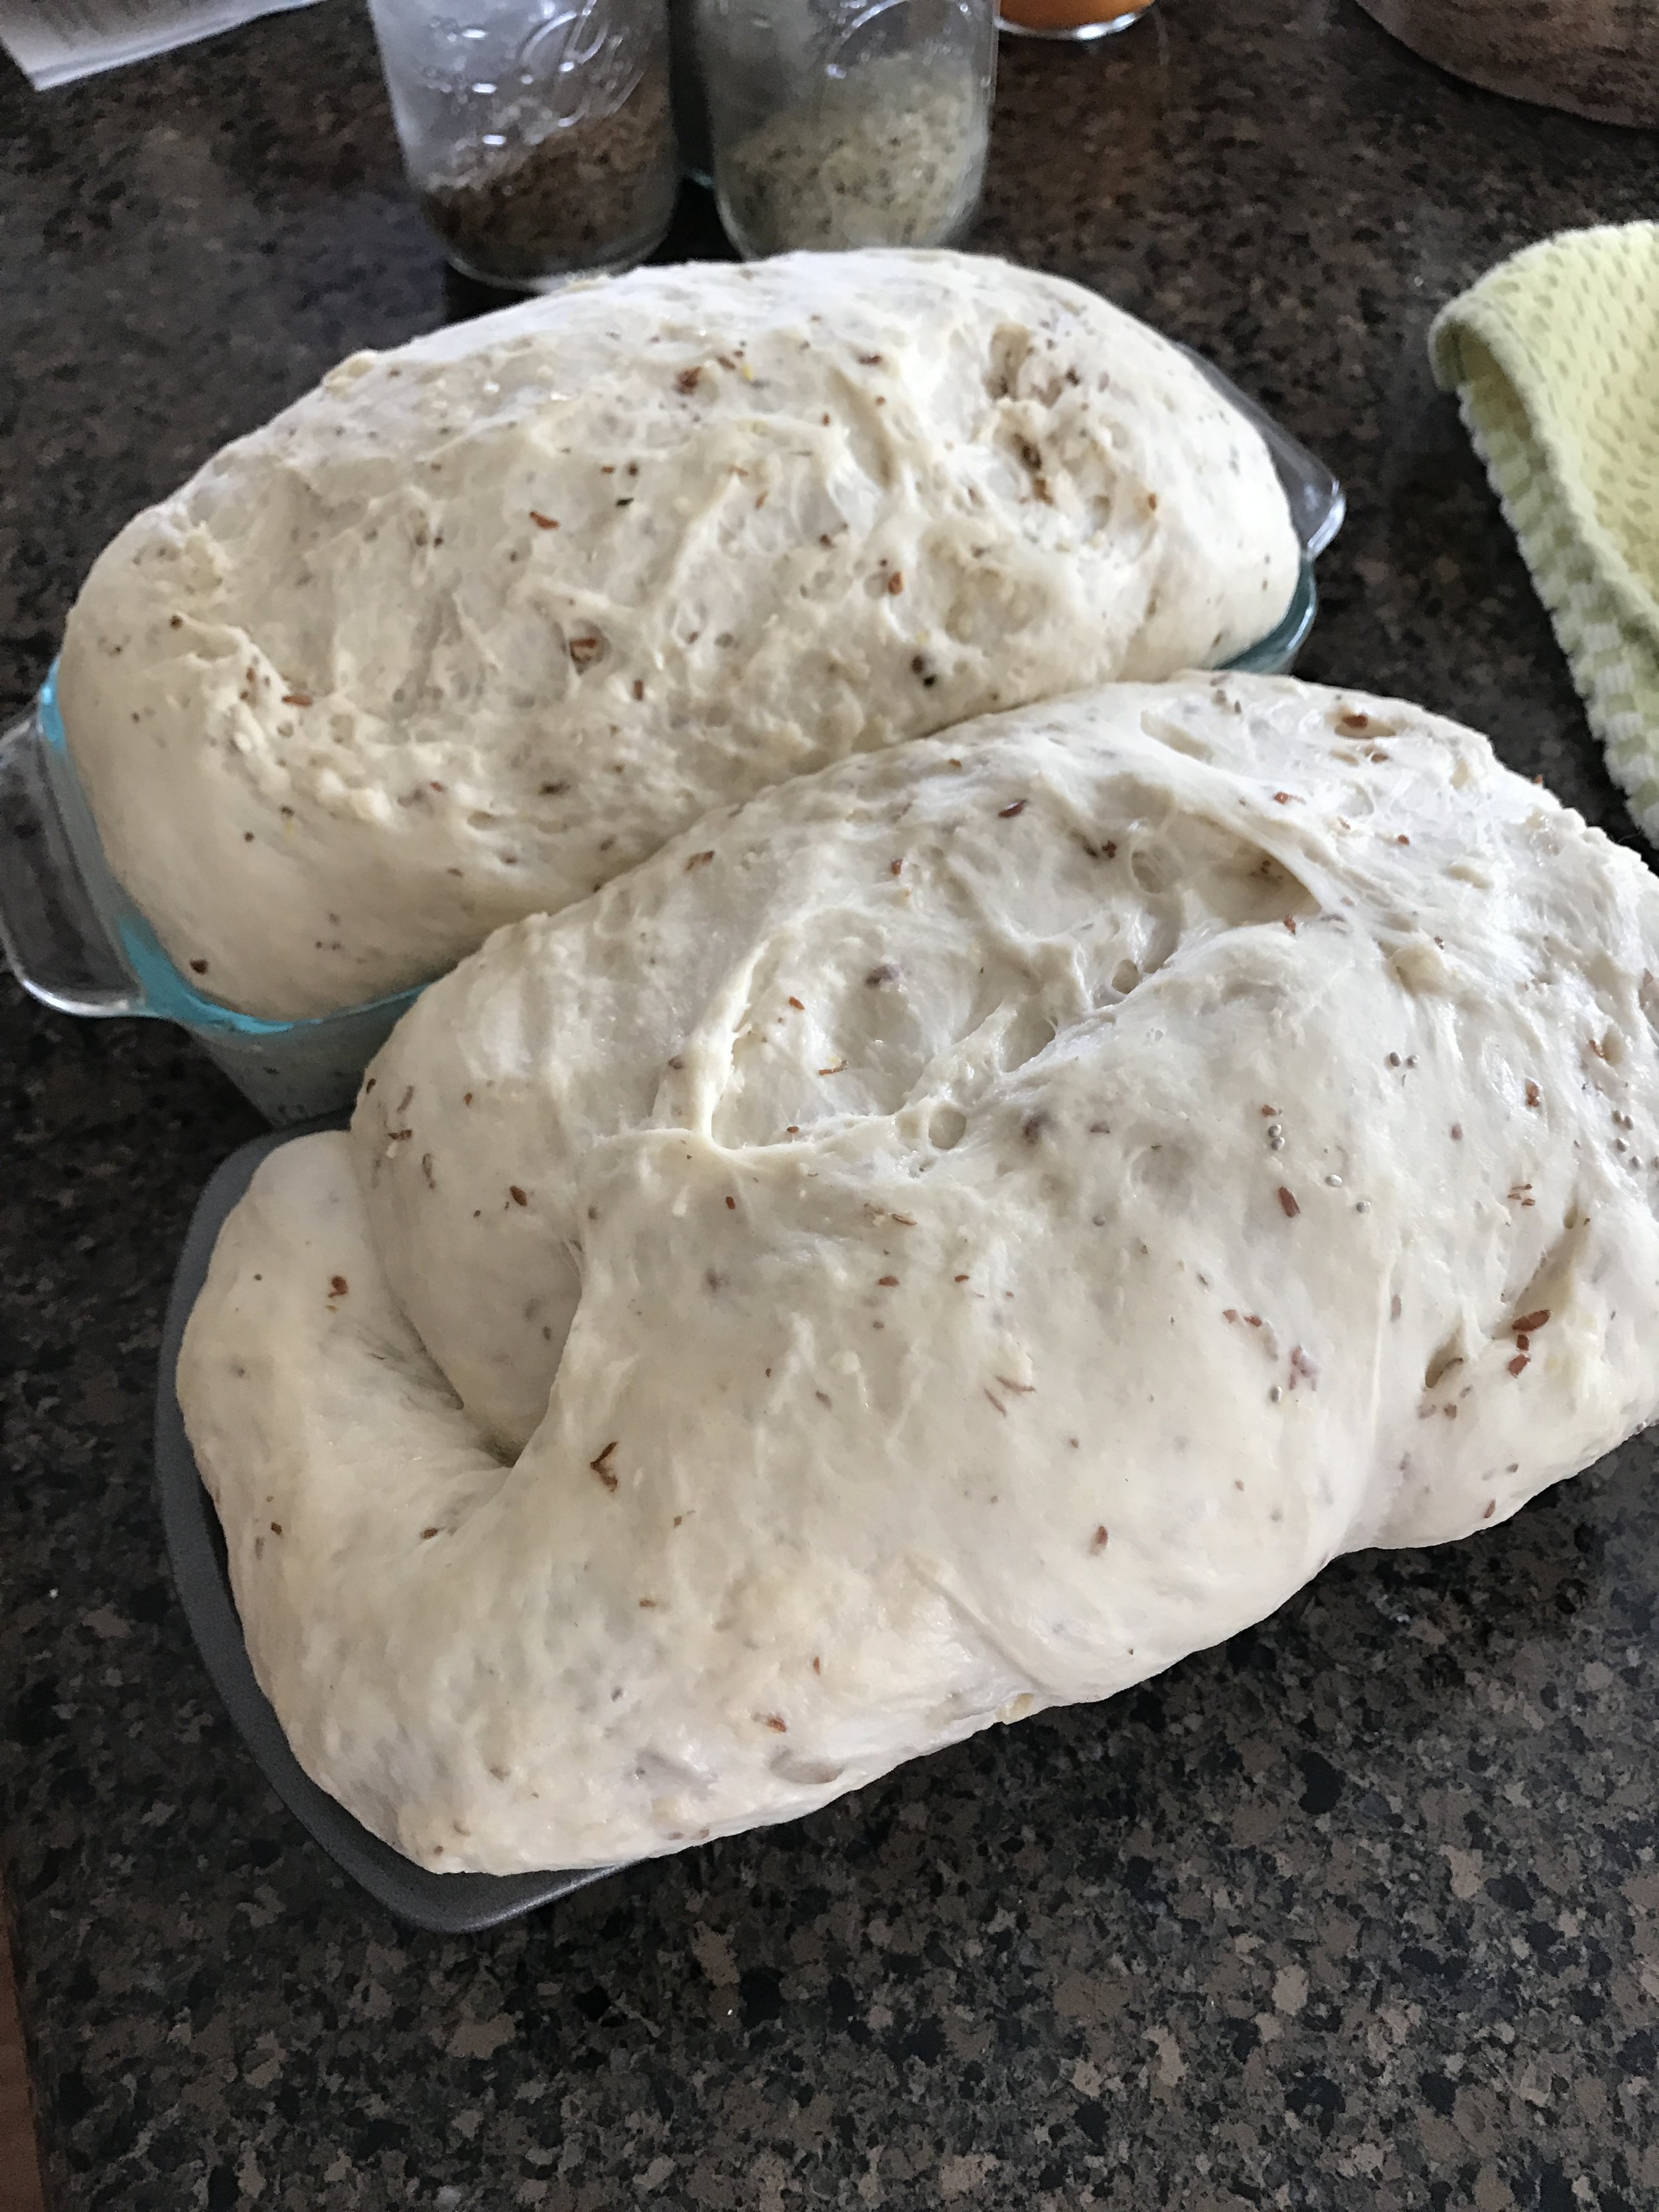
I'm making two batches here---I know this is probably kind of dumb--- but until I get more confident with my bread making skills, I'll do it this way--separating the batches. Maybe next time, I'll just double the recipe! ;-)
Step 2)
Take the dough out and grease the bowl with some olive oil. Replace the dough in the bowl, cover, and let rise for about 3 hours at room temperature---a little less if it's warm out. Then place it in the refrigerator for about an hour, up to two. In the times I have made this recipe, I have found the longer rise outside the 'fridge is best.

It's rising!
Step 3)
Now, poke 3 holes in the dough (I just used my fingers) and place the sunflower/pepita seeds, hemp seeds and chia seeds in these holes.
Put the dough on a floured surface and knead it a bit--about 15 to 20 times---just enough to create a nice elastic dough and have the seeds get mixed in fairly well.
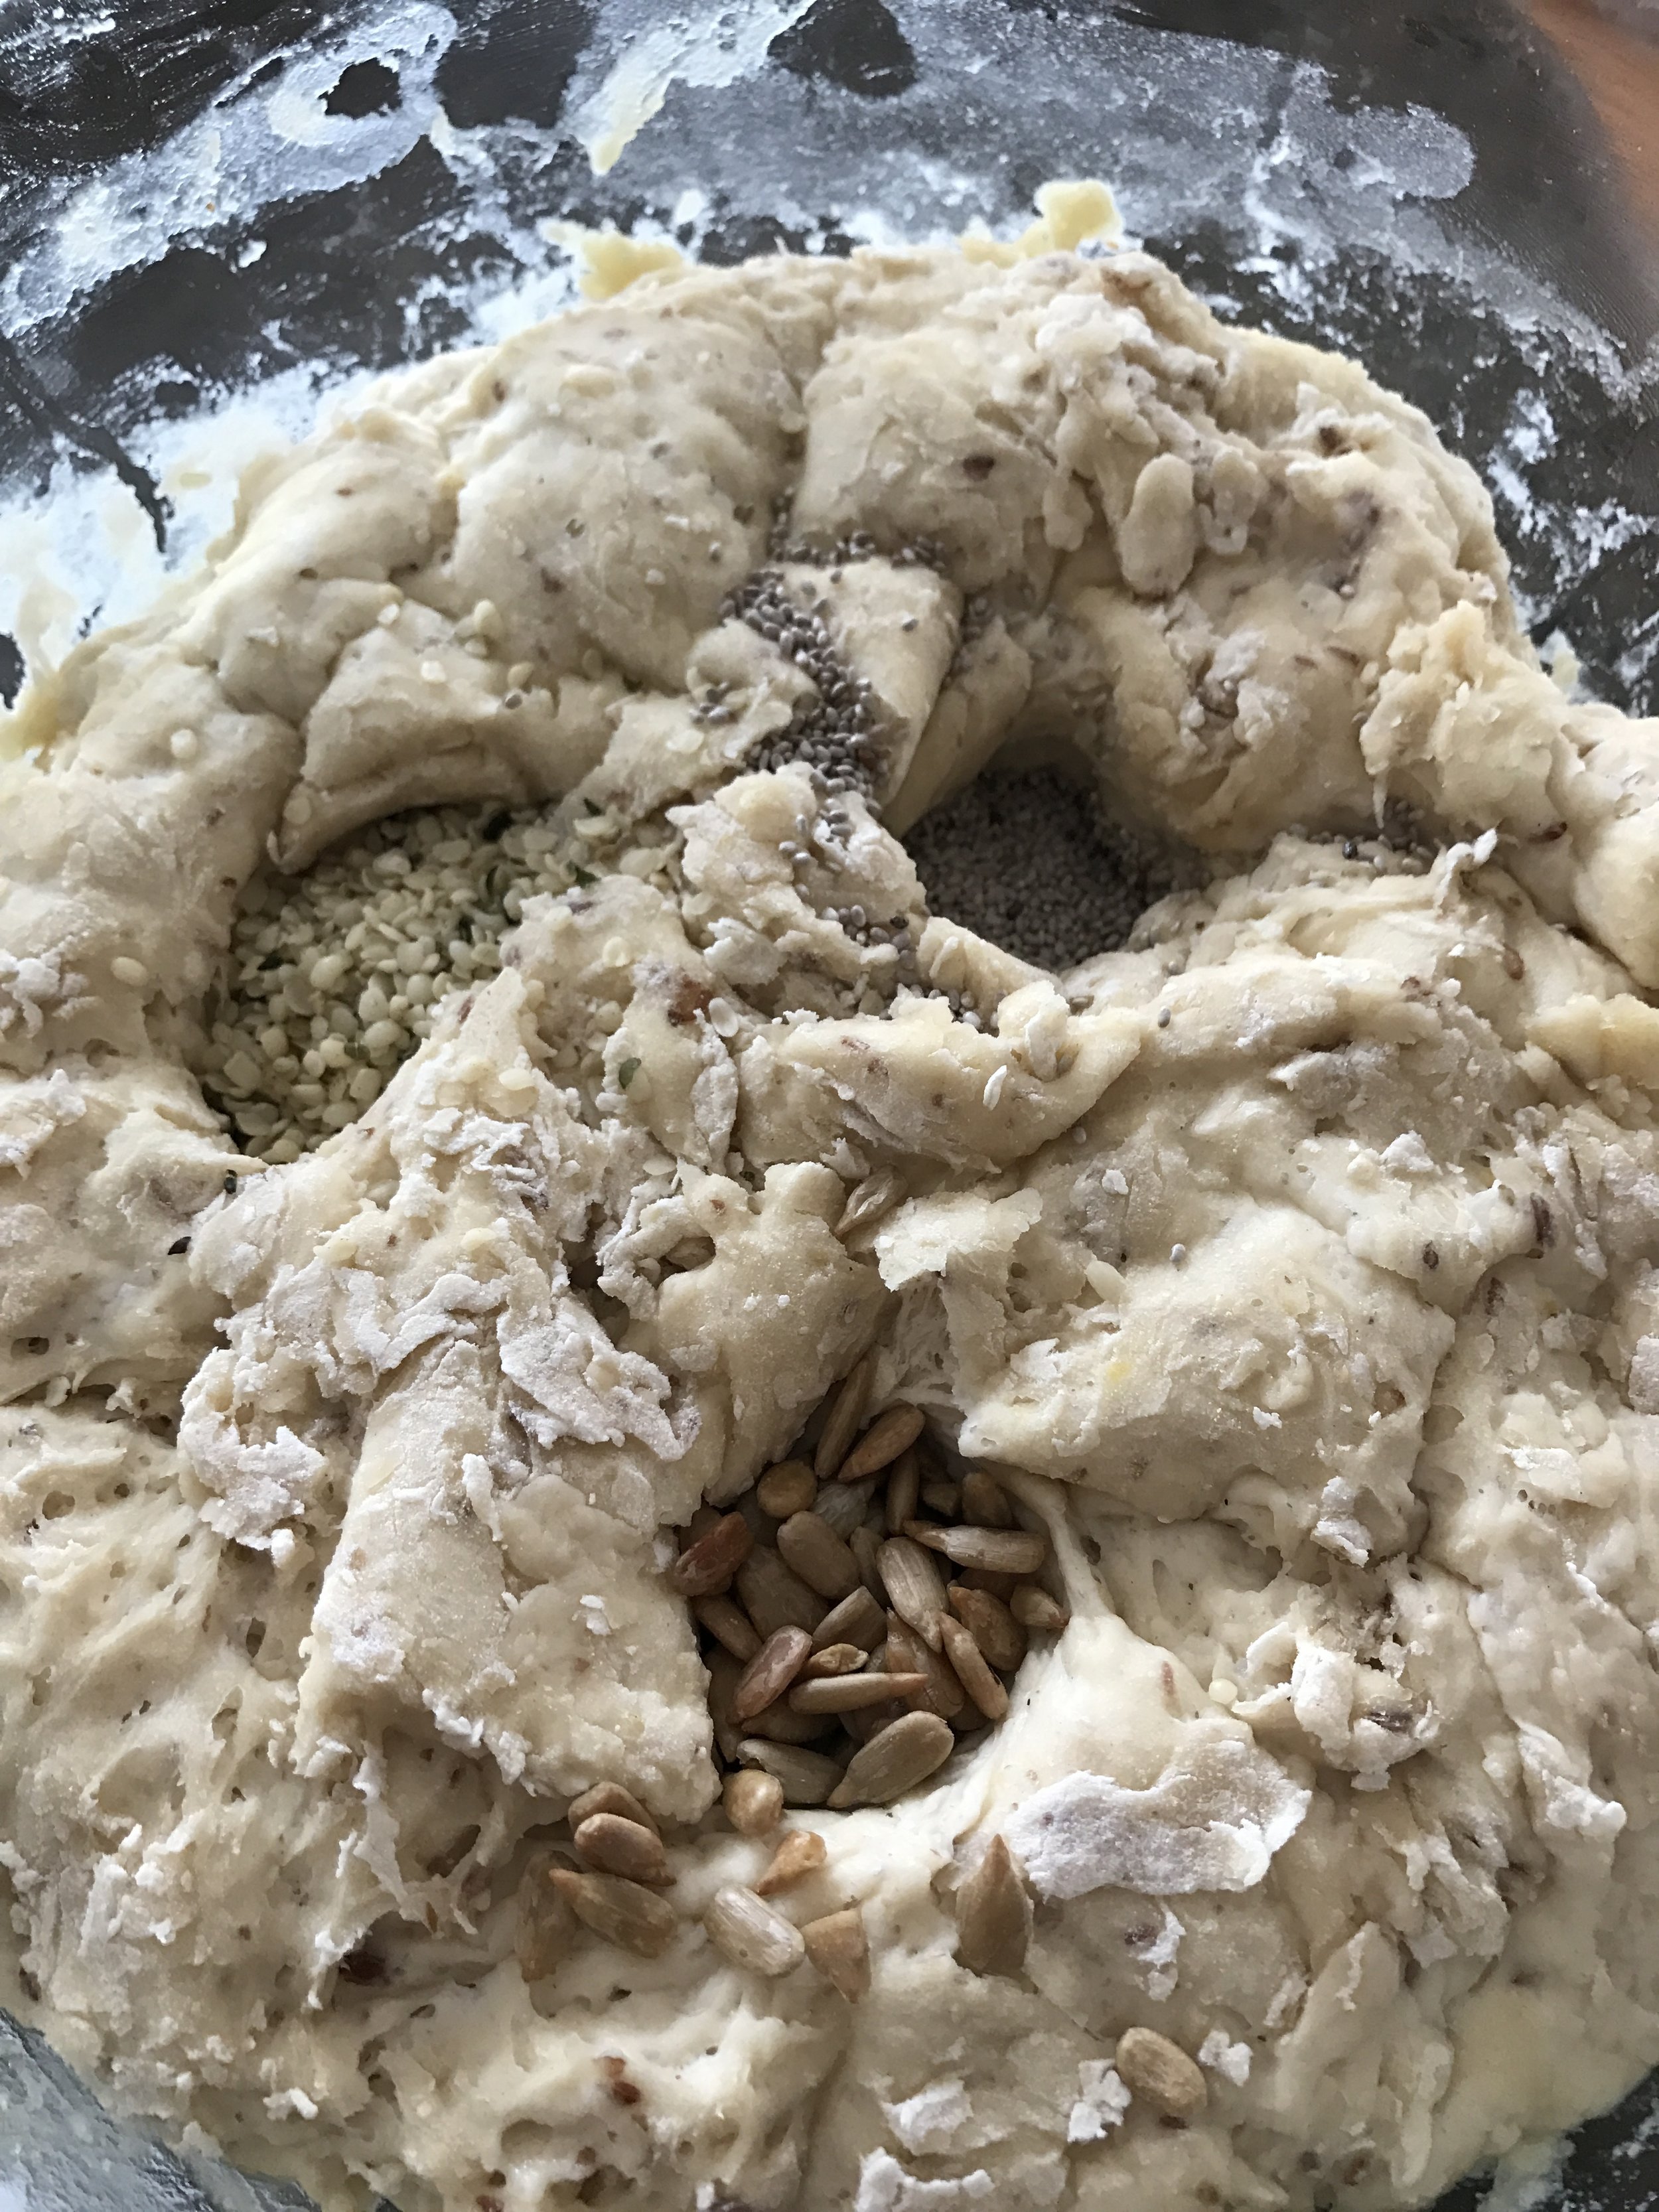
Here are the holes in the risen bread with sunflower seeds, hemp seeds, and chia seeds!
Step 4)
Place it in your greased loaf pan and cover with a kitchen cloth. Let it sit for about an hour---it will rise a lot more during this time!
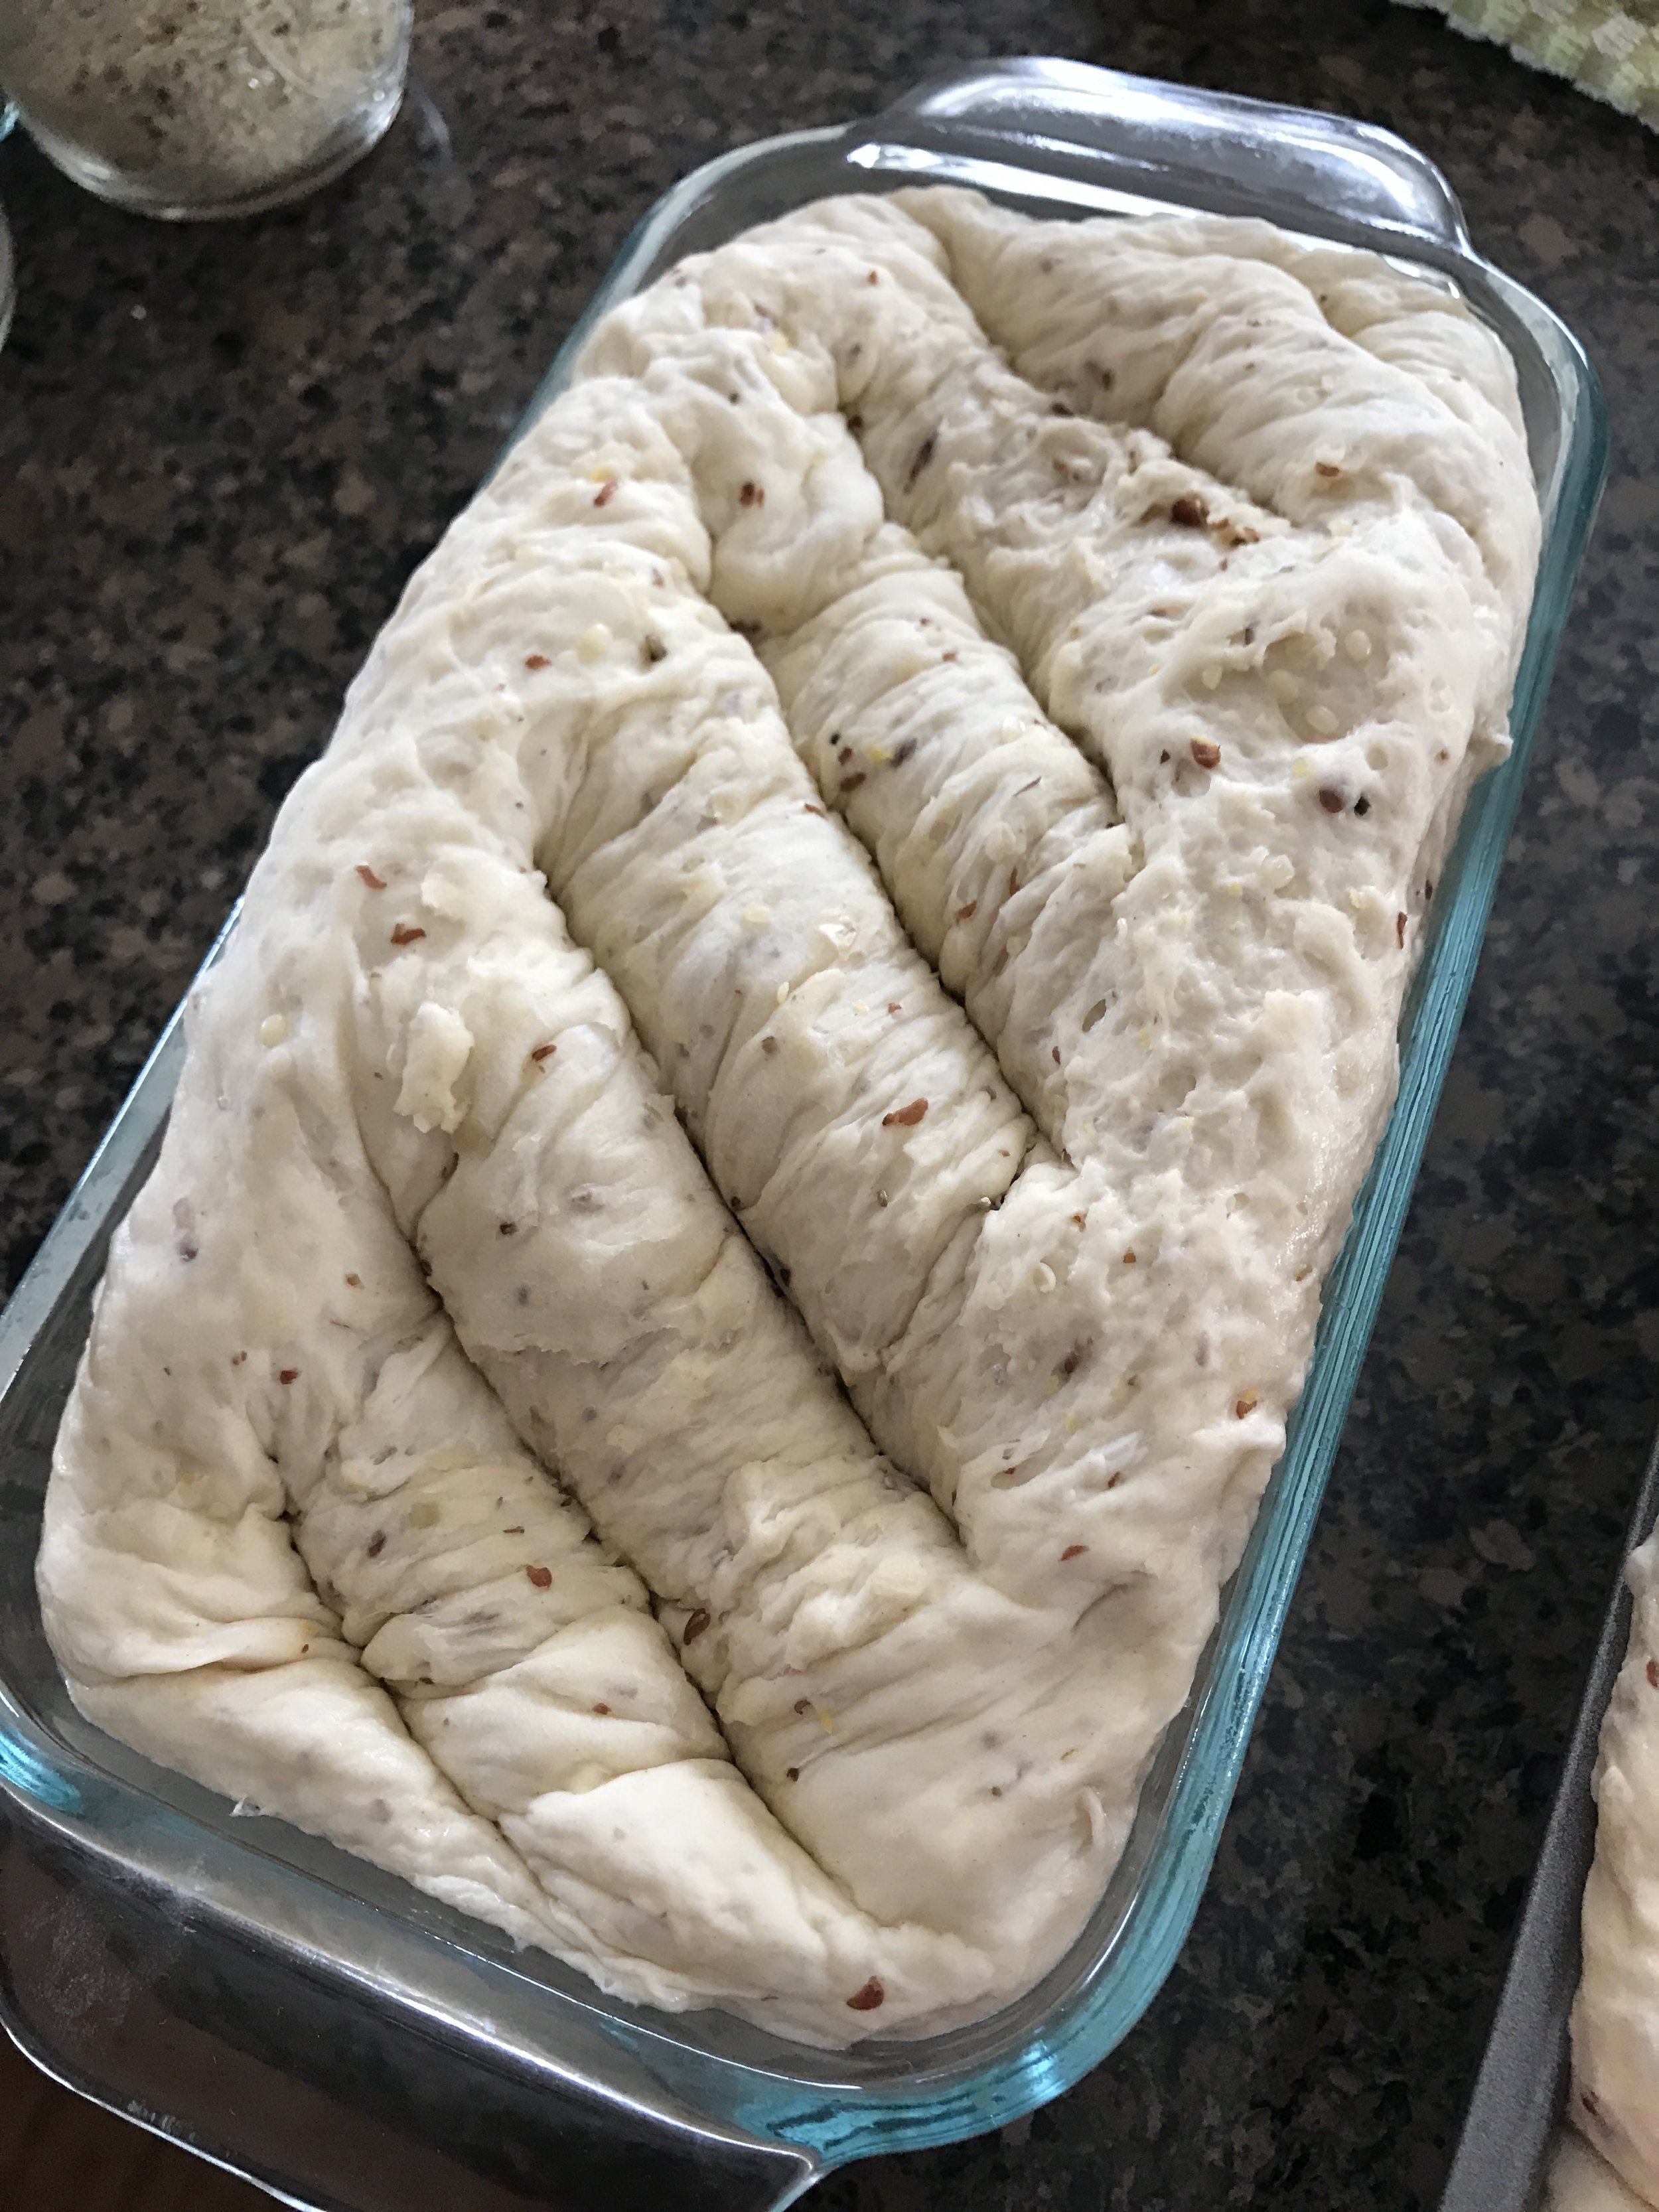
After it's risen, take a sharp knife and make some slash marks---this lets some air escape and because of the steam from the pan helps keep it moist. It really works! Plus, it makes a pretty loaf!
Look at that! I just want to eat it right now! :-)

Step 5)
Now, preheat your oven to 425 degrees. When you do this, place a METAL pan on the bottom rack. This will hold steaming water to keep the bread moist.
Place the bread pans on the middle rack. Quickly pour a cup of water into the metal pan. Don't worry! Expect it to hiss, steam, and bubble! Shut that oven door!
Step 6)
Bake for about 25 to 35 minutes, checking after 25 minutes. The bread will be golden brown and beautiful!

This bread is lovely: soft, tasty, firm, and absolutely delicious! I've tried this a few different times in a few different ways, and this way turns out great every time!

My husband and I ate a whole loaf yesterday! Yikes! Better be careful with this stuff! :-) It's seriously really good---and since I had no trouble with it, it must be very forgiving!
Let me know if you give this a try, and you might want to check out the Minimalist Baker website. I'll be trying more of her recipes.
You might also enjoy these bread baking recipes:
Vintage White Bread from the 1600’s
How to Make the Perfect Buttermilk Biscuits Every Time
And lots more on the blog! Go over and explore!
Hugs, Health, and Self-Reliance!
Heidi
P.S. Don't forget to sign up for the Newsletter, and never miss a thing!