
Chamomile Ale (Beer) Recipe---Create Your Own Herbal Home Brew!
Ales (beer) have been around for literally thousands of years, and most of these ancient recipes called for using herbs. In this manner, they became "healing" in nature. Since they are also a fermented drink, they are good for you in terms of gut health too.
My Chamomile Ale was inspired by a recipe from the book by Harold Buhner's book, Sacred Herbal Healing Beers. This recipe is several hundred years old and involves using Chamomile. Chamomile is a relaxant, is great for helping with anxiety and soothing nerves.
It also helps solve sleep issues and is calming in the evening. It's a delicious little herb, too, with a honey-like sweetness. Here's how to make Chamomile Ale!

Recipes for Chamomile Ale have been around for hundreds of years! Learn how to make your own herbal Chamomile Home Brewed Beer.
FTC Disclosure: There are affiliate links scattered throughout this article, and if you click through one and make any type of purchase, I may earn a small commission at no extra cost to you!
How to Make Chamomile Beer (Ale)
**See below for lots of pictures! I love pictures---they really help out sometimes!
What You'll Need to Brew Your Own Beer
1) A carboy (jug). (This link is for a carboy that includes the airlock and stopper too.) I used a gallon for this recipe, since I've never made it before!
2) An airlock and a bung (stopper) that fits securely on the opening of the carboy
3) A siphon for bottling your brew
4) A funnel and strainer for pouring the wort (sugared tea) into the carboy and making sure the herbs are strained out of the liquid.
5) Bottles.
I prefer the Grolsch swing top types. They are a little more expensive than the bottles you have to cap by hand, but I find they are well worth it, since you can easily reuse them. If you don't want to purchase swing top bottles, you can just purchase regular bottles. If you use regular bottles, you'll also need to purchase caps and a capper.
Chamomile Beer Recipe:
Ingredients:
2 or 3 ounces of Chamomile. Chamomile is quite light, so this is more than you think! (The link provided is to Starwest Botanicals, which is where I purchase my herbs.)
Juice of 2 Lemons
1 pound of cane sugar. I use organic.
1 tablespoon of molasses (optional)
A Bit About the Yeast:
I'm learning all about yeasts right now. You need yeast to eat up the sugars and cause the fermentation action to happen. Up to this point, I've used regular bread yeast with decent results. I know this is probably heresy in the beer brewing world, but it DOES work just fine.
Other recommendations I got from our local home brew store are to use Wine or Champagne yeast because these tolerate the alcohol content better and give a better taste (supposedly). So, I'm trying different variations of yeast in my brewing efforts these days. I'll have more information on that later!
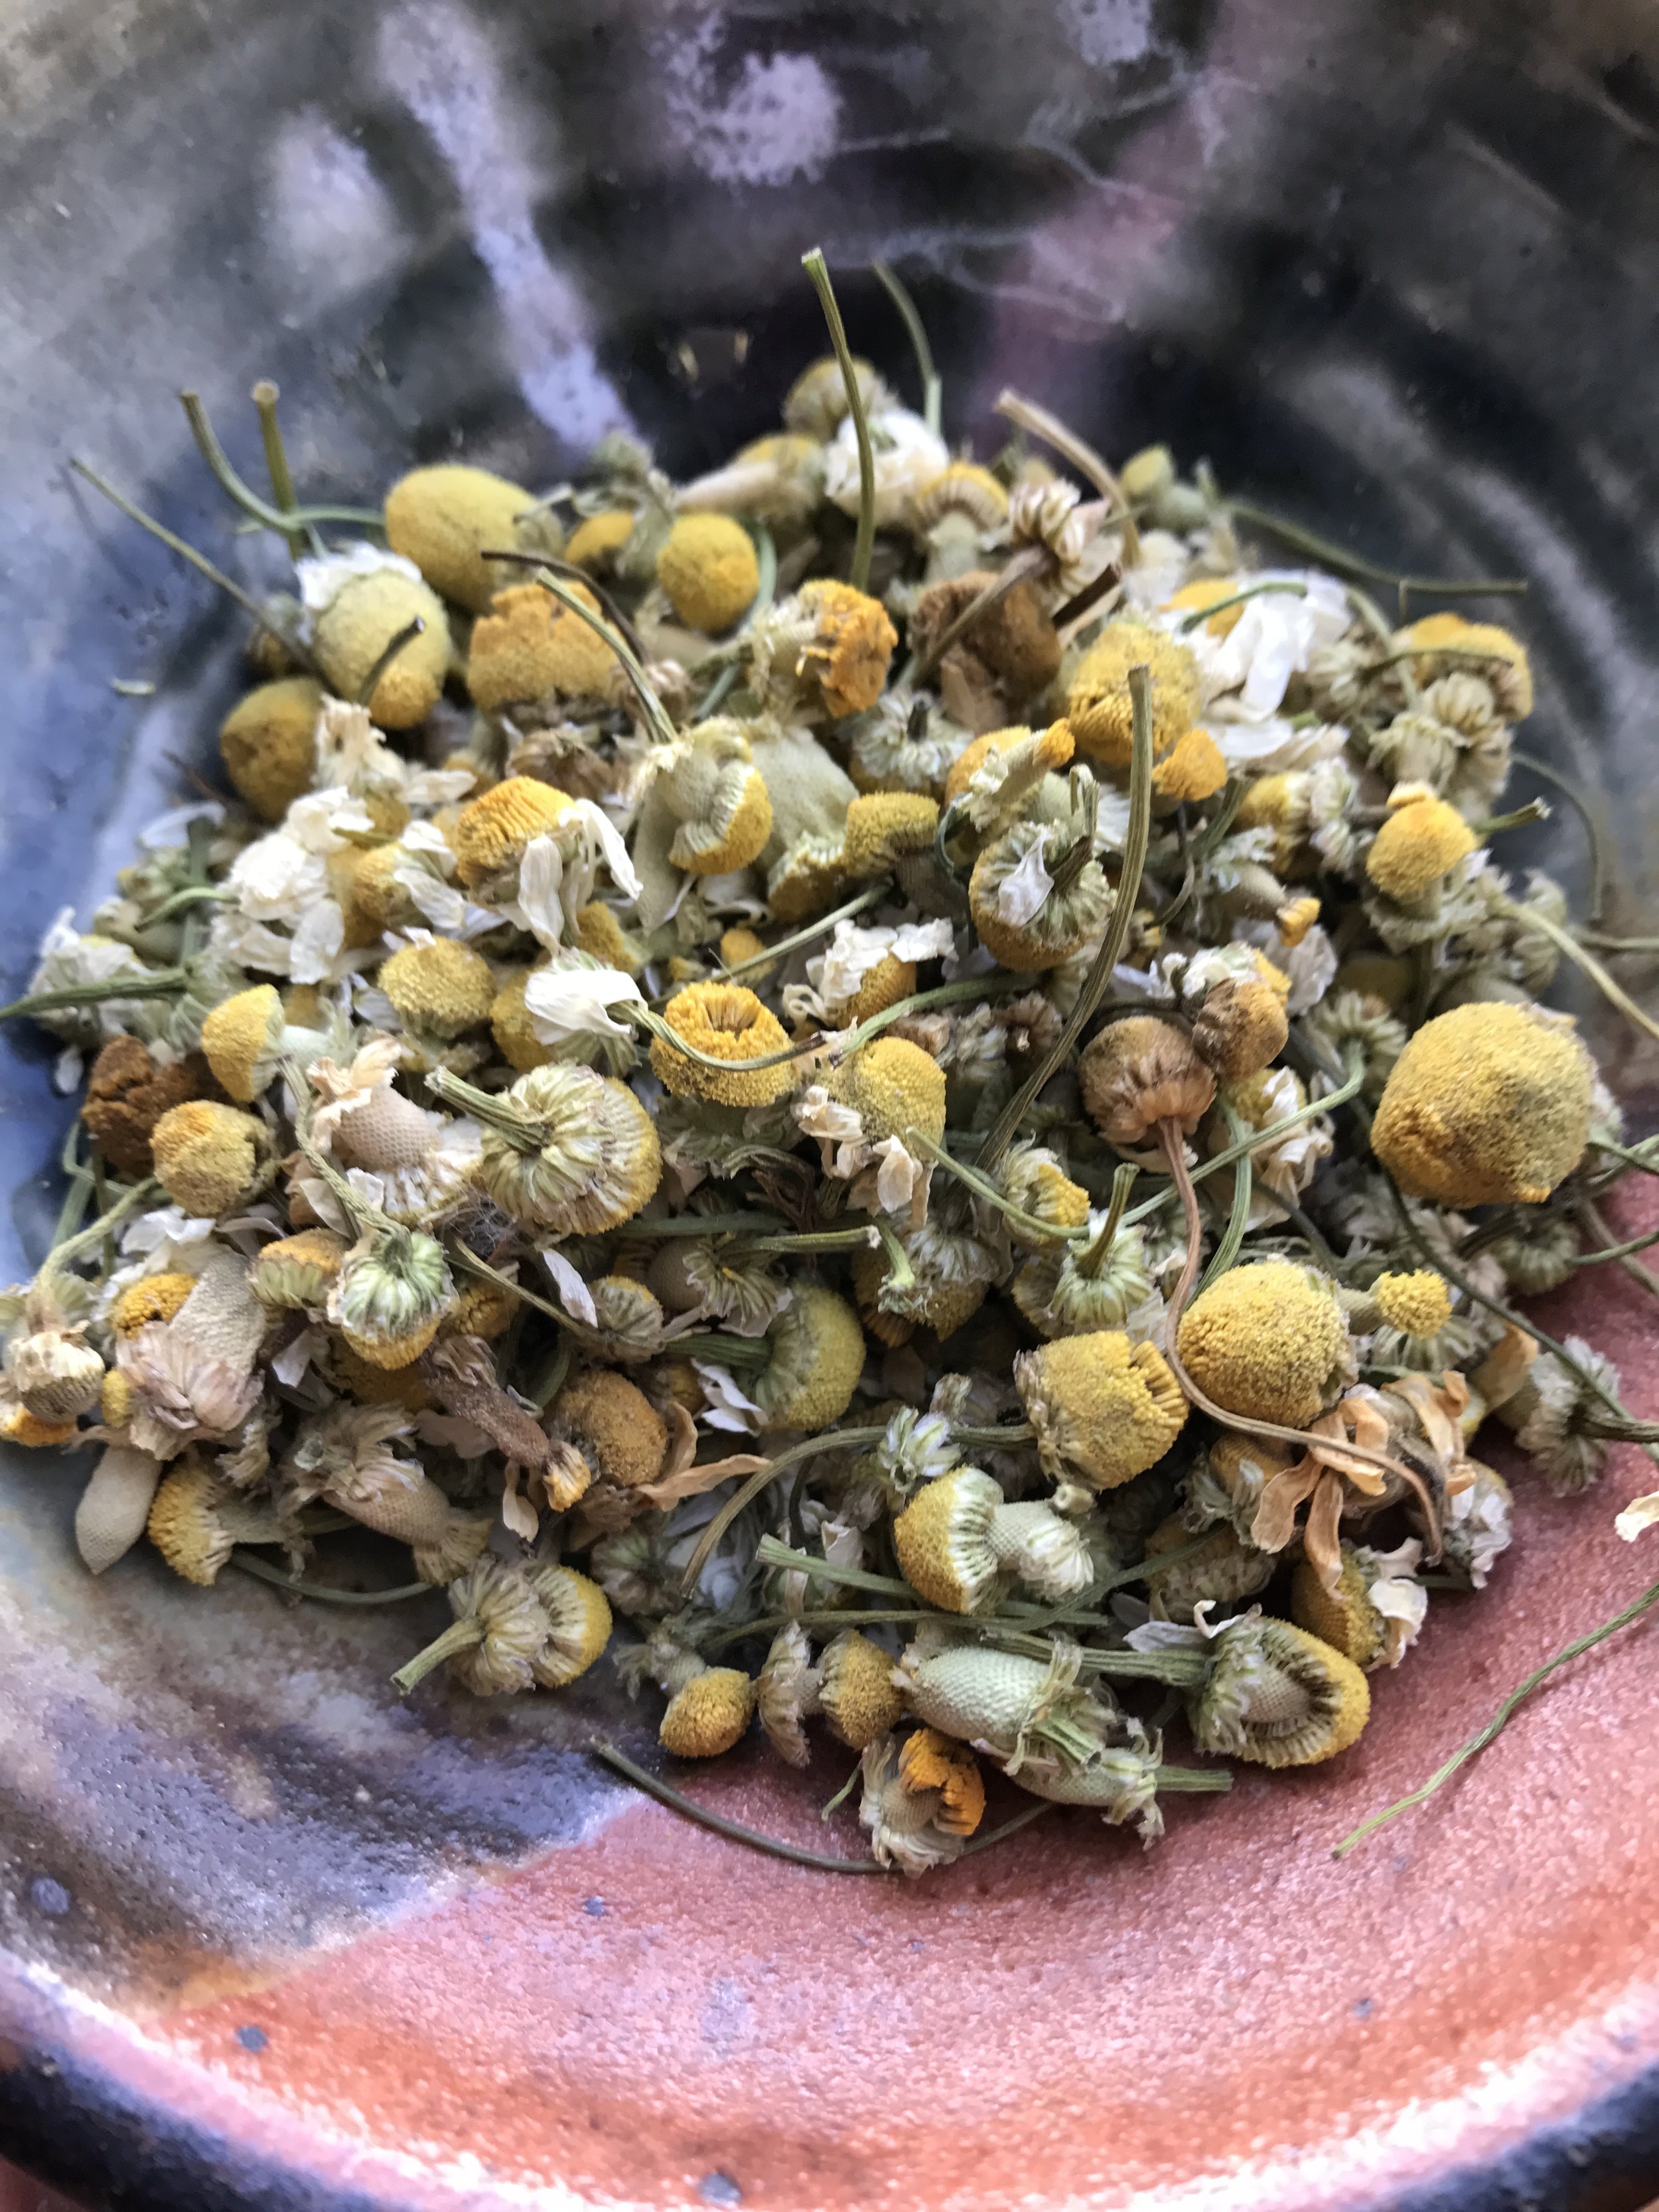
Dried Chamomile flowers.
Steps for Making Your Chamomile Beer:
Step 1) Brew your tea.
I poured about 3 quarts of water into a soup pot and brought it to a low boil. Then I stirred my Chamomile into the water and allowed to steep, covered, with the burner off, for about 30 minutes. It gave me quite a strong and dark tea.
Step 2) Pour your wort (tea) into your carboy (jug).
Place a strainer into your funnel, and place the funnel into the carboy (jug). You can strain and pour your Chamomile tea directly into your carboy this way. I ended up with about a half a jug of tea this way.
Step 3) Sugar it up!
Now pour your sugar and molasses if using into your carboy, while the tea is still hot. Put a lid on the carboy and gently shake/stir it until the sugar is dissolved into the hot liquid.
Step 4) Squeeze in your lemon juice.
Step 5) Fill up your carboy
Pour distilled water (I actually just use our tap water, which comes from a well) into the carboy. I pour up to the point where the jug begins to curve. You can pour your liquid higher than that, but I like to be sure to leave room for the bubbles and gases during the fermentation process.
Step 6) Lock it up!
Attach your bung and airlock to the top of the carboy. This allows the fermentation process to happen without worry about mold while allowing the gases to escape.
Step 7) Let it sit and ferment away!
Allow to ferment for about two weeks, or a day or two after the liquid has completely stopped bubbling---even little bubbles. It should be still.
Step 8) Bottle up your brew
Now it's time to bottle and store your brew!
Note: Prime your bottles first.
**Prime bottles by adding about 1/2 teaspoon of sugar to the bottles. This will create the carbonation everyone loves because your brew will ferment even more after you bottle it up!
**Using your siphon, fill your bottles to the curve. (Again, I'm conservative here. I like to leave plenty of room for the gases---because they WILL build up!)
Cap your bottles and store away for at least another week and up to a year in a cool, dark place.
Enjoy!
**A note about safety: Bottles of fermenting beer or ale can potentially explode! Be sure you are using bottles meant for holding beer or ale. Keep them stored in a cool, dark place, and just be aware that they could possibly be holding a lot of pressure inside them. I haven't had any problems with any of our brews (knock on wood), but I have heard of people who have actually gotten hurt.

Here is the beginning of the wort---The Chamomile is steeped in hot water for about 30 minutes to make a strong tea.

I use a funnel and a strainer to pour the liquid tea into the carboy (gallon jug). In the background is my well-used copy of Sacred Herbal Healing Beers!

Here I'm adding the sugar. The funnel was wet, causing the sugar to stick, so I'm adding a bit of water to get it to move on down the funnel opening.

I just pitched the yeast and placed the airlock on top of the carboy!

Interested in making your very own teas with herbs? This eBook will show you everything you need to know to get started!

Just look at that fermentation action! I love watching this process---it always fascinates me!
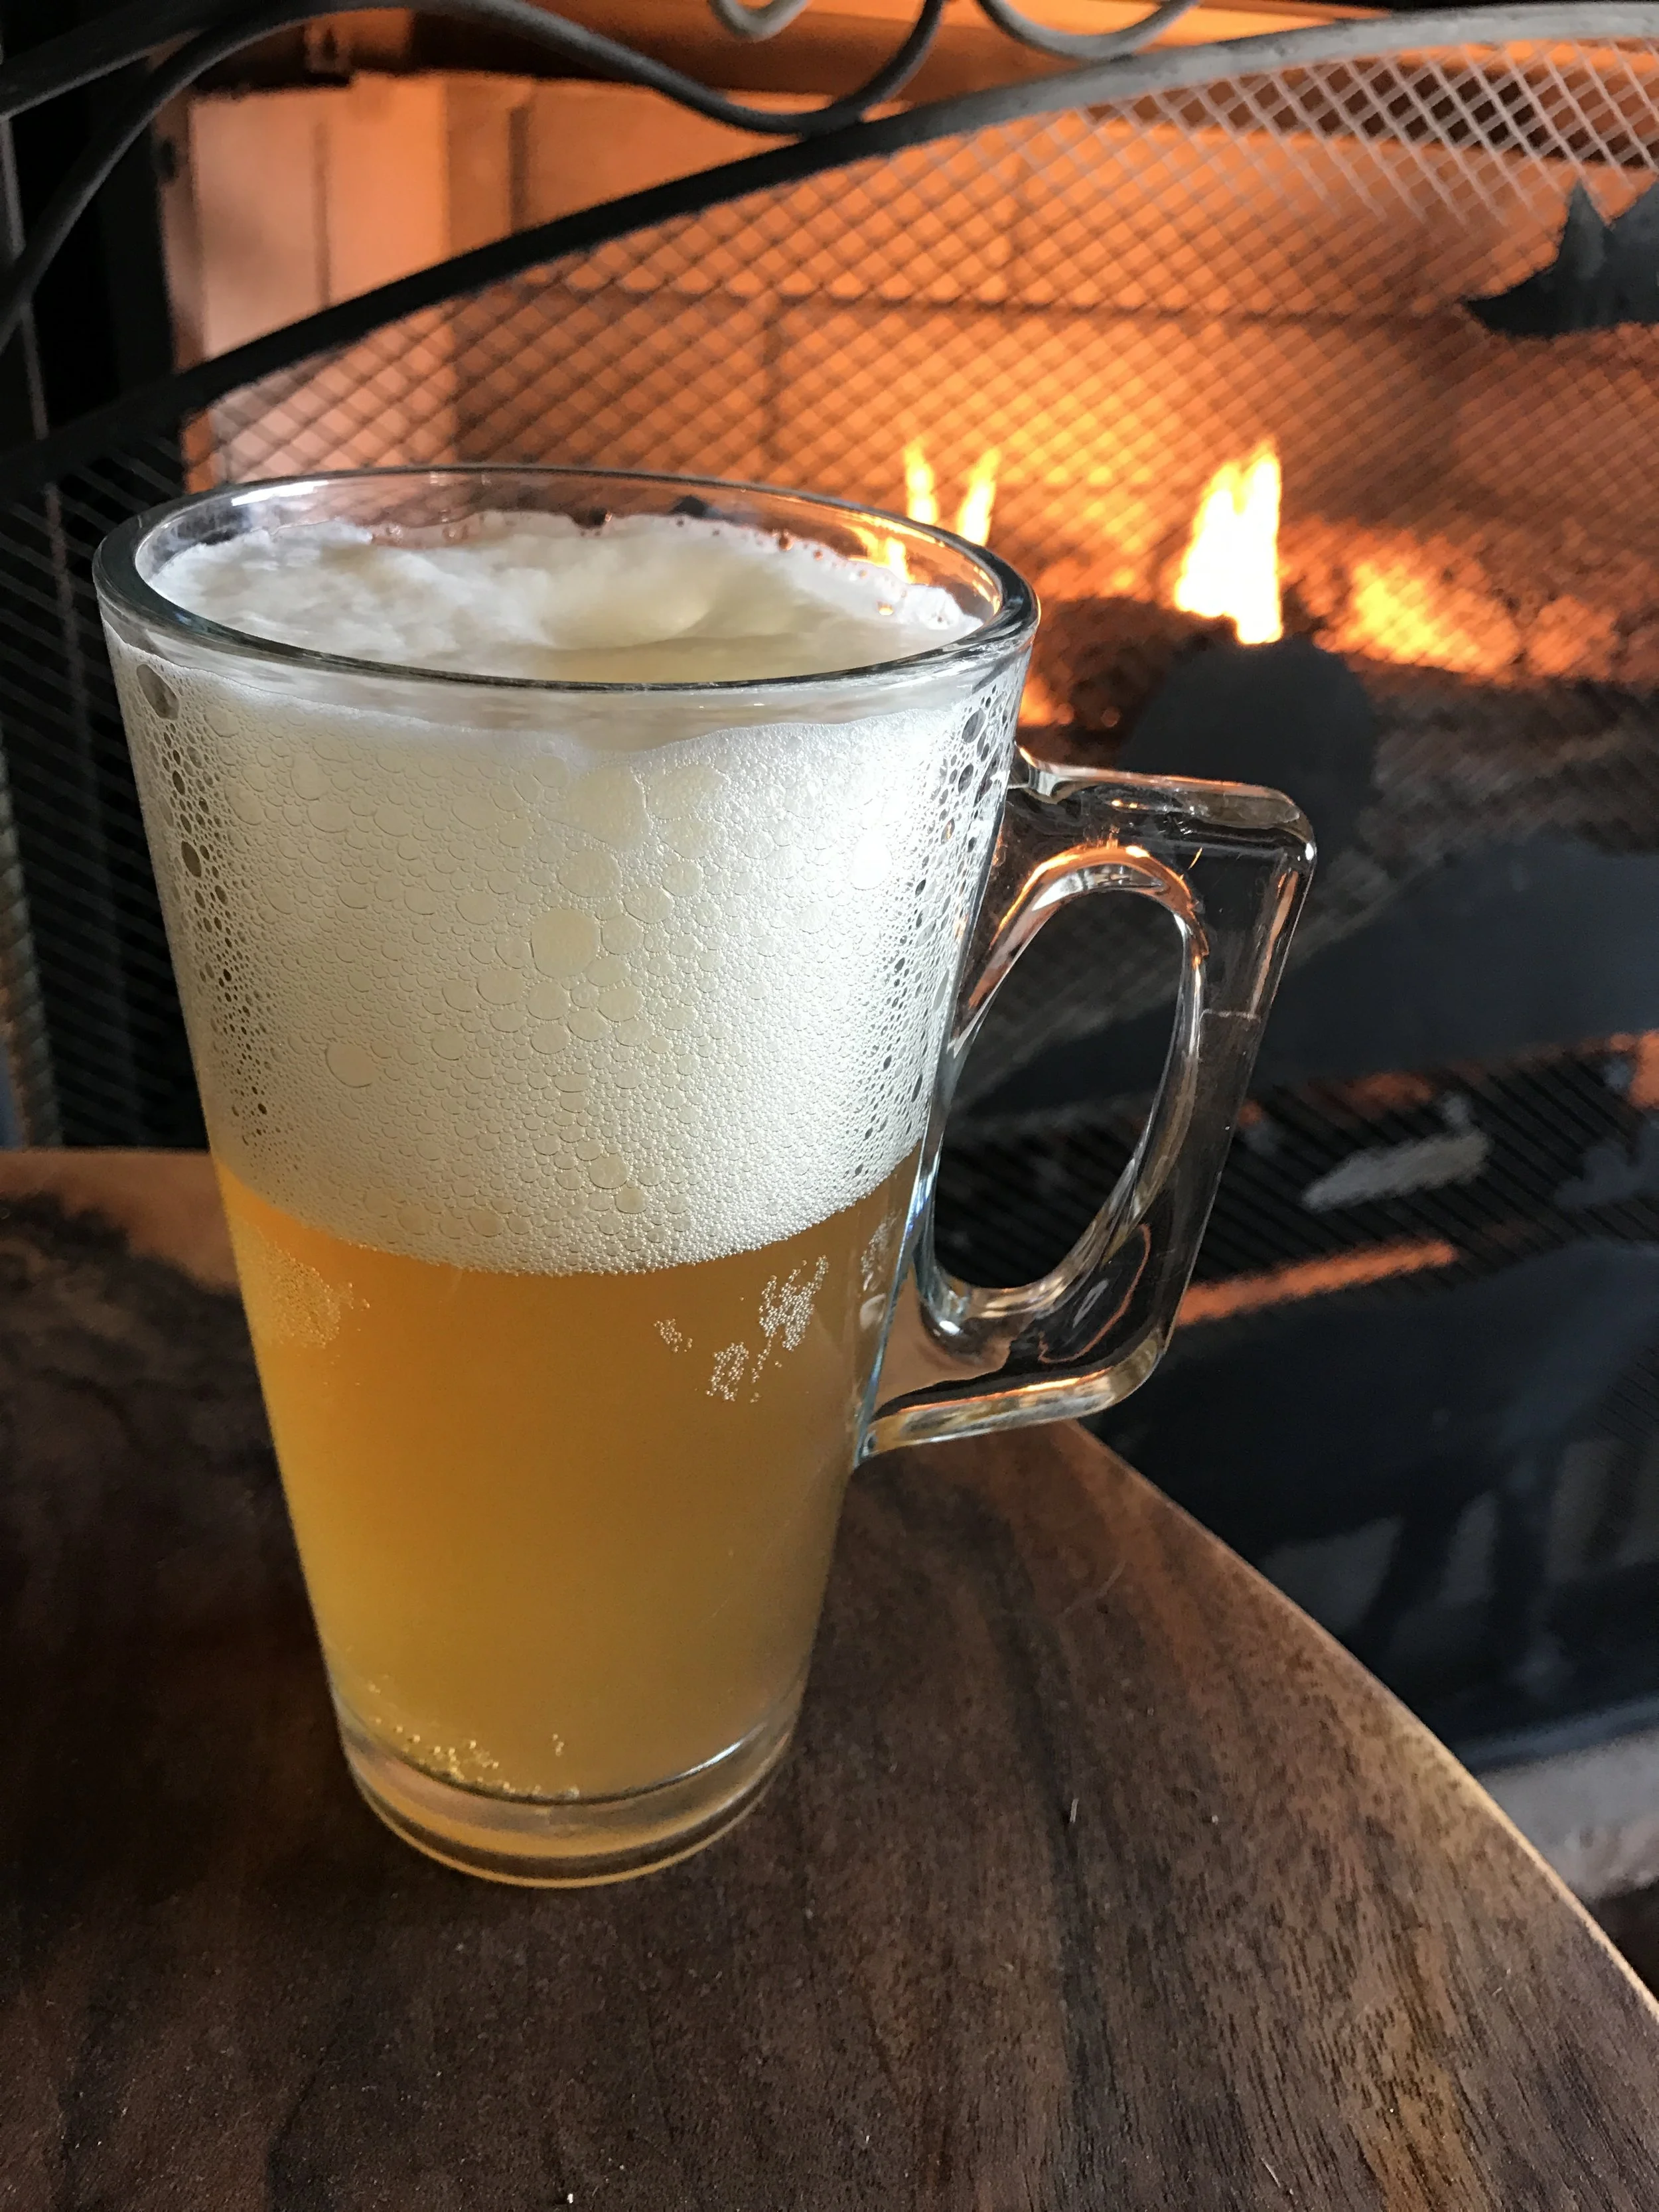
Relaxing Chamomile Ale....
Some say that Chamomile Ale is much stronger in effect on your senses than regular ale or beer, due to the Chamomile herb's relaxing properties. Enjoy this delicious beer, but beware! A little may go a longer way than most ales!
I hope you enjoyed this little tutorial and recipe on Chamomile Ale. I'd love to know if you give it a try or have experiences making herbal ales!
If you enjoyed this article, you may also like to read:
How to Make Your Own Herbal Beer Part One and
How to Make Your Own Herbal Beer Part Two.
And if you'd like our Mountain Man Beer Recipe that uses herbs from our local desert, it's right here for you!
Hugs, Health, and Self-Reliance!
Heidi
P.S. I hope you'll sign up for the Newsletter! When you do, you'll get free access to the password protected Resource Library, which contains awesomeness like this eBook on How to Relax Using Herbs. Enjoy!
Just complete the form below:
If you're interested in learning more about fermenting beers, kefir, kombucha, or veggies/fruits using herbs, you need to check out the course from the Herbal Academy of New England: The Craft of Herbal Fermentation Course!