
How to Make a Mason Jar Beeswax Candle
Learn how to make a simple beeswax candle! These are easy to make, smell amazing all on their own without essential oils or fragrance oils, and set the mood in your home for peace and relaxation. Using beeswax to make homemade candles is the best. Beeswax burns beautifully without toxins and smells like honey as it does. What could be better?
I have tried many times to make Mason jar candles with beeswax---with tons of fails! I've experienced tunneling (when a "tunnel" of wax melts, wasting a lot of wax along the sides of the glass), wicks not burning right (getting put out after only a little while), or wicks not burning at all (not even being able to get the thing to stay lit once it hits the wax), and more! SO frustrating!
I know other people make candles, and have successes! So, I just kept trying---still with no success. Finally, though, I found a book called The Beeswax Workshop by Chris Dalziel. Everything you ever wanted to know about beeswax and about a million other excellent beeswax projects are included in this book. I have already dog-eared many pages, and have plans to make lots of these projects!
At any rate, and very luckily, this is where I found the specific and excellent directions for this candle. Here is my experience making this great Mason jar beeswax candle!
Click here and I’ll send your FREE Herbal Remedy Guide and cheat sheet to your inbox! It’s perfect for your home apothecary or kitchen.
FTC Disclosure: There may be affiliate links included for your convenience scattered about in this article. If you click through and make any kind of purchase, I may earn a tiny commission at no extra cost to you.
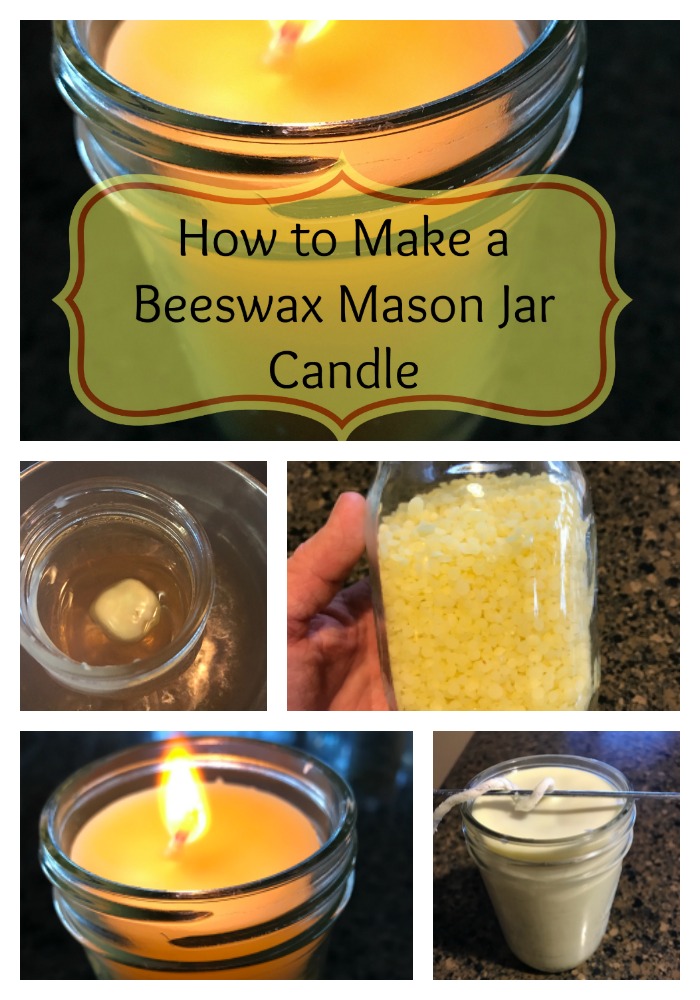
Find out how to make a perfect beeswax Mason jar candle!

I use beeswax from Bulk Apothecary.
What You Need to Make a Beeswax Mason Jar Candle
1. An 8 ounce Mason jelly jar
2. 7 ounces beeswax
3. A waxed thick wick, cut so that you have several inches left above the top of the jelly jar. I got mine at Hobby Lobby, because I wanted to actually see it. It's a pretty thick wick. I think one of the problems I've had in the past is using a wick that is too thin.
4. A bottom piece to attach the wick to
5. A double boiler system (I used a pint size Mason jar set into a pan of water about 2 inches high)
6. a pencil or skewer of some type
7. Essential Oils (optional): I left them out of my candle because they are expensive, and I wasn't sure this would work (like my others....lol). Also, I think the oils may affect the burning, plus the scent just doesn't last very well in my experience.

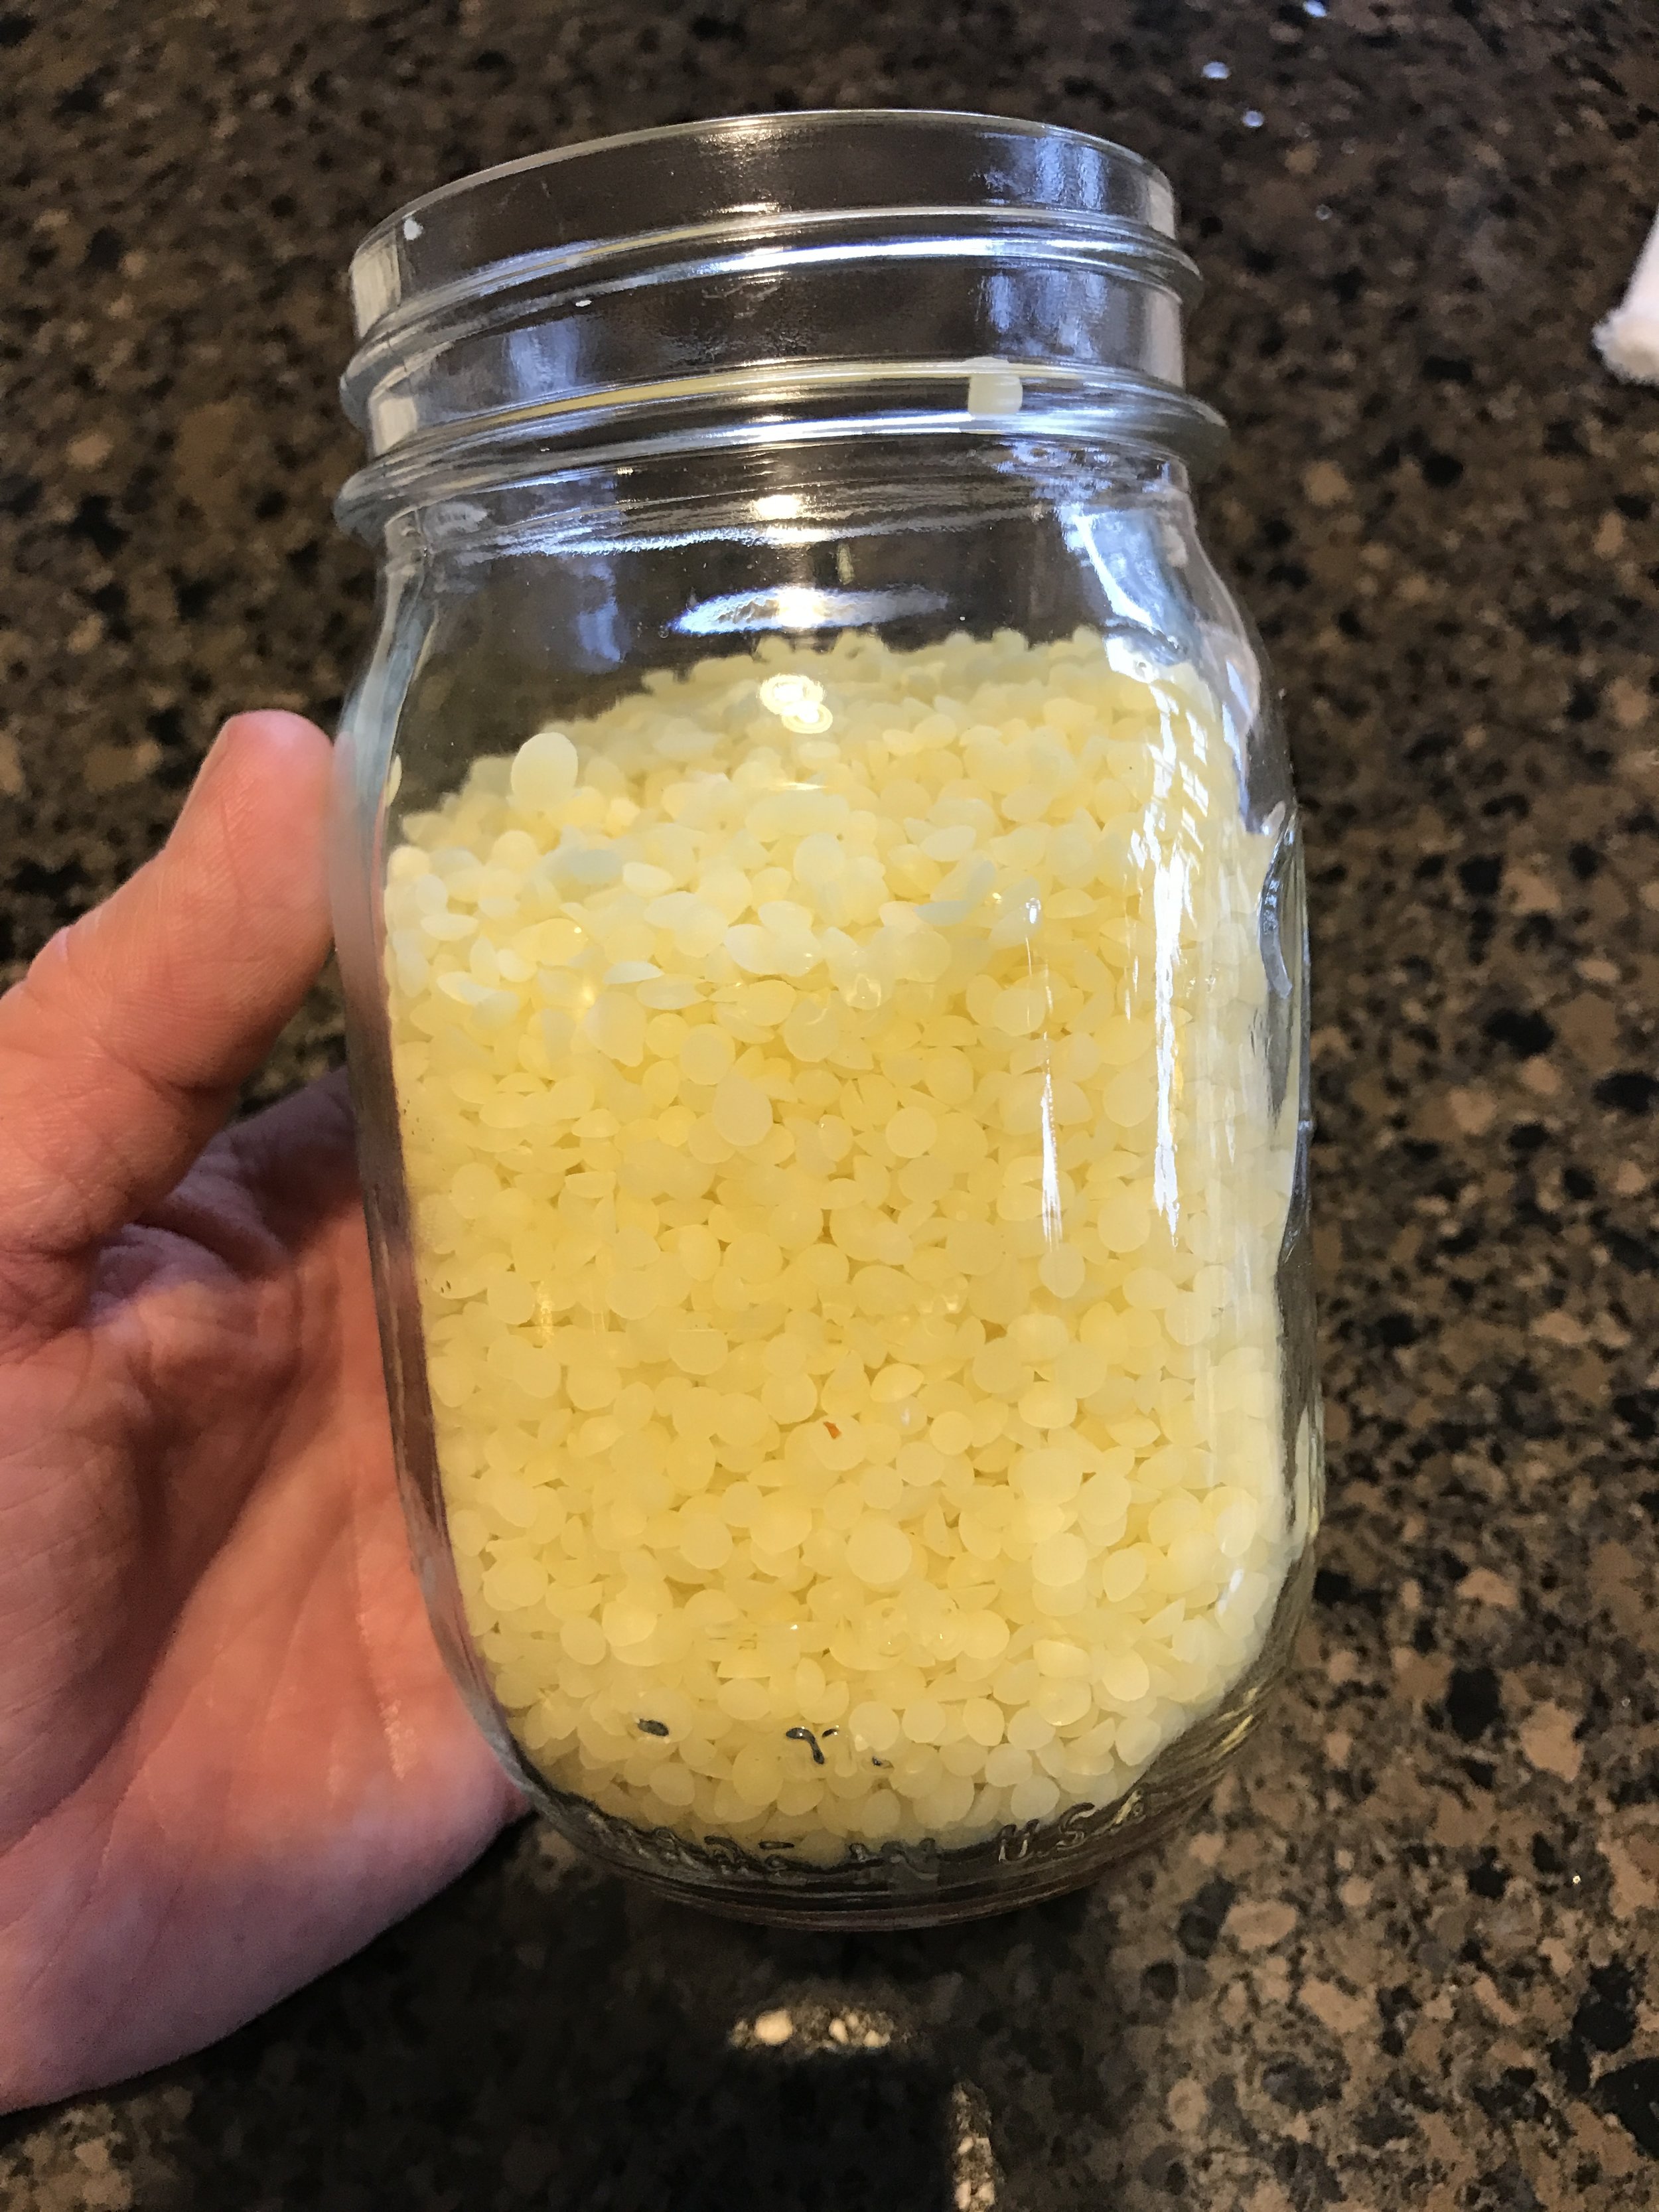
Here is 7 ounces of beeswax, measured with my kitchen scale. You'll need a kitchen scale for soap making as well as candle making.
Directions for Making a Mason Jar Beeswax Candle
Step 1)
Measure out your beeswax by the ounce. Seven ounces of beeswax pellets will fit into perfectly into an 8 oz. Mason jelly jar! I measured the pellets into a pint jar for the double boiler. I'll just dedicate this jar to making candles now, because it's pretty impossible to get beeswax completely out of the jar.
Step 2)
Get your double boiler set up. All you need is a pan of water about 1 1/2 to 2 inches high. Set your pint jar of beeswax into the pan and turn the burner on low to medium low.
Step 3)
While the beeswax is melting, away (keep a close eye on it, and swirl it once in awhile), get your wick and stand ready in the 8 ounce jelly jar. I threaded the wick through the bottom, then when I had some beeswax melted, I just dipped the stand with the wick into the liquid beeswax and attached it this way to the bottom of the jelly jar.
Step 4)
Once the beeswax has hardened on the bottom of the jar, secure the wick straight up and down by twirling it around a skewer or pencil.

Here is the wick twirled around the skewer to keep it straight in the jar.

Here is the wick stand secured to the bottom of the jar with beeswax that has hardened up!

The beeswax is almost melted!
Step 5)
Once the beeswax is completely melted, gently pour it into the jelly jar around the wick. The wick I used was pre-waxed and this may have helped the burning---but not sure about that.
Step 6)
Allow to set still and harden up completely for at least 24 hours and perhaps up to 48 hours if you have warm weather.
Step 7)
Cut your wick back to about 1/3 inch, light, and enjoy! In the book, Chris states that this candle has about a 36 hour burn time. I'm burning mine right now, so I guess I'll find out!

It's cooling down!

It's been 24 hours, and I'm getting ready to cut the wick!
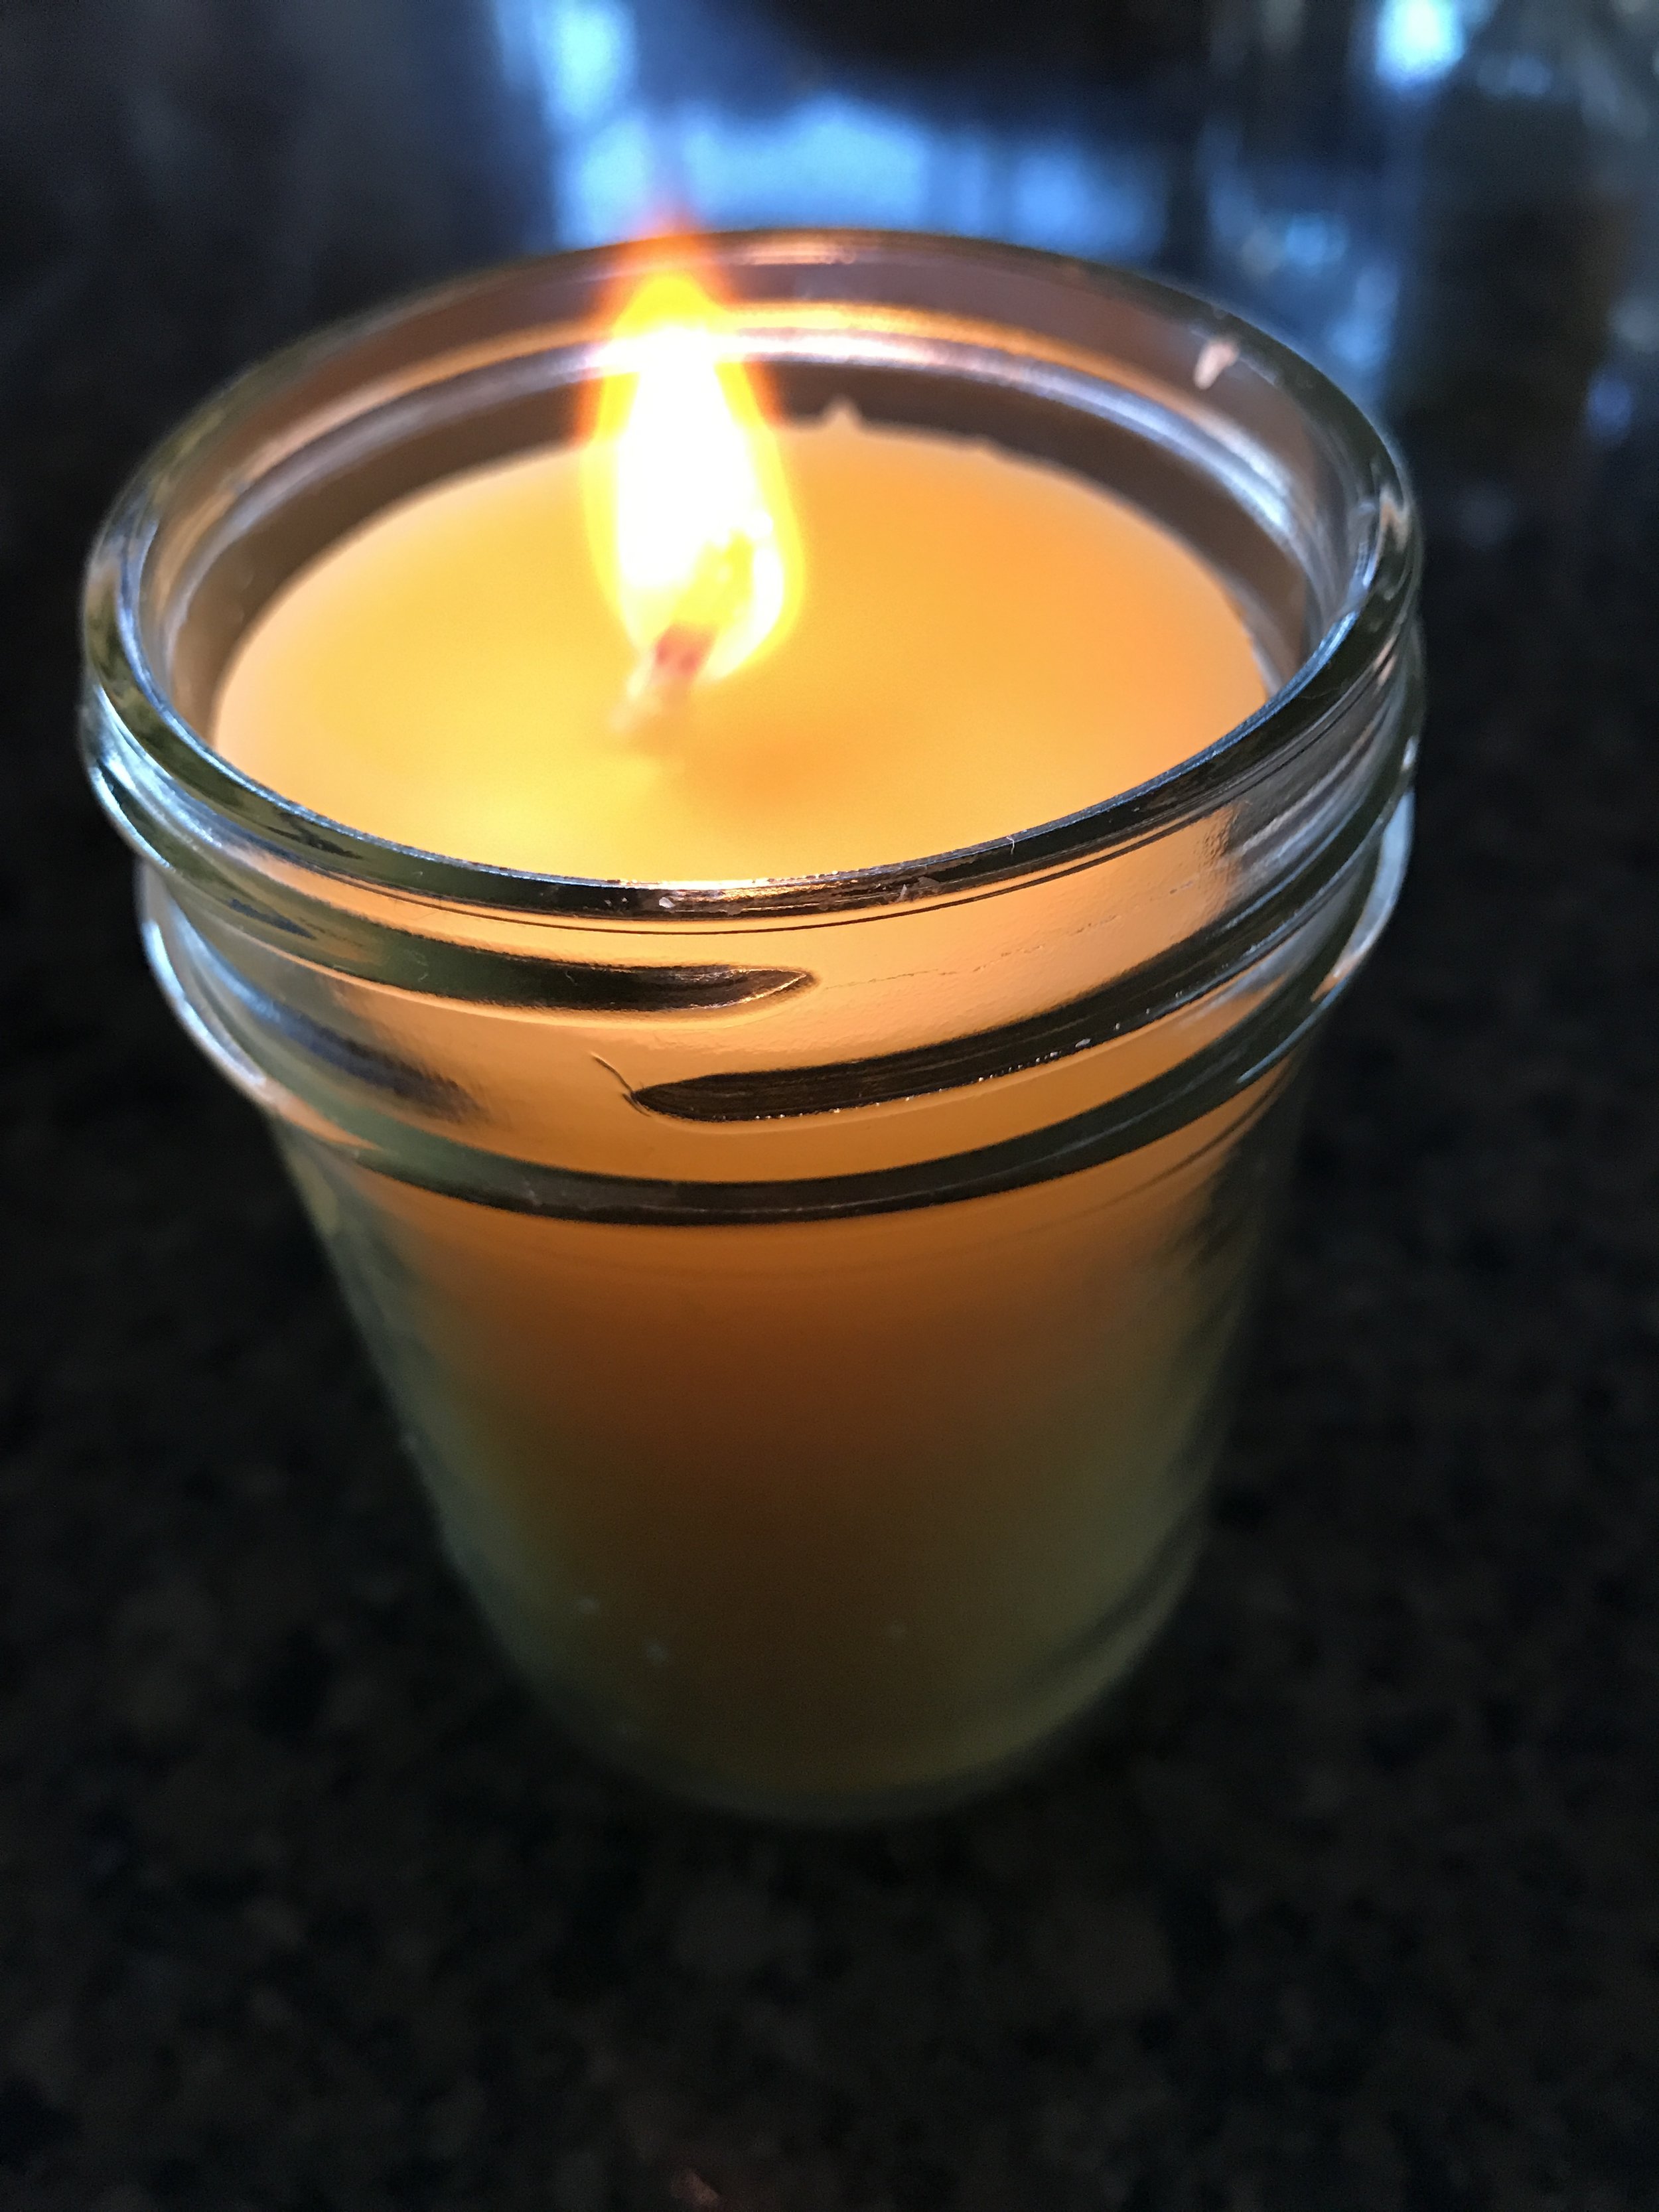
Here it is! I let it burn for several hours to be sure the wax didn't tunnel. It didn't! It burned cleanly all the way to the edges of the jar! Hoo-ray!
Have you ever tried making candles from beeswax? I hope you didn't have to go through as many epic fails as I did before I happened on this combination!
Hugs, Health, & Self-Reliance!
Heidi
P.S. Get your FREE Herbal Remedy Guide and Cheat Sheet! It’s perfect for your home apothecary or kitchen! Click here and I’ll send yours now!