
How to Make Hot Process Soap with My Recipe for Lavender-Rosemary Homemade Soap
This article is a complete soap making tutorial featuring the hot process method. If you’re new to soap making and want to get started, read on for all the steps!
I've been getting lots of requests for soap recipes lately. One of the soaps I make is a Lavender-Rosemary-Vanilla soap with French Pink Clay. I use the hot process method, which for me, is simpler than the cold process style because I don't have to worry about temperatures of the oils and lye solution.
PLUS, with my impatient nature, I can use hot process soap right away! No curing time needed, although a few days can help further harden your soap. You can find out more about the differences between hot process and the cold process method in this link. Usually people side with one or the other. I’m a hot process gal, myself….but cold process is very popular too!
The blend of essential oils I use in this soap is extraordinary! I just can't think of a better word. The Lavender is calming, the Rosemary increases clarity, and the Vanilla is just plain soothing. I also add a natural colorant of French Pink Clay which gives the soap an amazing "slip."
This means it's great for shaving too! I add in some organic Lavender flowers for texture and exfoliation---and BAM! Amazing, lathering, long lasting, natural herbal soap that is GREAT for your skin, mind, and spirit!
*After you read through this tutorial, if you want to see another very detailed photo tutorial on hot process soap, visit Make Your Own Soap,
FTC Disclosure: This article contains affiliate links. If you click through one and make any kind of purchase, I may earn a small commission at no cost to you!

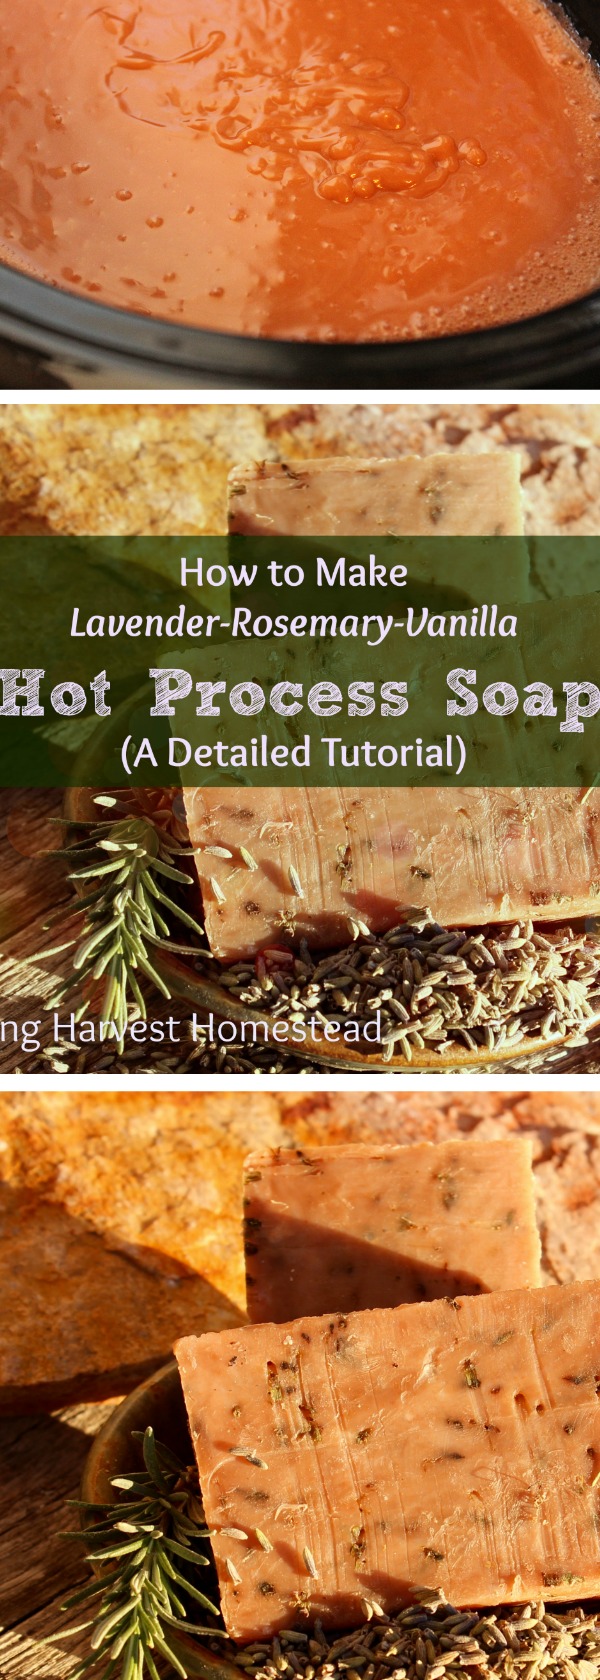
There's nothing like handmade natural soap, right? Have you ever wanted to make your own, but been a little afraid of the lye? Well, fear no more! Here is a SUPER detailed picture tutorial for Lavender-Rosemary-Vanilla Hot Process Soap. The great thing about making Hot Process Soap is that it's ready right away! This soap is infused with pink clay and textured with lavender flowers. It's scented naturally with essential oils! You'll LOVE it!
Tools You’ll Need to Make Your Hot Process Soap
1) A large crockpot
3) Safety glasses and plastic gloves
4) Heat proof containers--I like Pyrex
5) A hand blender
6) A soap mold
7) Wooden spoons for stirring
Ingredients for Lavender-Rosemary Soap
The Oils:
** 15 ounces Coconut Oil
** 15 ounces Olive Oil (I've found Costco has the best price!) You can make a beautiful lavender and/or rosemary infused oil, to get some extra herbal power in your soap too!
** 12 ounces Sweet Almond Oil
** 6 ounces Shea Butter
** 1.5 ounces Castor Oil
Lye Solution:
** 15 ounces distilled or filtered water
** 7.2 ounces food grade lye
(You don't have to use Food Grade Lye, but I always do. It just feels better to me.)
Essential Oils:
** 1 ounce Lavender Essential Oil
** .5 ounce Rosemary Essential Oil
** 1.5 ounces Vanilla Extract (no sugar added)
Textures & Colorants:
** 3 tablespoons French Pink Clay
** 3 tablespoons Lavender Flowers
Where I Usually Buy My Products:
I usually buy my olive oil and coconut oil from Costco. You can get the price cheaper for coconut oil on Amazon if you look, though. My other soaping items are from Amazon or Starwest Botanicals. Their prices for bulk-type essential oils are reasonable, and the essential oils are actually of good quality--perfect for soap making!
Any herbs (or spices for that matter) that I use, I almost always get from Starwest Botanicals because of the quality, the speedy shipping, the great variety of products, and the excellent customer service.

Ready to make soap? Take this complete soap making course with step-by-step videos and a full eBook and recipes with different natural colors, textures, and scents! Start making natural herbal handmade soap today!
How to Make Lavender Rosemary Vanilla Hot Process Soap:
1. Melt your oils.
I preheat my crock pot on low. Add all the oils in together and allow them to completely melt. I also add in my clay at this time. You can see a little sprinkle of the pink clay on the side of the crock pot and a tiny dab of unmelted shea butter too.
NOTE about measuring the oils, lye, and water: You MUST measure accurately. I actually try to measure to the hundredth of an ounce. You need a kitchen scale to do this! I use an Ozeri that has never failed me.
2. Mix up your Lye Solution.
You need to use a heat-proof container. I use a Pyrex glass 16 ounce measuring pitcher that is dedicated to soap making only. IMPORTANT! Always, always, always pour the lye beads into the water, NOT the other way around. Mix it up well. (If you pour water into lye, you could potentially cause a volcano, and this could seriously injure you and at the least, make a huge mess.) I do this step OUTSIDE because of the fumes---or if it's too cold or hot, be sure you're near a ventilated window.
I allow the lye solution to sit for a few minutes (outside) to cool down some. Unlike with cold process soap making, where you need to really watch the temperatures of the oils and lye solution, with hot process you don't need to worry about the heat of the lye solution. With that said, though, I prefer to let my lye solution cool just a tad before pouring it into the oils.
**At this point, while the oils are still melting and lye solution is sitting (I let it sit outside because of the fumes), it's time to blend up your essential oils. I also add the flowers at this time to the essential oils because I have found that letting the flowers sit in the EO's while the "cook" is going on makes the scent last even longer in the finished soap! SET THE EO'S ASIDE....You won't use them until the very end!

3. Add the lye solution to the oils in the crock pot.
After the oils are completely melted, gently pour your lye solution into the oil. (One of the nice things about hot process soap making is you don't need to fuss about the temperatures of the oil or lye solution.)
4. Bring the mixture to trace.
Using a hand blender (I use one that is completely dedicated to making soap), mix until you reach "trace." Trace is that point when the mixture resembles a slightly stiff pudding.

Just poured the lye solution into the oils. Getting ready to start the stir!
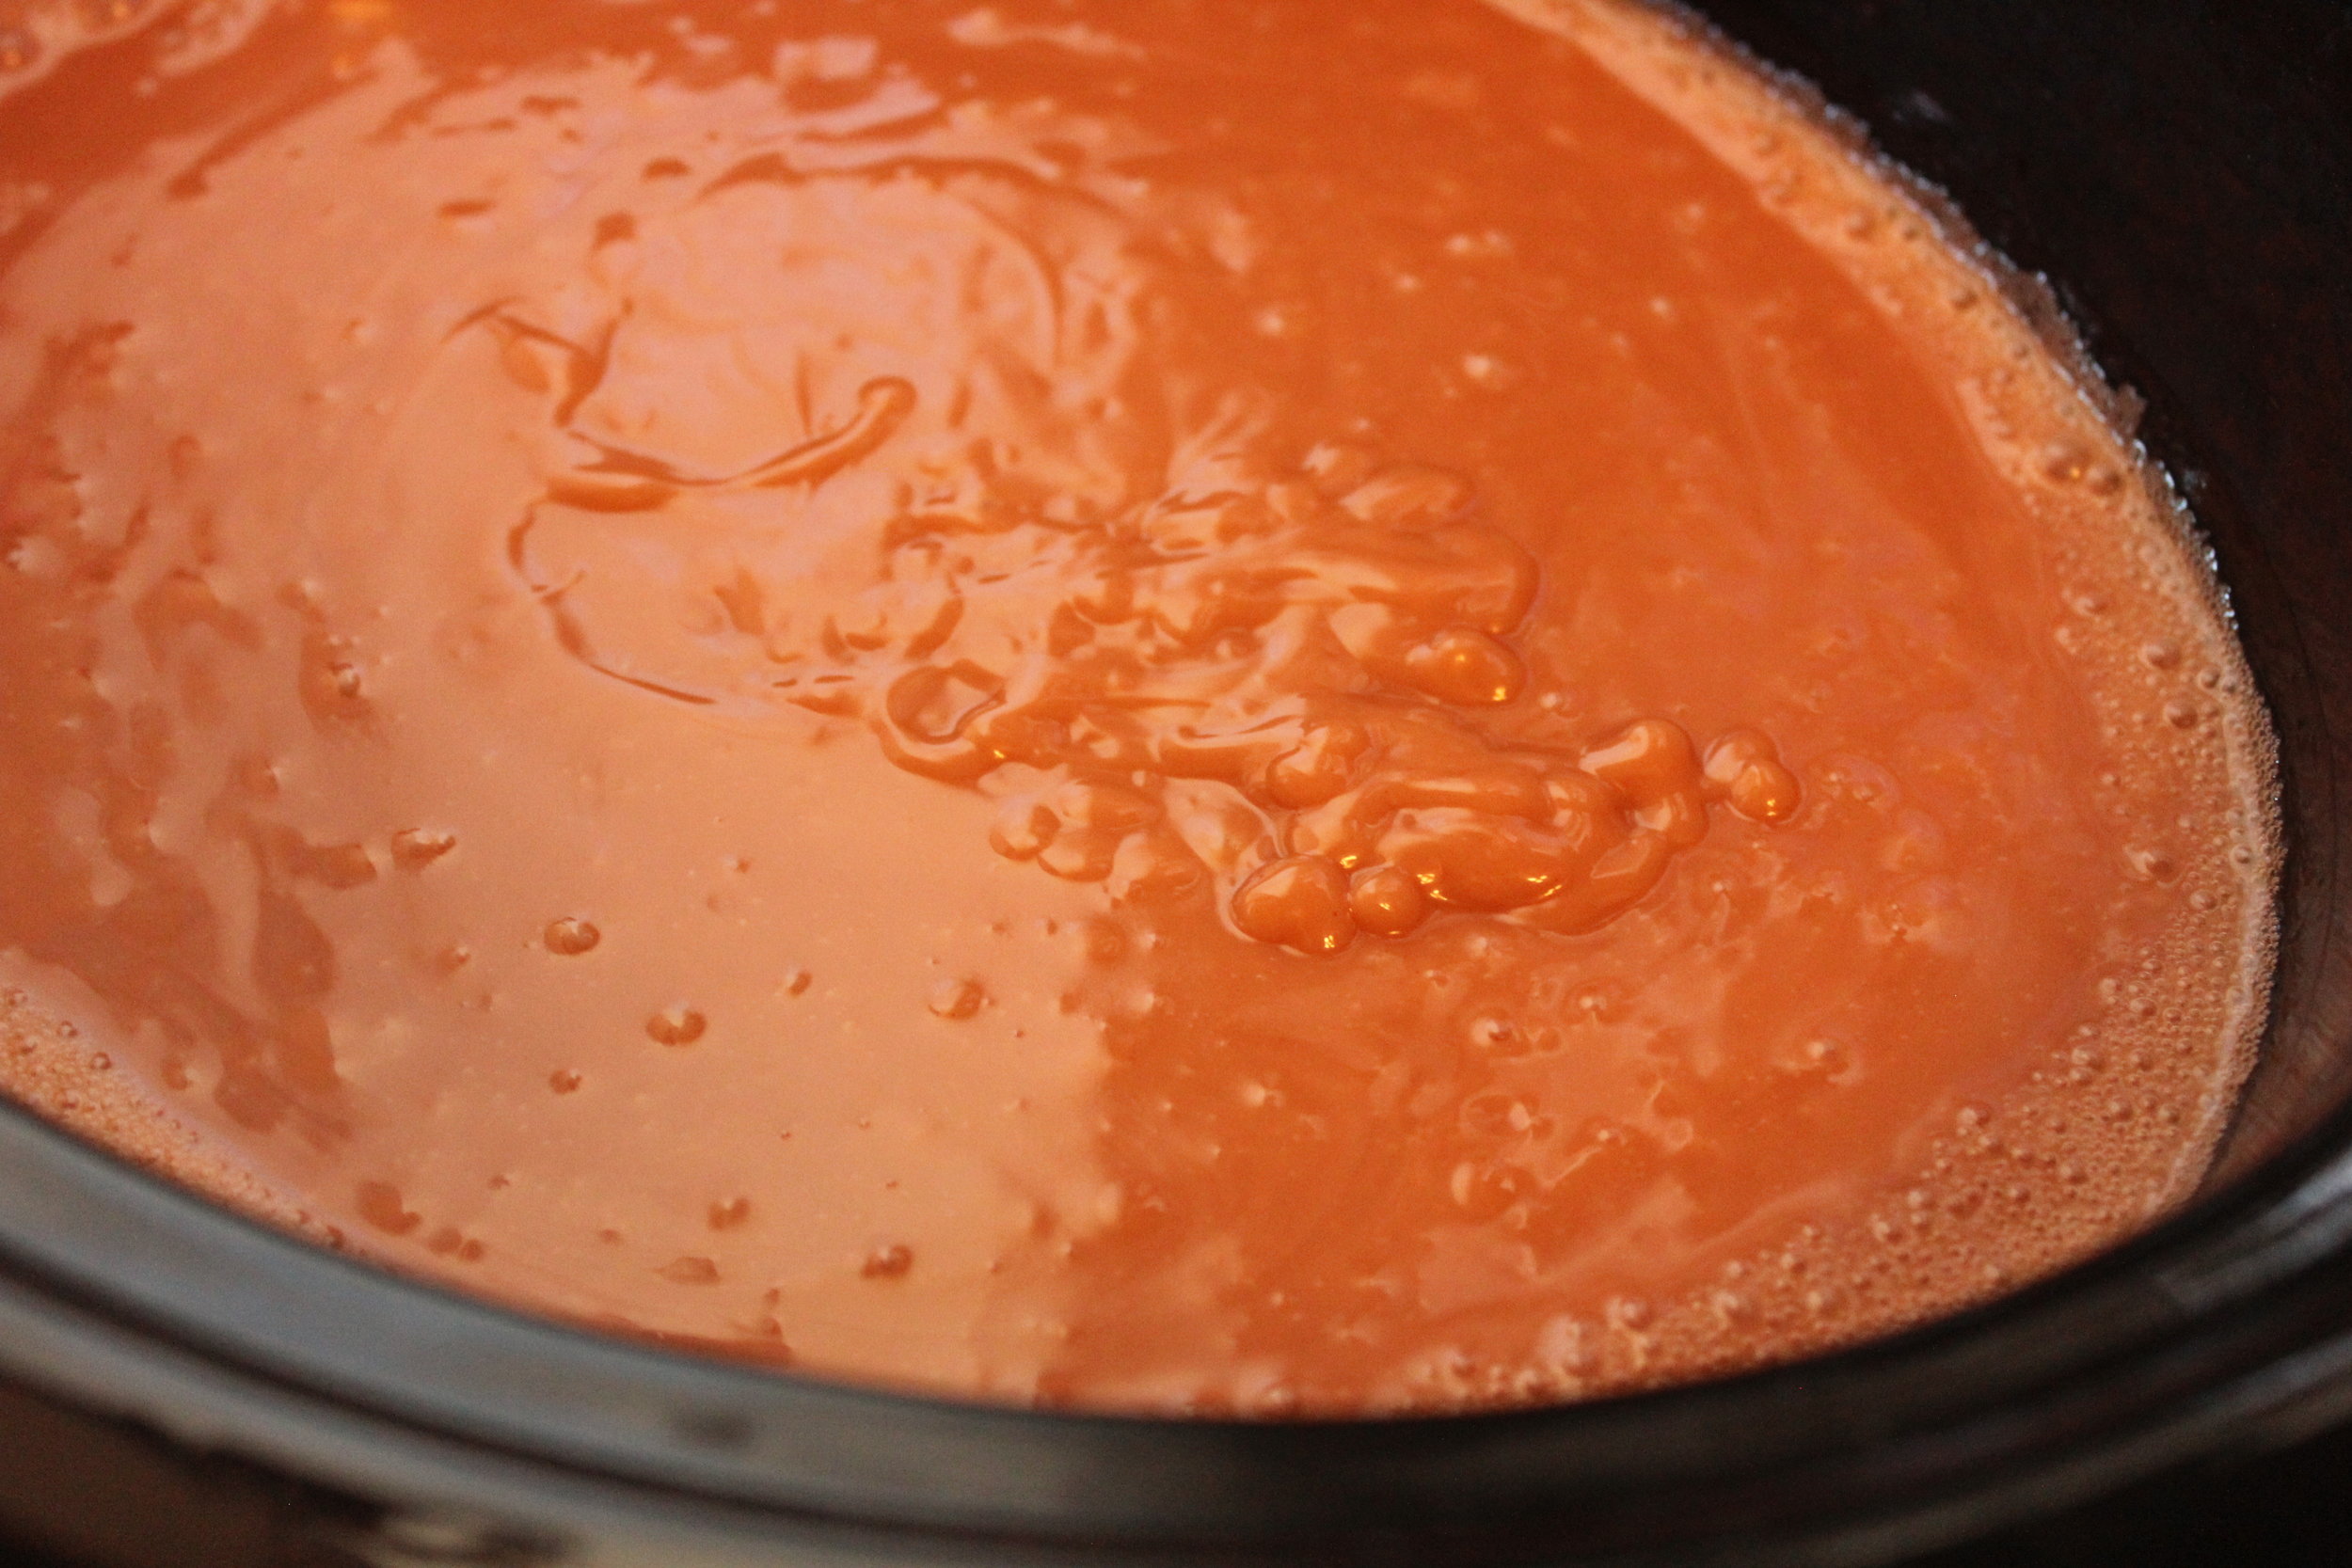
This is mixed to trace. See the peaks?
5. Cook your soap
Put the lid on your crock pot and let the mixture "cook." You will eventually see the mixture bubbling, turning, and rising up in the crock pot. Go ahead and stir it down well. You may need to stir it down another time or two.

The "mashed potato" phase...not done yet!
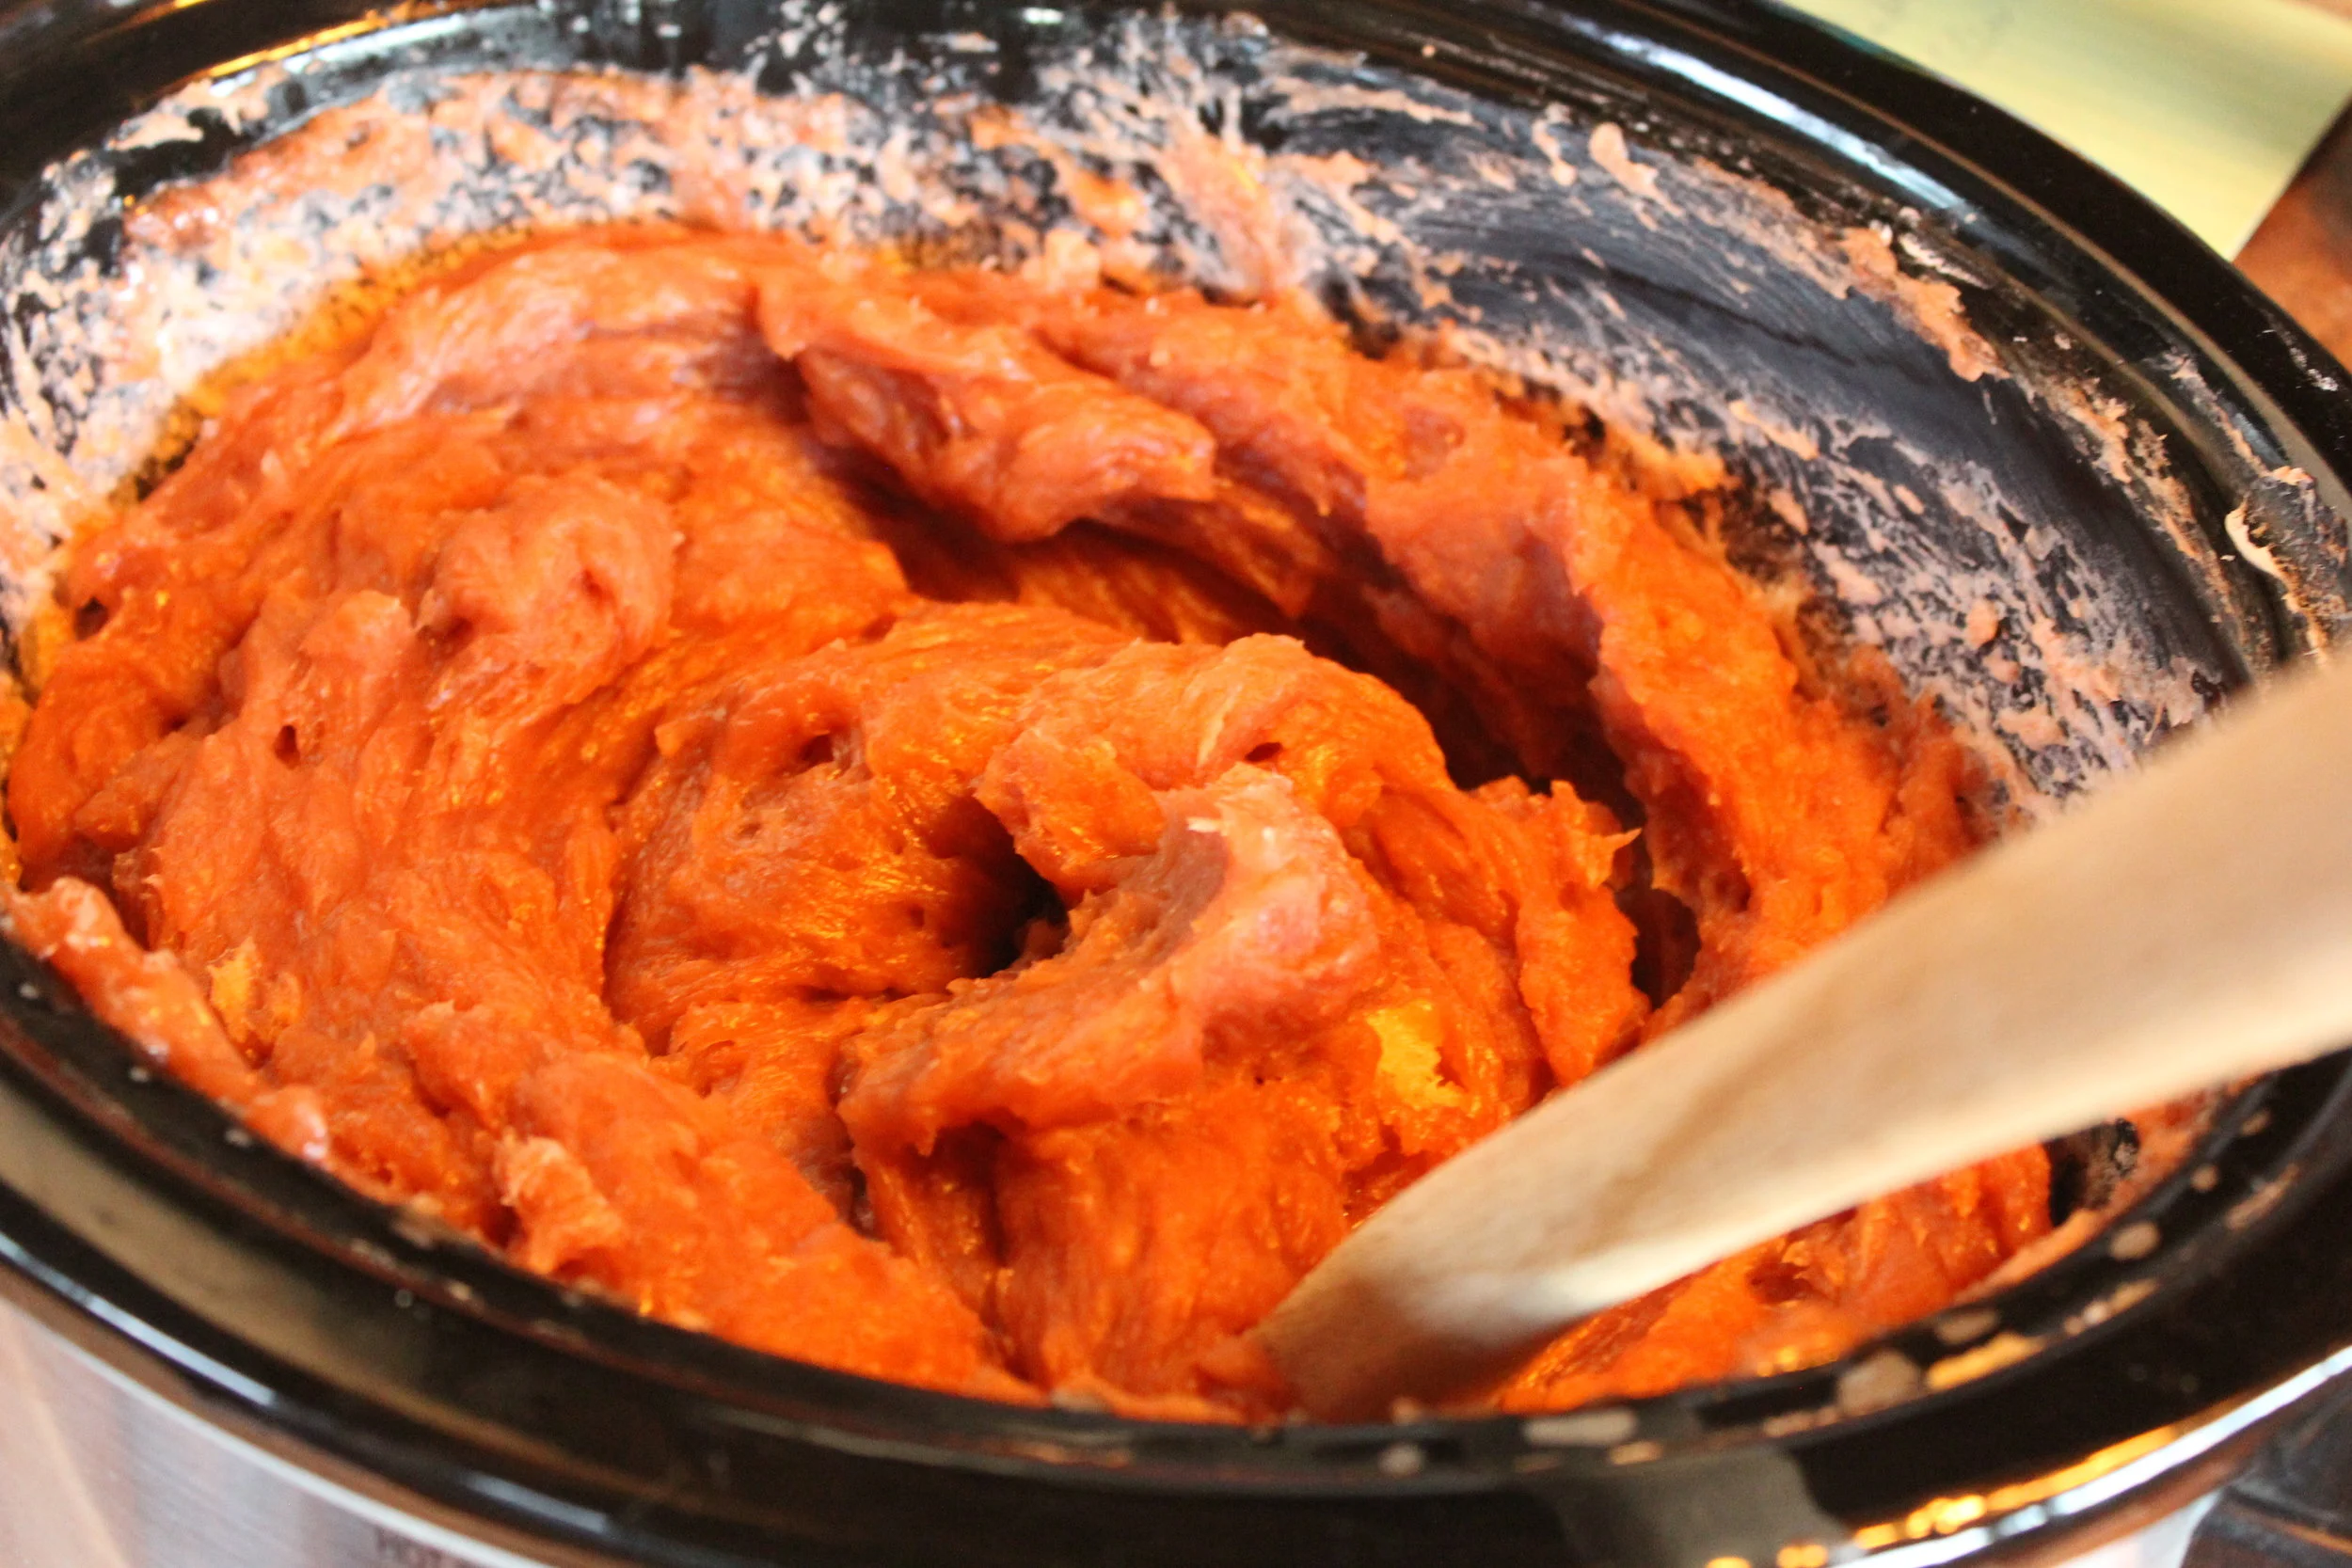
There are still opaque bits in this mix. So it needs to cook a bit more.
6. Keep stirring as needed.
Note the bits of opaque mixture still in the crock pot? You don't want ANY opacity in the soap at all. It is still caustic at this point. You are looking for it to turn completely transclucent. Some compare it to the appearance of petroleum jelly.

Translucency has been reached! LOL. Notice my SOAP label on the wooden spoon? I pretty much dedicate all my soap making tools to just soap, and I label them so nobody accidentally uses them for something else.

7. Test your soap.
Test your soap to be sure it's done and safe. There are two things to look for---feel and zap. Take a bit off your soap spoon. If it's done, you should be able to roll it into a waxy little ball. It will be soft, but you can form it. Now, the ZAP test. Just place the little ball on the tip of your tongue. You shouldn't feel anything and just taste a bit of soap. If you feel a "ZAP" (and you will KNOW if you do), then either it's not done or something is not quite right.
Here's a quick story about testing the soap:
Once, I inadvertently forgot to add the Sweet Almond Oil---12 whole ounces of oil! That darn mix wouldn't stir up right! So I kept stirring and trying the ZAP test! For like two hours! YIKES! Lol! I had a SORE tongue. DON'T do this! :-) When I finally realized what had happened, I just wanted to kick myself! lol But I'll never make that mistake again!
8. Add your essential oils (after cooking is complete) along with the soaked lavender flowers.
The flowers will brown a little bit over time in the finished soap, but they’re still pretty and add some very nice exfoliating texture that’s natural to your soap!
9. Pour/Glop it into the mold.
Now, just add the hot, finished soap to the mold. Press it down really well. In fact, I'll gently drop the mold with the soap in it a few times to help release any air pockets in it!
10. Let it cool completely.
After cooling about 45 minutes, if you want, you can slice off the top. I just draw very sharp knife along the top. You'll be left with a nice smooth top, and since it isn't yet completely hardened, it's not hard to do.
11. Unmold, and cut what you want!
When your soap is completely cooled (I usually let it go overnight, or at least several hours), then you can remove the soap from the mold. You'll be left with a nice loaf of soap! Another great thing about hot process soap making is that you can leave the soap in the block, which helps retain the scent. You can cut just what you need at a time!

Here are the Lavender flowers which have been soaking in the EO blend for the past hour or so! Getting ready to pour them in!
NOTE: In this soap making session, while the soap was cooking, I soaked the lavender buds in the essential oil, then poured it all in at the end of the cook time.
In some of the other pictures, I’ve left out the lavender buds, and only poured in the essential oils. There’s a lot of creative flexibility in soap making!

Here is the soap in the mold. This mold is not quite large enough for the 3 lb recipe I use, so I just cut off the top while it's still a bit warm and make soap balls. OR, we just use the ends ourselves, and leave the rest for friends!

Ready to make soap? Take this complete soap making course with step-by-step videos and a full eBook and recipes with different natural colors, textures, and scents! Start making natural herbal handmade soap today!
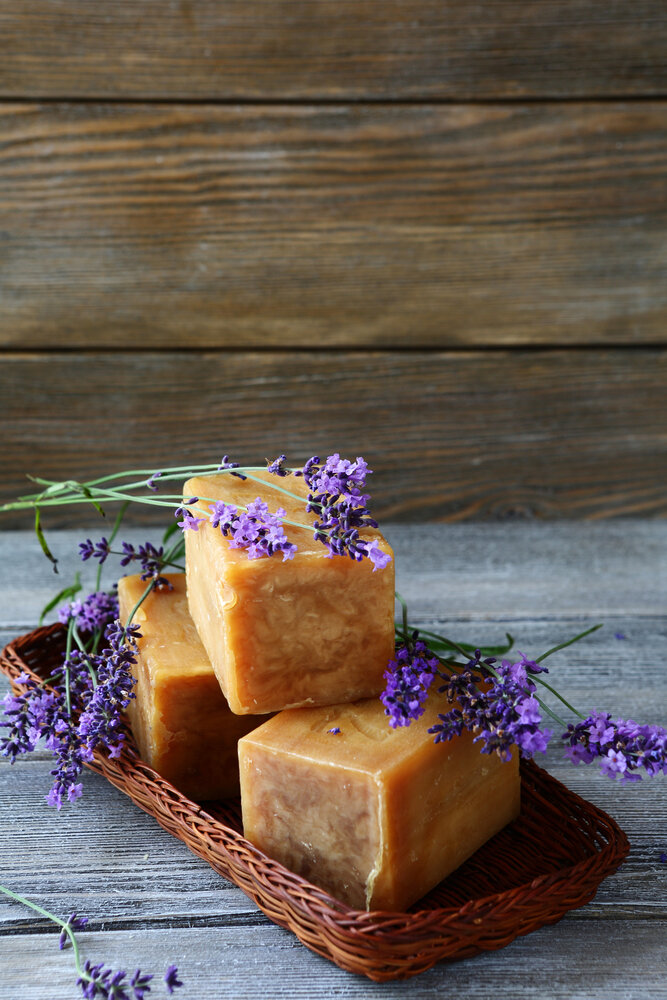
This is what the soap might look like without the lavender buds added in. I’m getting ready to update the photos and make this soap again!
Final Thoughts on Lavender-Rosemary Soap and Other Things to Note
One of my favorite soap making resources is the Everything Soap Making Book. It's my soap making "Bible." I LOVE this book, and I've used it extensively. It's worth buying this book, especially if you are beginner. The author comprehensively covers every aspect of soap making you can think of in terms that are understandable.
And if you are interested in some truly expert cold process soap making advice (and directions for turning the cold process recipes into ones that will work for hot process too), check out The Nerdy Farm Wife's Natural Soap Making Book! It's a real winner!
Here are some other articles you might enjoy!
Troubleshooting Soap Making Mistakes: Things to Watch Out For
Elk Tallow Handmade Soap (or any tallow will do)
Oktoberfest Beer Soap (men love this soap!)
Sexy Wild Man Soap Recipe (men and women love this one)
Pumpkin Spice Soap Recipe (pumpkin is SUPER good for your skin)
Killer Toxins Lurking in Your Store Bought Soap
And there are SO many more on my website! I hope you’ll go explore!
Hugs, Health, & Self-Reliance!
Heidi
P.S. I hope you'll sign up for the Newsletter and never miss a thing! :-) You’ll also get access to the FREE Resource Library, where you can download lots of free eBooks, guides, checklists, including the Hot Process Soap Making Checklist so you don’t leave anything out!
Just complete the form below:

Want to start making your own home remedies and learn important herbal foundations? Take my FREE 5-Day Home Remedy email course and start making home remedies that are safe, effective and fun today!
Disclaimer: I'm not a medical professional, and I do not proclaim to cure, diagnose, prevent, or cure any health or emotional issue. Please see a medical professional for concerns. The advice in this article, elsewhere on my website, or in my shop is simply my own opinion based on years of study and experience and is for informational purposes only.