
Can You Make Handmade Milk Soaps (Goat, Coconut, Buttermilk, Cow's Milk) With the Hot Process Soap Making Method?
Can you make handmade goat milk soap using the hot process method? What about other kinds of milks? Will they work out making soap in a crock pot?
I’ve been getting questions like these a lot from people who want to make hot process soap but who have heard they can’t use milk with this method. Some people are pretty adamant that using milk in hot process soap is not a good idea, or perhaps is not even possible.
There is some debate among hard-core soap makers about which method of soap making is best: hot process or cold process. It seems everyone has their preference depending on a number of factors.
Although I’ve made some very nice cold process soaps in the beginning of my soap making experience, I have learned I really prefer hot process over cold process soap making for a number of reasons. You can read the article above for the nitty gritty in differences between the two methods.
Soap making is both an art and a science, and once you start making your own soaps, it’s addicting! It seems like everyone eventually wants to make soaps with milk as the base, and this requires some extra skills. The reason for wanting to use milk in handmade soap? it’s just divine for your skin!
I am here to tell you, hot process soap maven that I have become, is that YES! You can use milks and other dairy products in your hot process soap!
Good news, right?
It’s a slightly different process than the cold process method, and the soap turns out a little differently too. So here’s how to use milk in your hot process soaps and still get a good handmade soap product.
Why Does Milk Make Such Great Handmade Soap, Anyway?
Maybe you’re wondering what the big deal is about milk soaps?
Well, using milk in soaps gives you an incredibly luxurious bar of soap. Generally they lather well and are highly moisturizing. The lactic acid milk contains also provides an exfoliation benefit and is great for dry and mature skin.
Milk soaps are just wonderful for people with sensitive skin, or those who want a premium soap experience. Soaps made from milk tend to be creamy, conditioning, and soothing.
Goat milk soaps, especially, are becoming more and more popular among handmade soap aficionados. However, all kinds of dairy can be used and have wonderful benefits, including cow’s milk, yogurt, coconut milk, cream, and even nut milks like almond.
FTC Disclosure: There are affiliate links scattered throughout this article. If you click through and make any kind of purchase, I may earn a small commission at no extra cost to you.
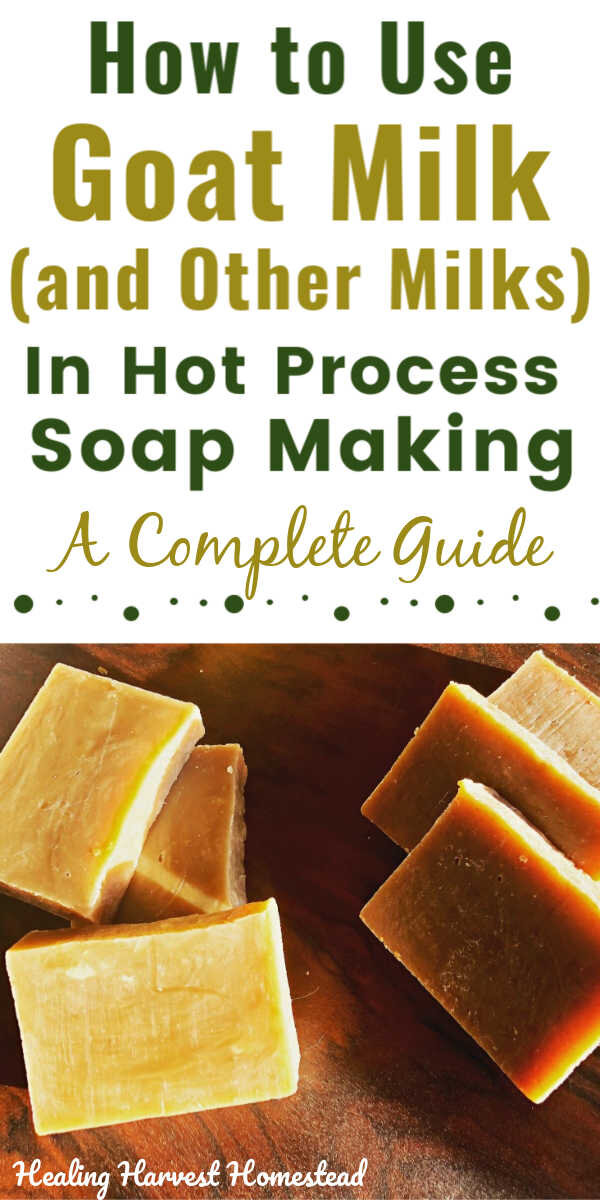
Yes! You CAN use milks, including goat milk, to make handmade soap with the hot process method. There are just a few things you need to know for some beautiful bars of skin loving natural milk soap. Whether it’s cow, goat, nut, or coconut or some kind of other dairy variation like yogurt or buttermilk, you can. Here’s how to make handmade HP soap with milks! #soapmaking #forbeginners #ideas #goatmilksoap #recipe #howtomake #hotprocess #homemade #healingharvesthomestead
Potential Problems Using Milk in Hot Process Soap Making
Inexperience:
Using milk requires an understanding of the soap making process.
It’s a good idea to have made many soap recipes using hot process first so you have a “feel” for the whole process. This is because using milks in hot process soap recipes can be a little tricky, and you may see some things chemically that you haven’t ever seen before.
Some finesse is definitely needed.
Inexperience is not such a big deal with the cold process method, in my opinion. Hot process soap making is kind of the old-school traditional way (think of the pioneer women stirring huge batches of soap up over the fire using wood ash to saponify the oils).
Because you are speeding up the saponification process through heat, there are just more things that can go wrong when you add different things in, like milks.
Temperature:
Another problem (really, the main one) is that milks are very sensitive to heat. This is a problem even with the cold process method of making soap because the lye solution (liquid plus lye) becomes extremely hot.
But the heat problem is especially true with hot process soap making, where the heat from the crock pot or other heat source can easily burn the milk.
Burned milk creates a stinky soap. Even if the soap doesn’t burn and become odorous, it is likely to caramelize, causing a brownish bar of varying shades from a pretty light brown to a darker brown. Now this can actually be quite pretty—-but you absolutely don’t want smelly soap.
One other possible problem you may encounter when making soaps with milk because of the heat is curdling. A curdled milk soap is a real mess. Just seriously nasty.
Possible Rancidity:
Another issue in using milk in hot process or cold process soap making is that the soap may go rancid if not done right. If you don’t have the milk, water, and lye solution just right, your soap may go rancid more quickly. This is especially problematic with high fat milks, such as buttermilk or heavy cream.
Super fatting can be affected in using some milks. If you are using regular whole milk, goats milk, etc., the fat content is around 4-6%. In this case there are no worries, and they won’t affect the super fatting of the soap. It’s when you are using very high fat milks that this can be more of a problem.
Too much fat in your soap can cause your soap to actually “spoil” or become rancid.

Learn how to make your own handmade all natural soaps with confidence using the hot process method!
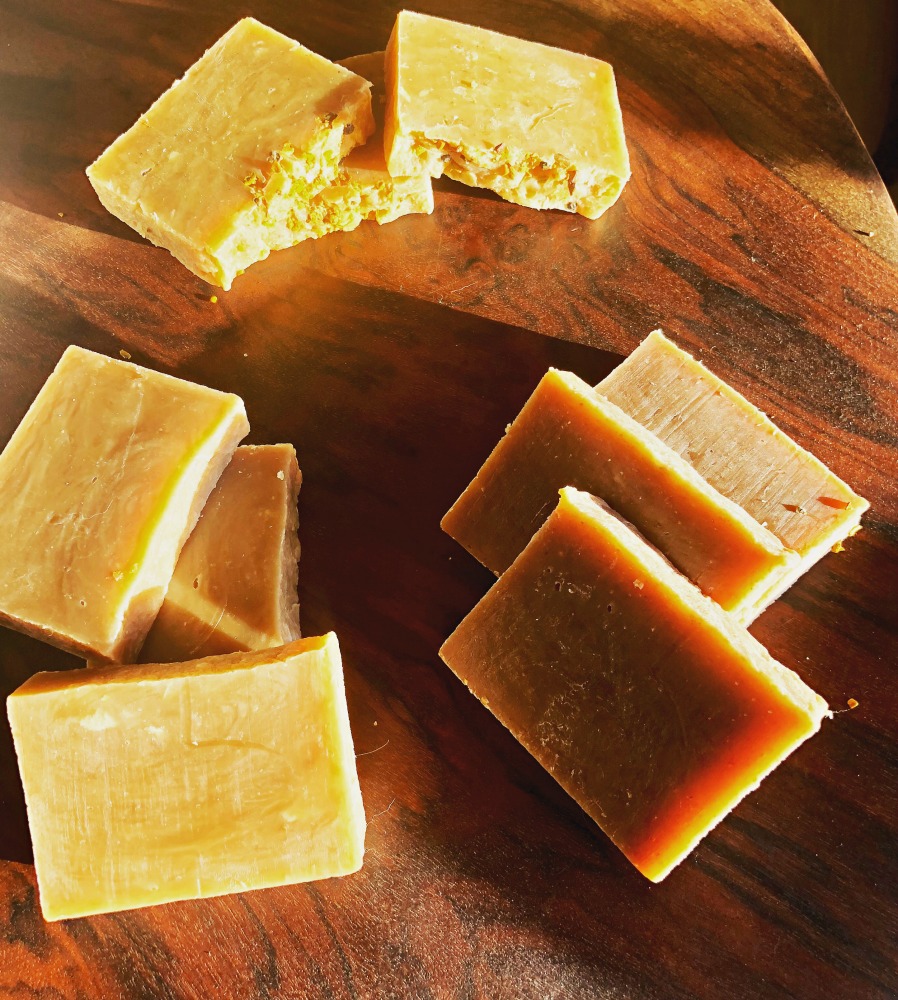
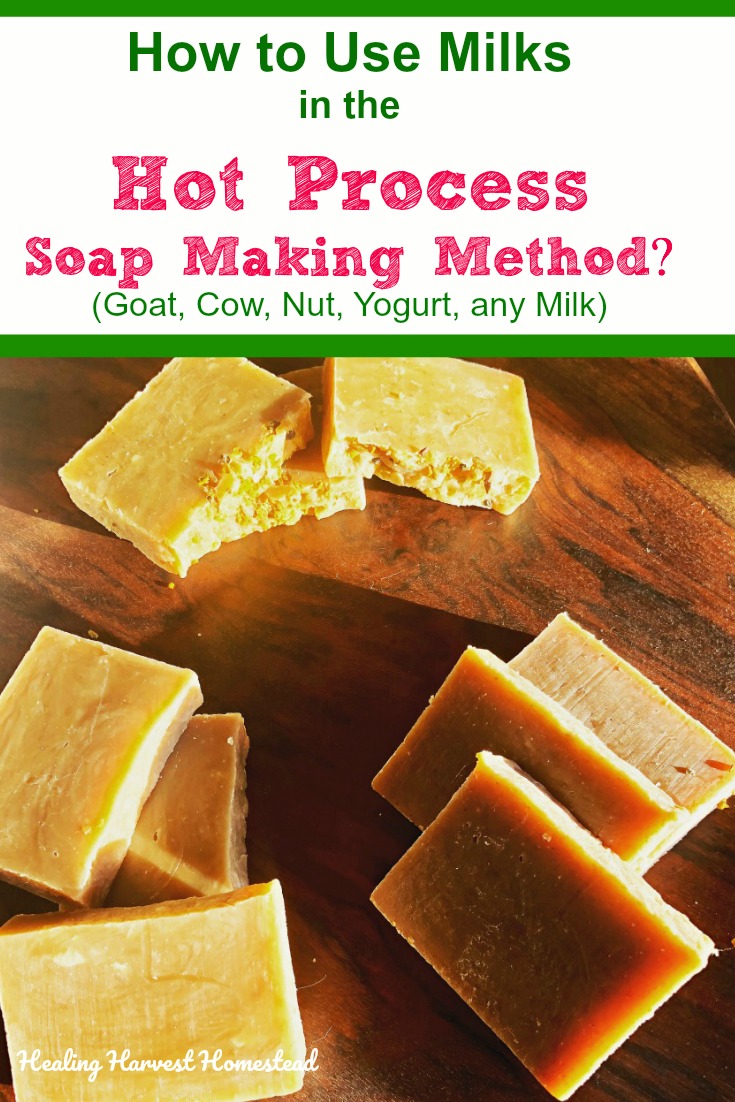
Here are three different milk soaps made using the hot process method. The one on top is coconut milk soap. I did color it with a little turmeric, or it would have been a bit lighter. The one on bottom right is a buttermilk and honey soap. Honey tends to darken soaps a bit, too. The one on the left is a buttermilk, honey, and vanilla oatmeal soap. It’s quite a bit darker, and this is due to the vanilla extract.
Solutions to Problems Using Milks in Hot Process Soap Making
Some of these solutions will also apply to the cold process soap making method. But for the purposes of this article and answering the question I get so often from people about using milk in hot process soap recipes, I’m going to just discuss hot process soap.
The Solution for Inexperience:
This is pretty self-explanatory!
Start off with easy non-milk recipes that have been created for and tested using the hot process method. You can find my basic hot process recipe with over 22 variations for scenting, coloring, and using herbs in this eBook: How to Make Hot Process Soap: The Ultimate Guide.
If you prefer video tutorials, take a look at my complete course on making soaps using the hot process method. It comes with the book above and lots of additional recipes, too, so it’s a great deal!
The more times you make soap, the more intuitive you will get with the process. If something goes awry, as can definitely happen from time to time, you are more able to fix the problem if you know what to look for and what to do.
And this often comes from experience.
Here’s an example: The very first time I tried to make goat milk soap using a cold process recipe and the hot process method, the cooking soap separated. It was the strangest thing! I had oils and the lye solution floating around in what looked like a curdled mess.
Well, I knew enough about the reactions of lye, water, and oils at that point to try re-emulsifying the hot mass by using my hand blender. And it happened to work! But if I had not had the hundreds of blocks of soaps I’ve made behind me, I probably would have disposed of it and never tried milk in hot process soap again.

This is NOT a good thing to happen with your hot process soap during the cook time. The oils are separating from the lye solution after coming to trace. Luckily no curdling is “actually” happening. The first time I tried goat milk soap in the crock pot, this happened. Because I had made plenty of soaps in the past, I knew I could try to re-emulsify it.
The Solution for Temperature:
When you are using milk to make handmade soap, the temperature is super important. In fact, some soap makers believe it’s everything. I happen to agree.
Milks are extremely sensitive to heat. They can burn, start smelling, and just create a mess.
The problem is that when you are using the hot process method, heat is involved. It’s unavoidable. So you have to know what things you can do to reduce the affects of the heat in the cooking of the soap.
Here are some possibilities:
1) The Temperature of Your Milk
You can freeze your milk, either to a slushy state, or even a frozen state before adding your lye. If you are completely substituting the water in a soap recipe for milk, then you really need to have it fairly solid-ish, if that makes sense.
Not like an ice cube, but somewhere between slushy and ice-cube.
Then you simply add little bits of the lye to the milk. Stir. Add a little more. Stir. And keep doing this until your solution is completely mixed. Waiting a few minutes between each addition of lye helps keep the temperature cooler too.
2) When You Add Your Milk
Adding your milk later (right before mixing to trace) during the making of your soap is only a solution that’s available if you are taking the total water portion of the soap recipe and using milk as a portion of the water amount.
This won’t work if you are using ALL milk for the liquid. If milk makes up all the liquid, then you’ll have to do #1 above and be sure you’ve got a very cold, slushy, partially frozen milk.
If you are splitting up the liquid amount between water and milk, you don’t have to actually add your milk to the lye solution right up front.
What I like to do when making milk soaps, especially when using high fat milks like buttermilk, is to not substitute the whole amount of milk for the water. This gives me some leeway for when I can choose to add the milk portion. This, in turn, helps me manage the temperature of the whole soap mixture.
For example, if I want to use buttermilk in a soap recipe, I could divide up the liquid (water) portion between a water amount and the milk amount.
Then, I will add equal amounts lye and water (the water amount needs to be at least equal to the lye amount) to make the lye solution. This will make an extremely strong lye solution, but no worries. You’ll be adding the rest of the liquid (milk) later.
The difference between the amount of water I use in the recipe and the total amount of water the recipe calls for is the milk portion. You only have to worry about this if you are adapting a recipe for milk.
If you are fortunate to have an already vetted hot process milk soap recipe that gives you the measurements for the water and milk, you’re golden! You can find recipes for various milk soaps in my upcoming hot process soap recipe book. I’m hoping to have it out by the end of this month, so keep an eye out!
Anyhow—-when to add the milk?
You can add the milk to the liquid oil mixture right before you pour in the strong lye solution and before bringing the mixture to trace. And if you allow the lye solution to cool down to around 90 degrees first, that’s even better.
Then go ahead and bring the mixture to trace as normal. I like to bring milk soaps to a heavy trace because I’ve found that helps with any chances of separation at the beginning of the cook time.
Here’s a specific example: If your recipe calls for 10 ounces of water for the lye solution and 4.25 ounces of lye, then you can play around with the milk amount. You could add only 4.25 ounces of water for the lye solution (equal to the lye).
Then, take the difference: 10 - 4.25 = 5.75. This measurement gives you the amount of milk you’ll add to the oil mixture later, right before you bring the soap to trace and start the cook.
See?

After stirring with my trusty hand blender for a few minutes, I was able to re-emulsify this batch. WHEW! What a relief! See those opaque areas? That’s what you want to see before the soap starts cooking.
3) The Amount of Milk You Use in the Recipe:
Again, this solution assumes you are taking a regular soap recipe and converting the water portion to milk or partial milk.
In the above example, I shared how you can split the liquid amount up, which will give you any where from 50% to 70% milk in your soap.
If you want to really reduce any issues in your milk soap, just adjust the water amount so that milk is only 25% of the total. Then you can add the milk as above, right before bringing it all to trace.
An example of this would be: If your recipe calls for 10 ounces of water, then you could decide that you only want 25% of the liquid to be milk (2.5 ounces), and the rest would be water. Treat the directions just like #2.
The Solution for Potential Rancidity:
If you are using a lower fat milk, like cow’s milk, nut milk etc., where the milk fat is low (around 4-6%), you don’t have to worry about rancidity as much, as the final result won’t be much affected.
However, if you are using a high fat milk, this will absolutely affect the super fat percentage of your soap. Most soaps are made with a 5% to 7% super fat. This keeps the soap good for your skin, ensures there is no lye left in the soap, and helps create a very conditioning bar.
**NOTE: If you’re making any of my soap recipes, I always use a 5% super fat, unless otherwise noted.
So, if you are using a high fat milk like heavy cream, for example, that is around 35% fat, then you’ll want to be sure NOT to super fat your soap.
With that said, I’ve used high fat milks and still kept the 5% super fat ratio in the recipe and not had a problem. However, we use our handmade soap fairly quickly or we give it away, where it gets used quickly. Thus, it doesn’t even have a chance to go rancid.

Find out how to make your own body care! Salves, oils, butters, and balm recipes to create using herbs for healing and beauty.
What About the Color of Milk Soaps in the Hot Process Method?
Well. This can be problematic if you are looking for that pristine bar of white soap. Honestly, it’s possible to get a very light cream color if all the hot process conditions are just right, but you are more likely to end up with a cream to light brown soap.
Personally, though, I love the color. It reminds me of caramels. In fact, when the milk cooks, that’s what happens. It caramelizes.
If you want that pure white bar of soap, you might want to try cold process, and really pay close attention to all the temperatures of the oils, the lye solution, and the milk too. Otherwise, plan to enjoy a pretty creamy to light brown soap. And if it’s darker? It’s just more variety!
The Smell of the Soap Using Milk and the Hot Process Method
The scent of your soap is so important. In my experience, different milks will give off different scents, and a little scent during the cooking process is to be expected. It may even smell a little bad.
Even when I make soaps with different herbs, some herbs will just not smell that great…like nettle. But eventually the scent goes away, and if you’re using essential oils to scent your soap, then it’s not a problem.
Unless your milk is out and out burning, though, this scent (like with certain herbal soaps) is not a problem and generally goes away within a few days after the soap is finished cooking and cooling. I haven't had any issues with my milk soaps smelling bad up to this point.
So if you do get a “scent” from the soap, just give it a few days to a week and see if it doesn’t just go away.
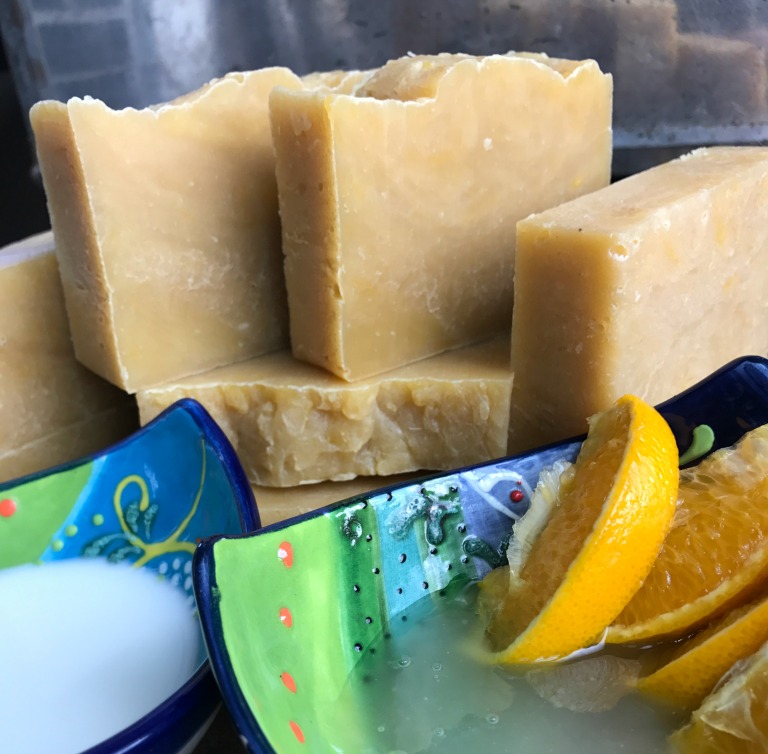
This is a goat milk and honey soap I made using the hot process method It really turned out nice, and it smelled just fine!
Final Reflections on Using Milk in Hot Process Soap Recipes
I love all handmade soaps, as long as they are natural (using herbs, clays, essential oils, etc. and no micas or chemicals like fragrance oils—-BAD stuff, there). But milk soaps are in another category all together.
When you create a milk soap, you’ll feel especially skilled! At least I did, especially after hearing a few nay-sayers tell me it’s not a good idea to make milk soap using the hot process method.
My first attempt with making hot process goat milk soap was for my friend, Kelly Cable, who asked me to create goat milk soap from her recipe and write a review of her new book, Natural Soap Making for Beginners.
I explained to her that I only make hot process soap because I lack the patience to wait for the long cure time of cold process. Also, I like to know right away if my soap is going to turn out or not.
Being able to know how my soap was going to turn out was actually more of a “thing” when I was a beginning soap maker. I’ve made so many soaps at this point, I can pretty much tell during the cook exactly how it’s going to turn out at the end. Which is really nice.
Anyhow, she asked me to go ahead and give it a try and just explain what I did differently. So I did! And I’m really glad she asked me to review her book and try this recipe. It gave me the push I needed to go ahead and try making milk soaps using my favorite hot process method. Yay!
You can read about that recipe and what I did to change it in this article: Goats Milk & Honey Handmade Soap.
The bottom line is that, YES. You can make hot process soaps using all kinds of milks! Stay tuned for my new eBook out soon.
And if you are a beginner, please take a look at my eBook: How to Create Your Own Handmade Soap Using the Hot Process Method (found in the shop) OR my online hot process soap making course with video.
You’ll learn how to make soap using the hot process method with confidence, and you’ll have lots of recipe variations to experiment with too!
Have you made hot process soap using milk as an ingredient? I’d love you to please add comments in the comments section—-questions, experiences, anything. I’ve found this is the best way to learn, and sometimes I leave things out, or you will have an idea I didn’t think about to share!
You may also enjoy these related articles:
Cold Process vs. Hot Process Soap: Which is Best?
How to Make Hot Process Soap: A Complete Picture Tutorial in 12 Easy Steps
Sexy Wild Man Hot Process Soap Recipe
10 Soap Making Mistakes to Avoid
And there are lots more over on the blog!
Hugs, Health, and Self-Reliance,
Heidi
P.S. I hope you’ll sign up for the newsletter if you haven’t done so yet! You’ll never miss a thing, and you’ll get a copy of my Hot Process Soap Making Checklist to keep your soap making on track! You’ll also get immediate access to the Resource Library which contains all kinds of free downloadable eBooks, guides, checklists, and more just for you. I update it weekly too!
Just complete the form below:

Learn how to create your own handmade hot process soaps with confidence! This complete tutorial includes pictures, charts, and lists so you can create your own recipes or just follow along with the recipe variations in the book!
As a soap maker who almost exclusively uses the hot process method these days, I often get asked if you can make soap using milks this way? The answer is YES, but you have to know a few things first. Here’s how you can make hot process handmade soap using all kinds of milks. #howtomake #hotprocesssoap #milksoap #withmilk #healingharvesthomestead